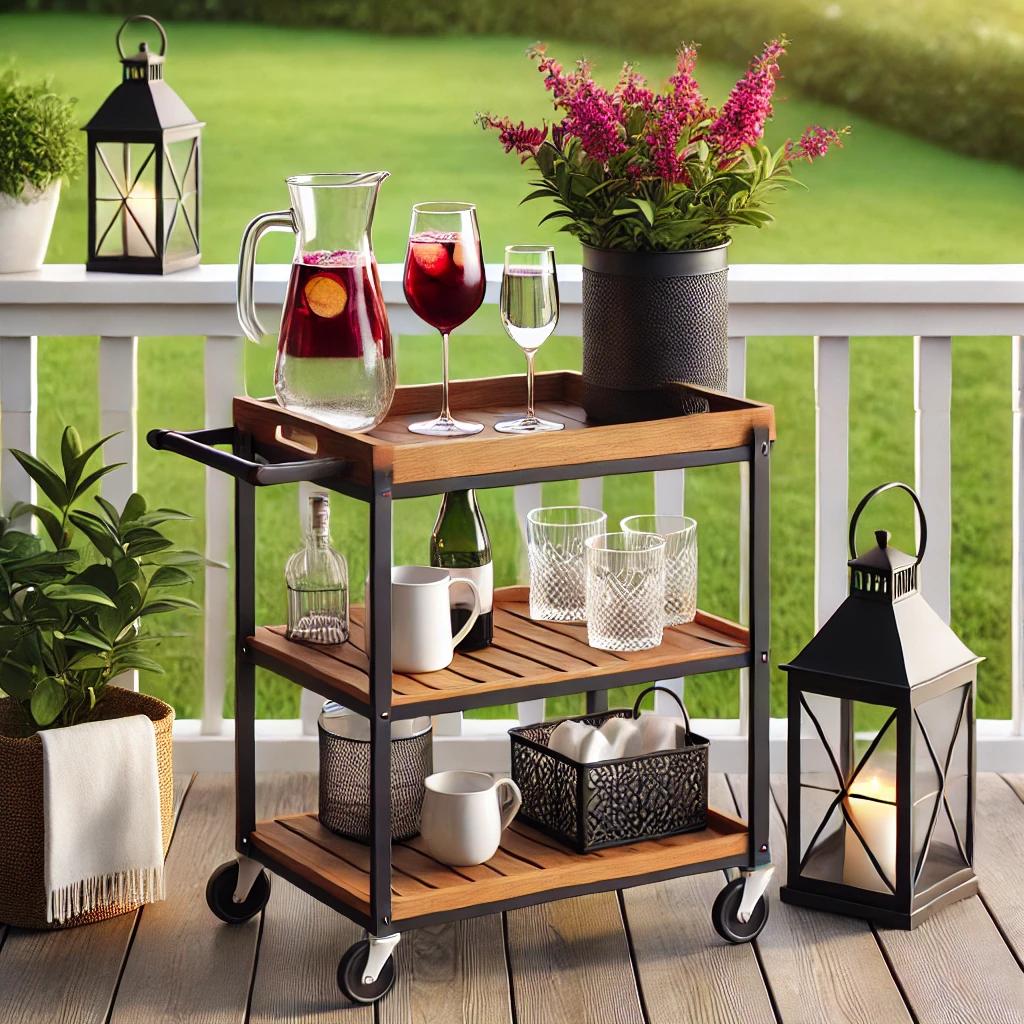
Mark’s Deck Cart – The Ultimate Bar & Grille Companion
First, there was the Art’s Market table, and now, making its grand entrance, is the Mark the Shark Deck Cart!

A while back, I mentioned having to part ways with my beloved changing-table-turned-bar-cart due to lack of storage space. I had envisioned leisurely summer evenings spent enjoying it on the deck, but once our new bookcases were installed, I simply couldn’t find a spot to store it indoors. Sadly, it had to go.
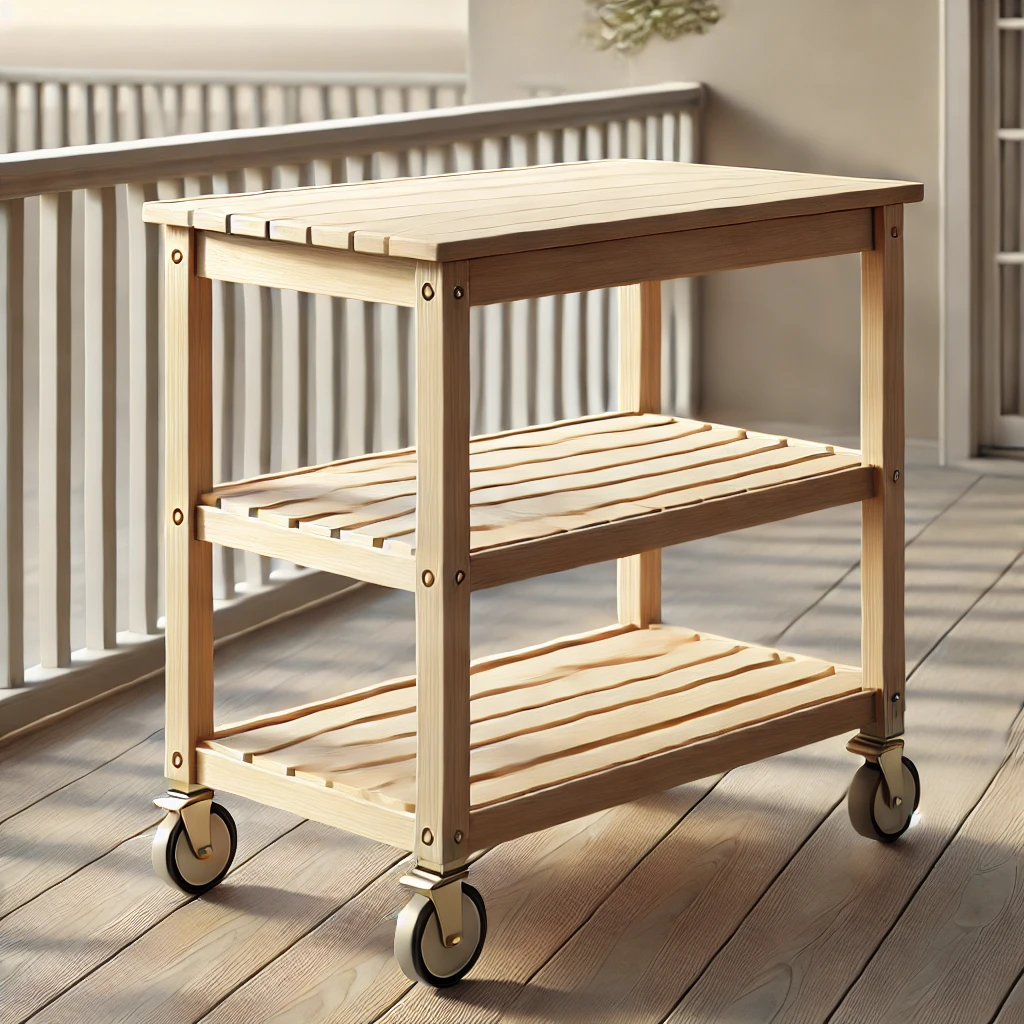
However, fate works in funny ways! A few weeks later, I stumbled upon the perfect replacement at a yard sale. This little cart is just what our deck needed—compact enough for summer entertaining, yet easy to store in the garage during the colder months. It was an unfinished piece, which meant one thing: makeover time! Not only did it need sealing for outdoor use, but it also offered a blank canvas just begging for a fun, custom design.
Prepping & Priming: Laying the Foundation
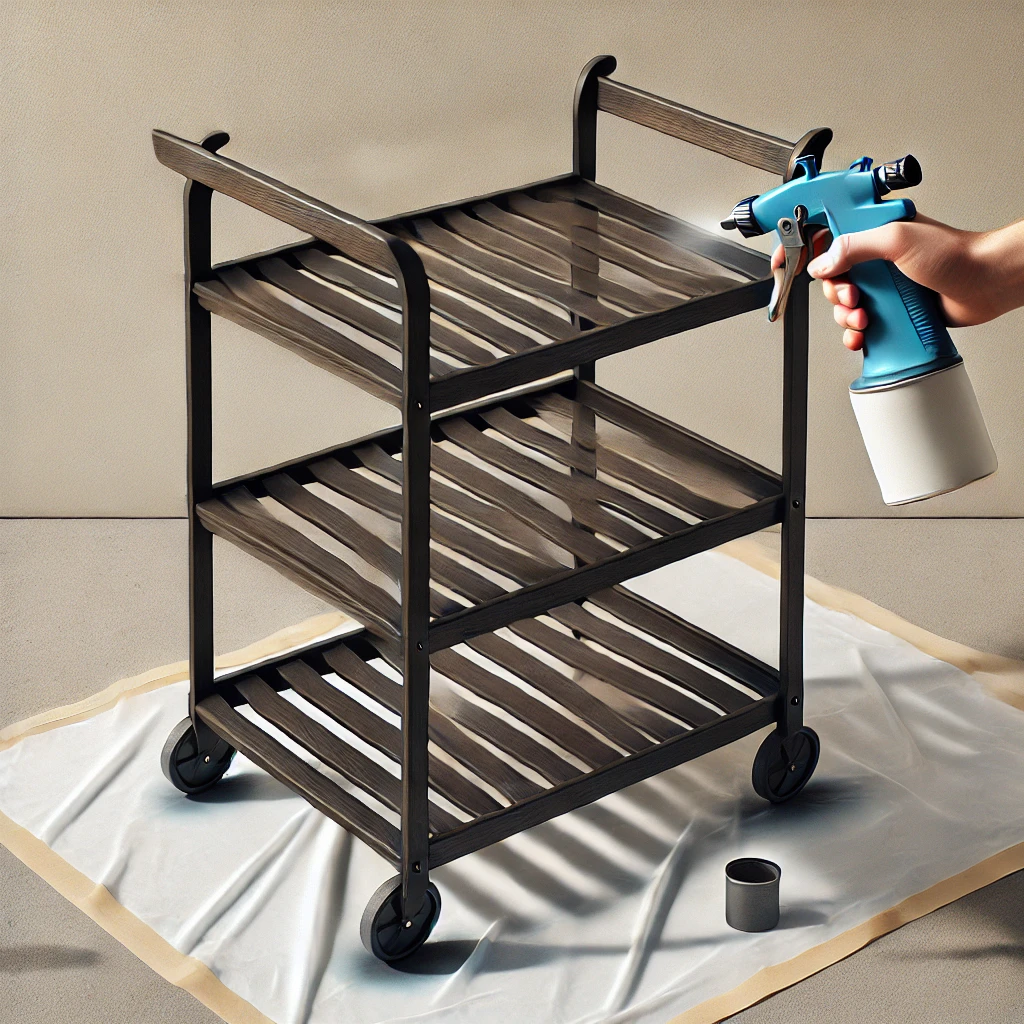
The first step? Prepping the cart. I taped off the casters and the top, ensuring everything was protected before getting to work. Since this was an unfinished wood piece, priming was a must—especially for outdoor use. I highly recommend using an oil-based primer when painting furniture that will be exposed to the elements. It creates a durable barrier and helps the final layers of paint adhere smoothly.

Once primed, I applied several coats of latex paint using my new favorite tool—the Critter Paint Sprayer. (More on that nifty gadget in an upcoming post!) The finish turned out smooth, even, and perfect for what I had in mind.
The Fun Part: Adding a Graphic
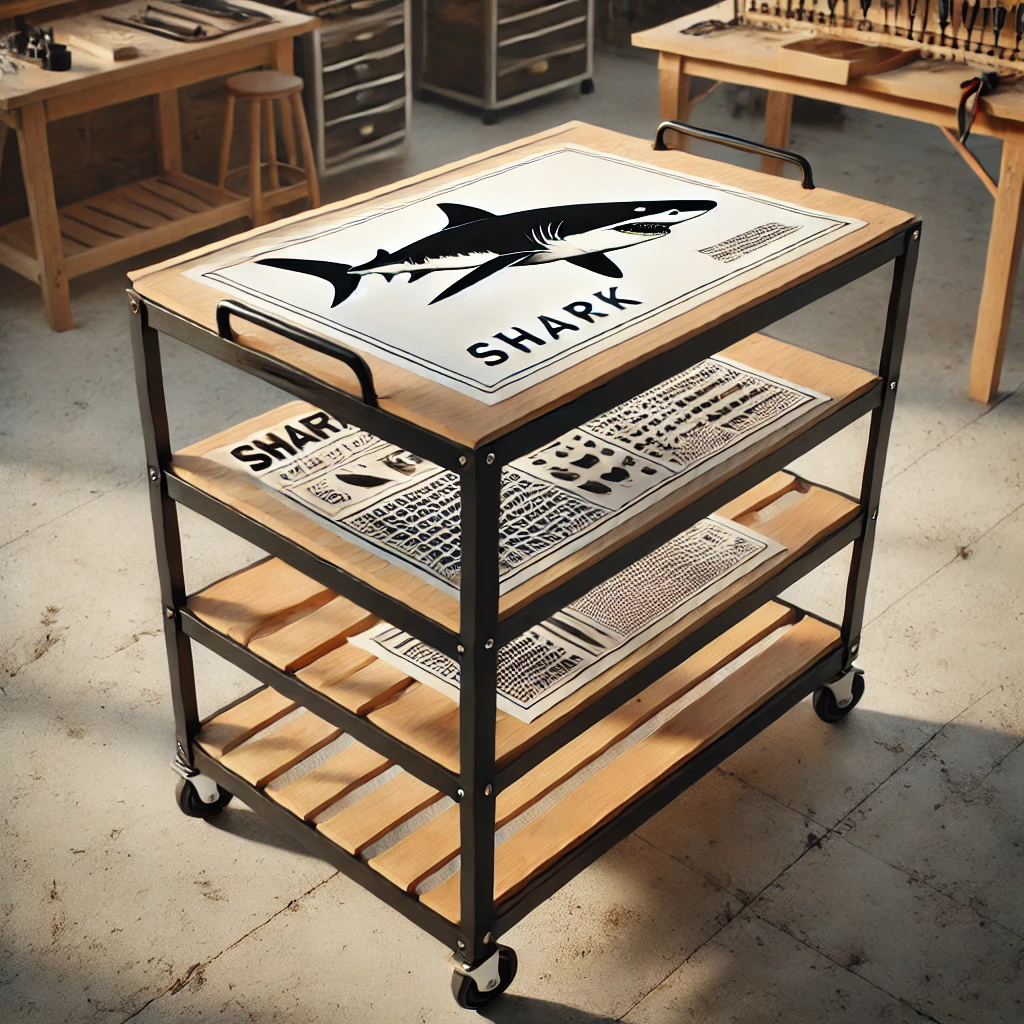
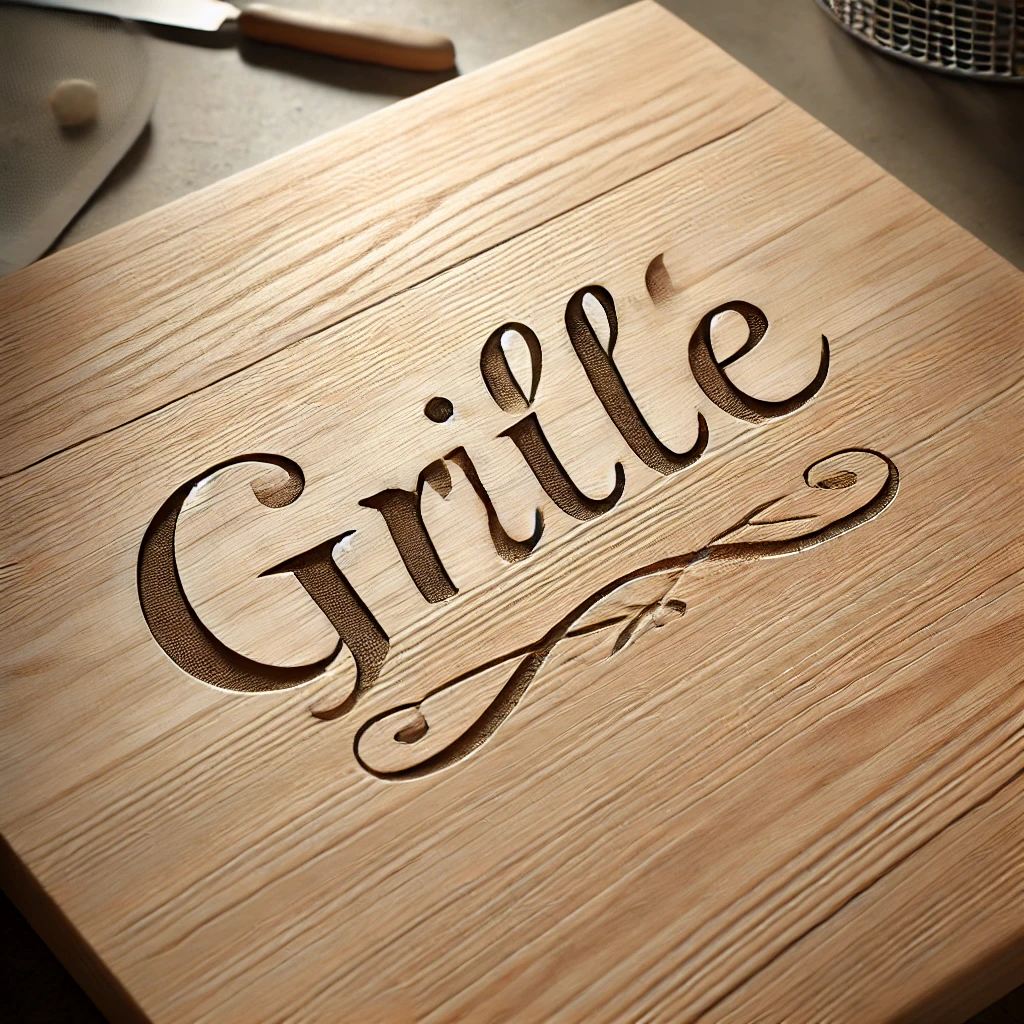
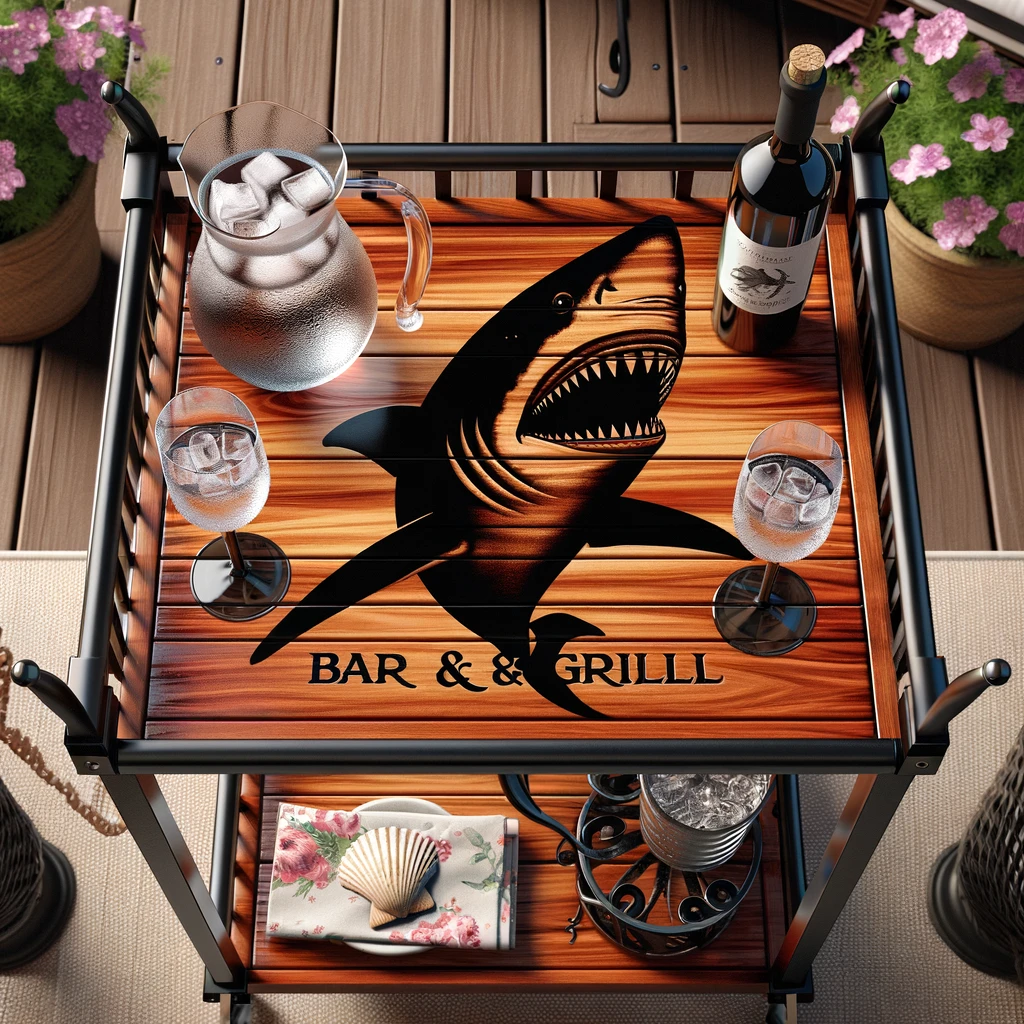
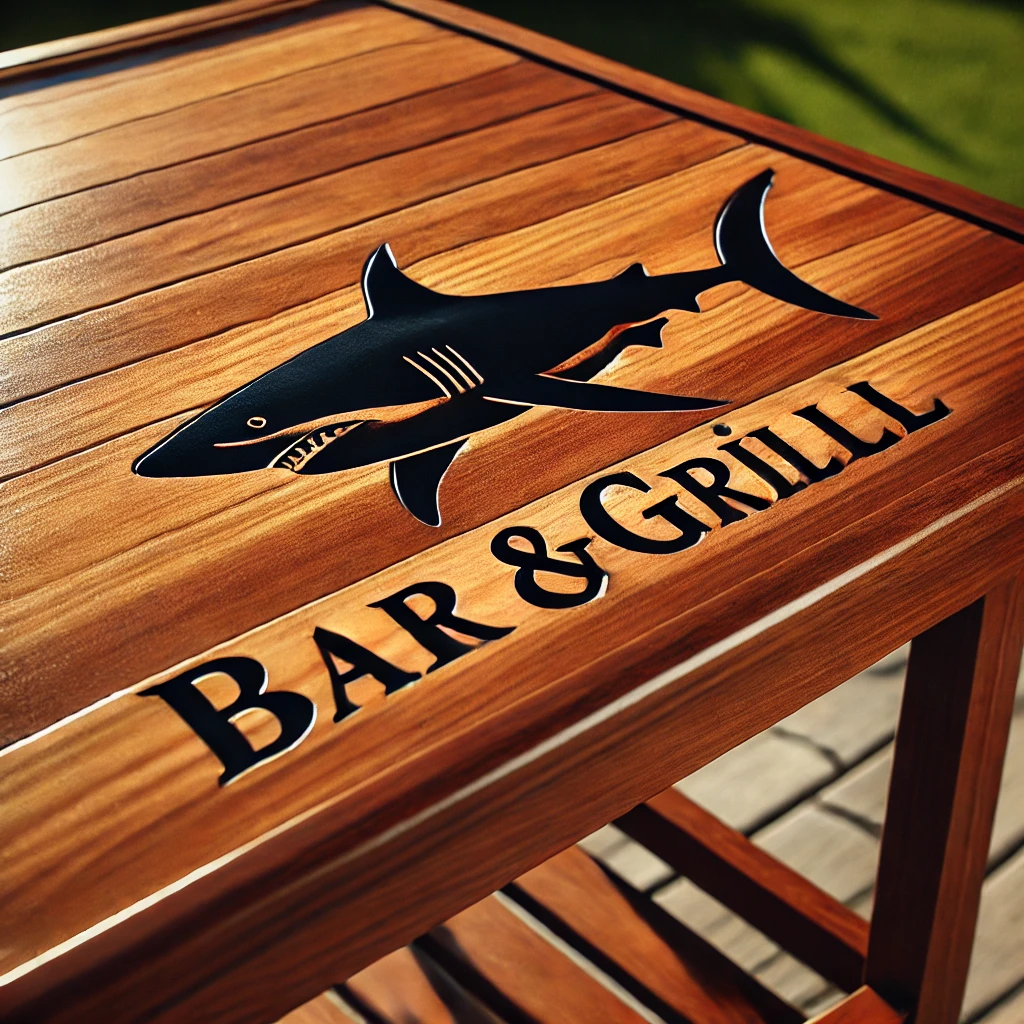
The main purpose of this cart was to create a self-serve beverage station for guests, but Mark had a different idea—he saw it as the ultimate grilling companion for holding platters of burgers, hot dogs, and grilled goodness. Inspired by his vision, I decided to incorporate the words BAR & GRILLE into the design.
And then, a lightbulb moment! Some of our friends (and their kids) have long referred to Mark as Mark the Shark, so I thought why not make it official? I scoured the internet for shark images, played around with different fonts and placements in PowerPoint, and once I landed on a design I loved, I uploaded it to Block Posters to enlarge it for easy transfer. (Pro tip: You can also do this in Word if needed.)

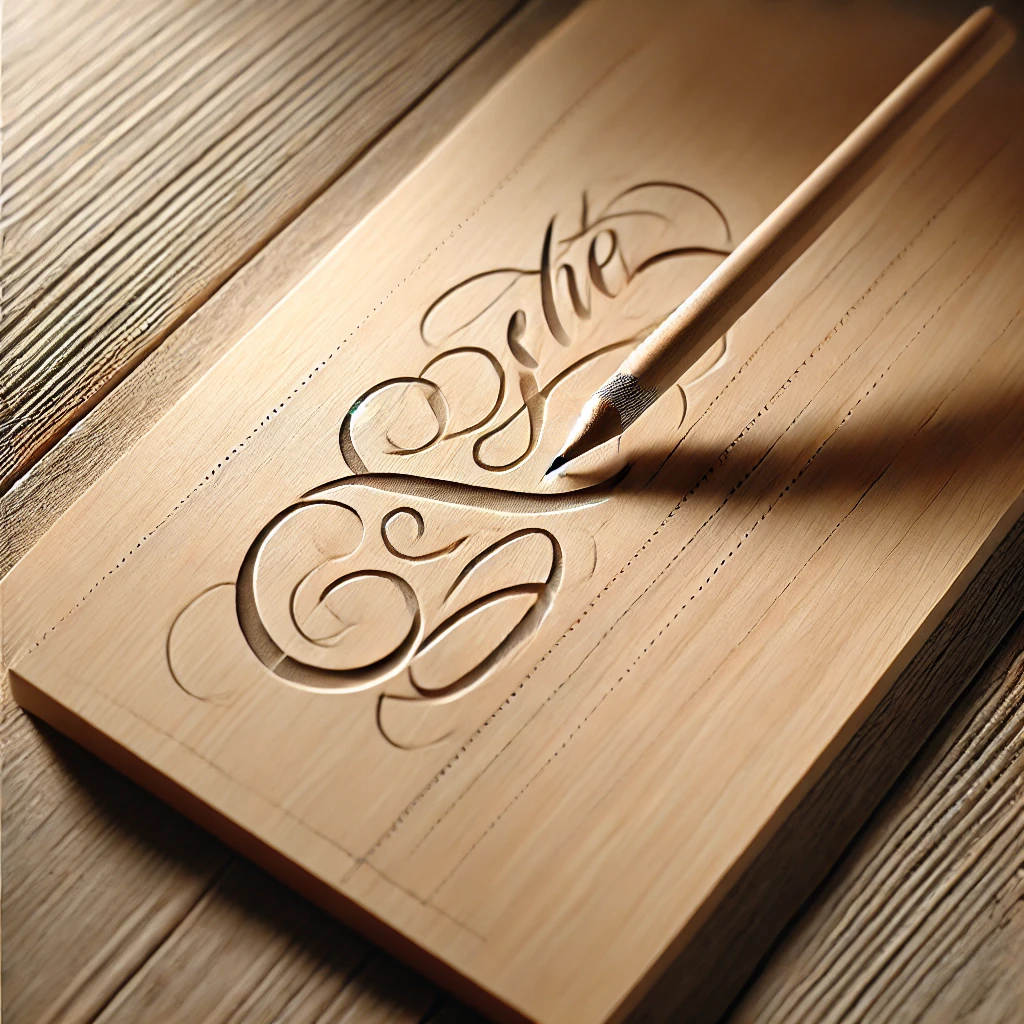
Transferring the Design: A Chalk & Sharpie Trick
I used my trusty chalk-on-the-back-of-the-graphic trick to transfer the design onto the cart’s surface. It’s an easy, foolproof method: simply rub chalk on the back of your printed design, place it on the wood, and trace over the image with a pencil. The chalk leaves a faint outline, making it easy to go over with a marker or paint.

At first, I grabbed a regular Sharpie, but quickly realized that a fine-tip Sharpie would have been better for the intricate details. Note to self: always keep a fine-tip marker on hand! There was some minor bleeding due to the porous nature of the wood, but overall, the transfer went well.
However, when I stepped back to admire my work, I realized a problem the first attempt at “Mark The Shark” looked like I had enjoyed three glasses of sangria before tracing it. (In hindsight, maybe I should have!) The font was irregular, and when traced, it appeared wobbly and uneven.
A Little Improvisation & Staining
Time for Plan B. I carefully reworked the lettering, refining it as best as I could. While still not perfect, it was much improved. The key takeaway? When working with fonts, smaller details require precision tools, and bare wood tends to absorb ink unpredictably.
Once satisfied, I let the ink dry for a couple of hours before applying a coat of Minwax Provincial Stain. The stain deepened the color and gave the design a rich, rustic charm. Next, I lightly distressed the cart’s body for a touch of vintage character.

Sealing the Deal: Spar Urethane for Protection
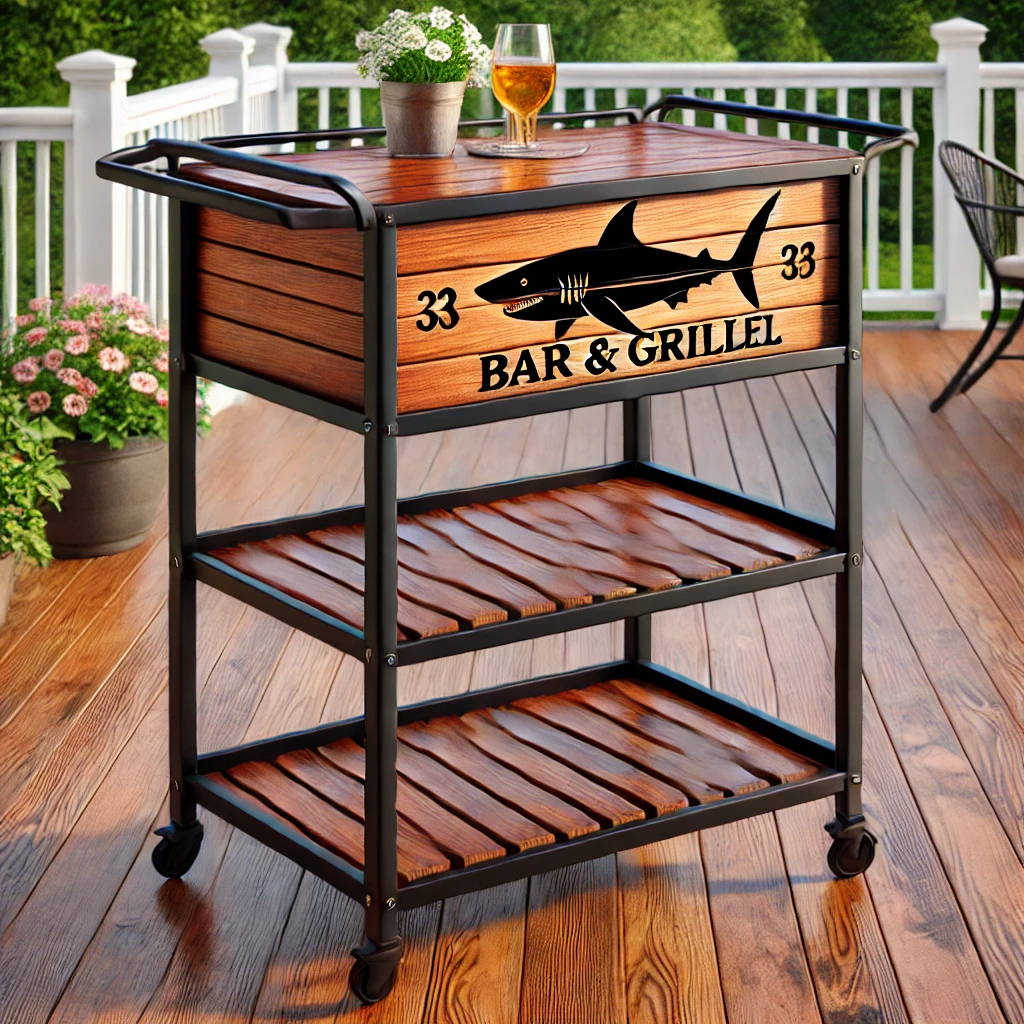
With everything in place, it was time to seal the entire cart. For outdoor furniture, I swear by oil-based Spar Urethane—it’s the same product I used to seal our outdoor teak furniture, and it provides superior weather protection. I applied two coats, sanding lightly between each for a smooth finish. The clear satin urethane initially goes on with a high gloss, but the sheen softens over time, leaving a beautiful, even finish.
A great bonus? The urethane also helps mask imperfections, so any minor mishaps—like my first botched attempt at the text—became nearly invisible after sealing.
From Plain to Personality-Packed
This little cart went from functional but bland to a statement piece with personality! The custom graphics, distressed finish, and protective seal transformed it into a one-of-a-kind deck essential. Now, whether it’s being used as a self-serve drink station or a grill-side helper, it’s sure to be a conversation starter at our next gathering.
Font Lovers, Take Note!
If you’re as obsessed with fonts as I am, here are the ones I used, along with links for downloading them:
- “Mark” & “Shark’s” – FoglihtenNo07
- “the” – Bergamot Ornaments lowercase z (Check out Rachel Myers’ printable Bergamot Ornaments guide!)
- “Bar & Grille” – Buffet Script
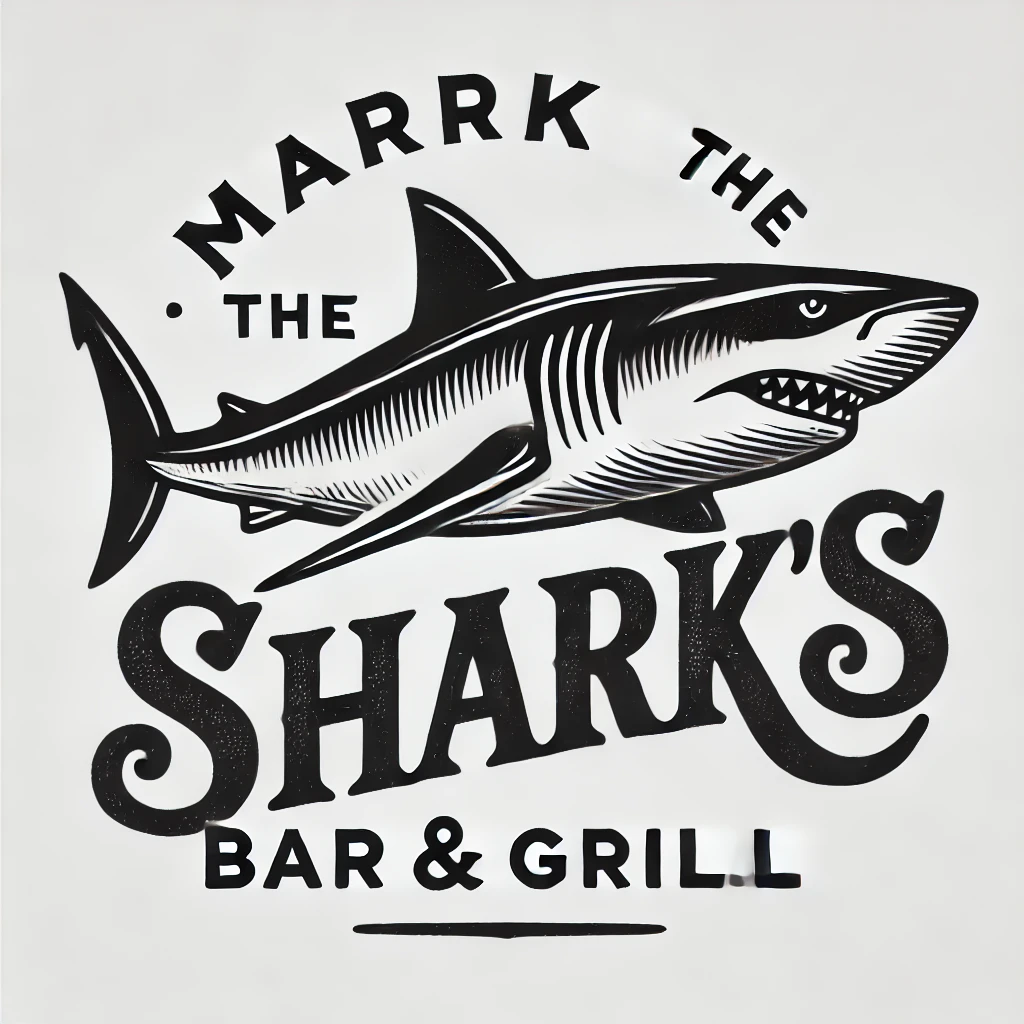
- The original “Mark the Shark” font was formerly known as Cracked, but is now labeled Crackhouse great for distressed aesthetics, though not ideal for image transfers!
What’s Next? Matching T-Shirts?
If Mark gets his grill cart, I think the rest of us need matching t-shirts to complete the theme. Picture it: Mark the Shark’s Bar & Grille printed across the front. Fun, right?
Cheers to Mangia Mondays & Deckside Drinks!
So there you have it—a budget-friendly, DIY project that’s as functional as it is fun. Whether you’re setting up a drinks station or a grill-side serving area, a deck cart like this can elevate your hosting game. Here’s to summer nights filled with good food, great company, and delicious drinks Mangia Mondays style!

Happy DIY-ing, and as always, Drink Up! 🍹


