I am beyond thrilled to welcome you to today’s linky party—a fabulous collection of creative projects using none other than Rub ‘n Buff! If you’re a DIY enthusiast, home decorator, or craft lover, then you’re in for a treat. This incredible product has taken the creative world by storm, and I can’t wait to showcase all the ways it can be used to add a touch of metallic brilliance to your projects.
My first experience with Rub ‘n Buff dates back to my picture framing days when it was widely used in the industry to restore and enhance the finish on mouldings. However, I never imagined it would become such a staple in home decorating and crafting! Over the years, I’ve come across so many ingenious applications for this product that I felt it was high time to gather them all in one place. And while this post isn’t sponsored by Rub ‘n Buff, I just love the product and want to spread the word about the endless possibilities it offers.
What is Rub ‘N Buff?
{via}
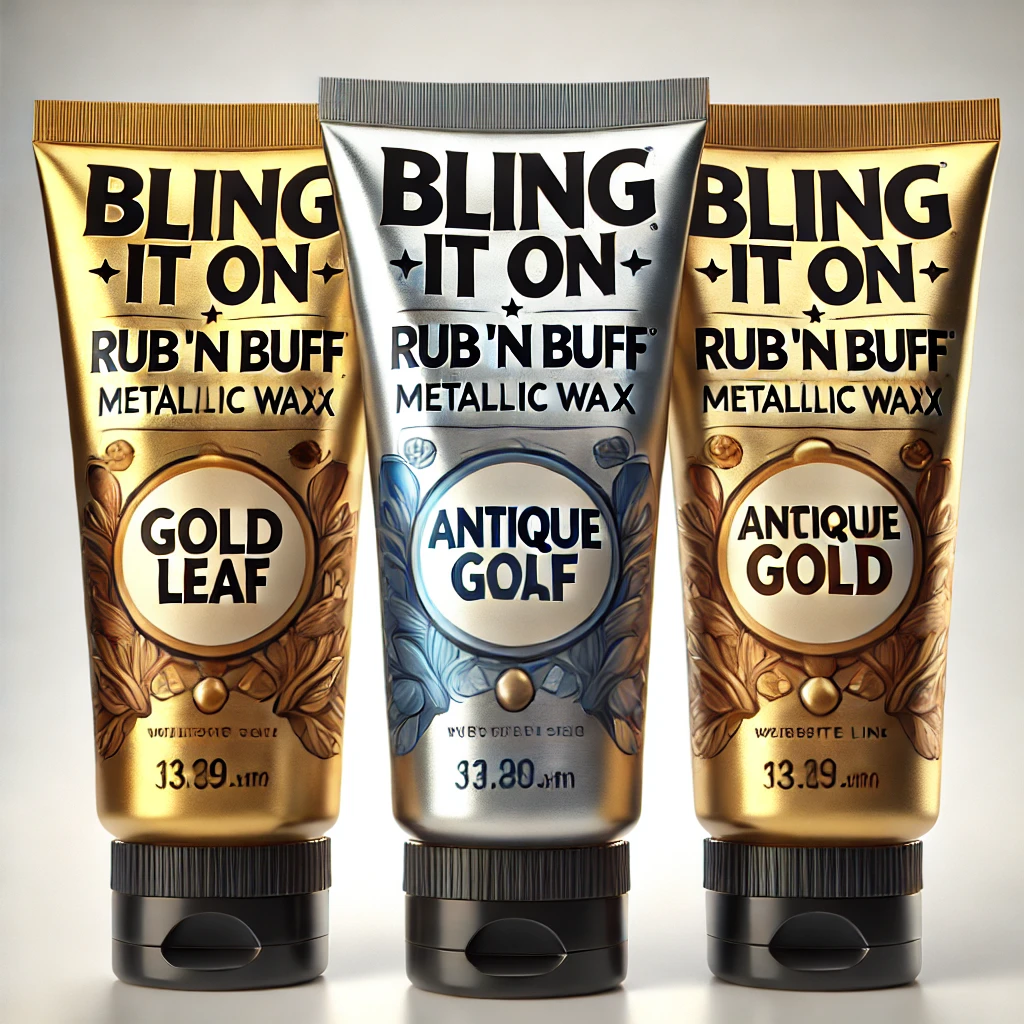
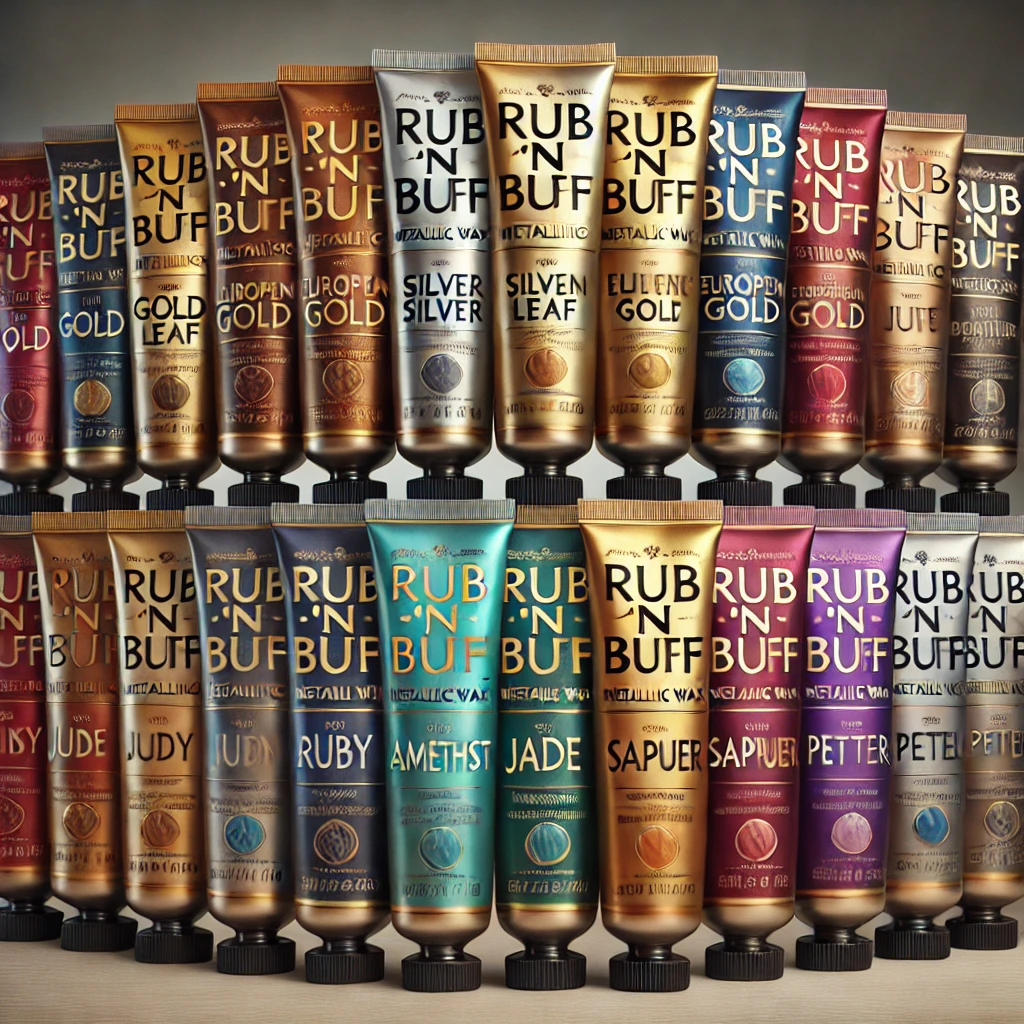
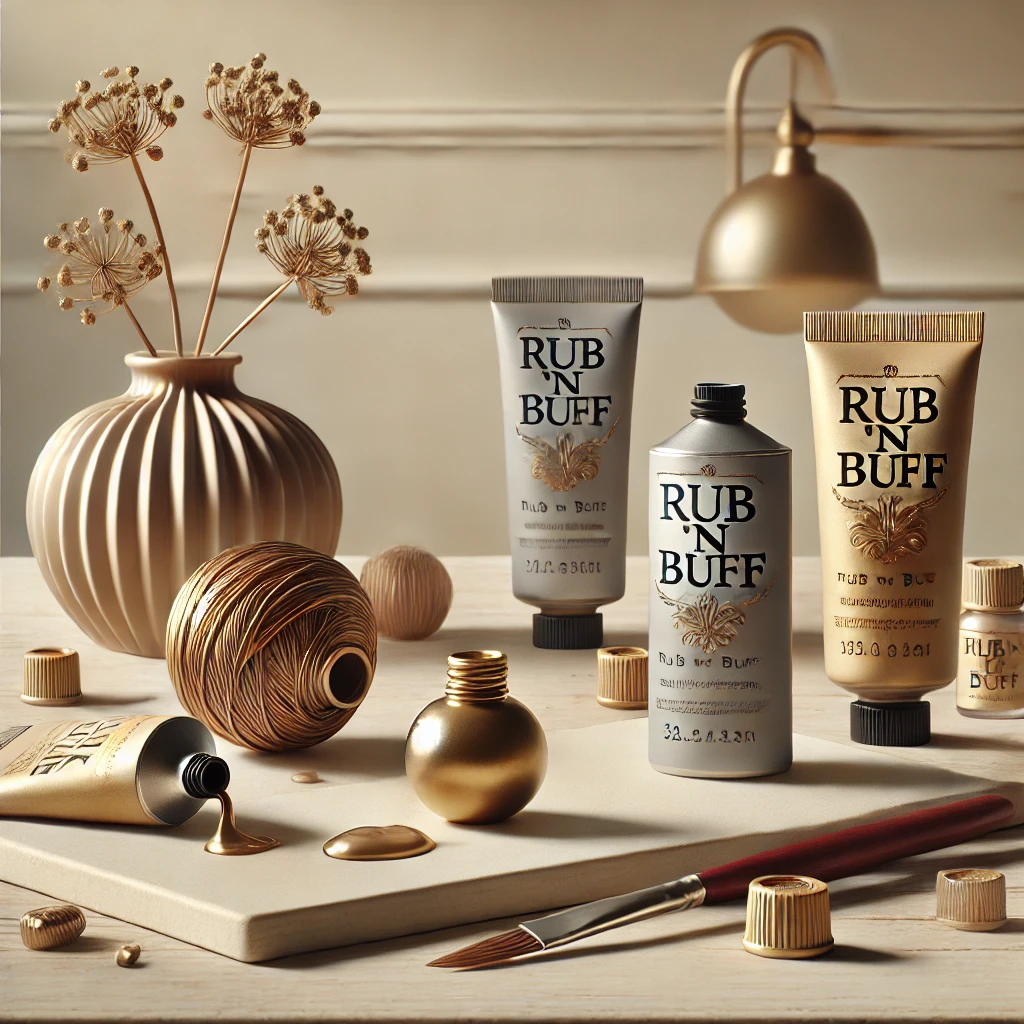
For those unfamiliar, Rub ‘n Buff is a metallic wax-based finish that works wonders in transforming and refreshing various surfaces. Available in 16 different metallic shades, this versatile product can breathe new life into practically anything mirrors, lamps, picture frames, hardware, furniture, and more! Whether you want to add a vintage patina or a bold pop of gold, Rub ‘n Buff has got you covered.
You can find Rub ‘n Buff at craft stores like Michaels, or purchase it conveniently online from Amazon and other retailers for around $7 per 0.5 oz. tube—a little goes a long way!
Bling It On: Easy & Affordable Home Updates
One of my favorite things about Rub ‘n Buff is its ability to elevate everyday household items without breaking the bank. Have you ever given something in your home a metallic makeover? If not, you might be surprised by how simple and rewarding it is!
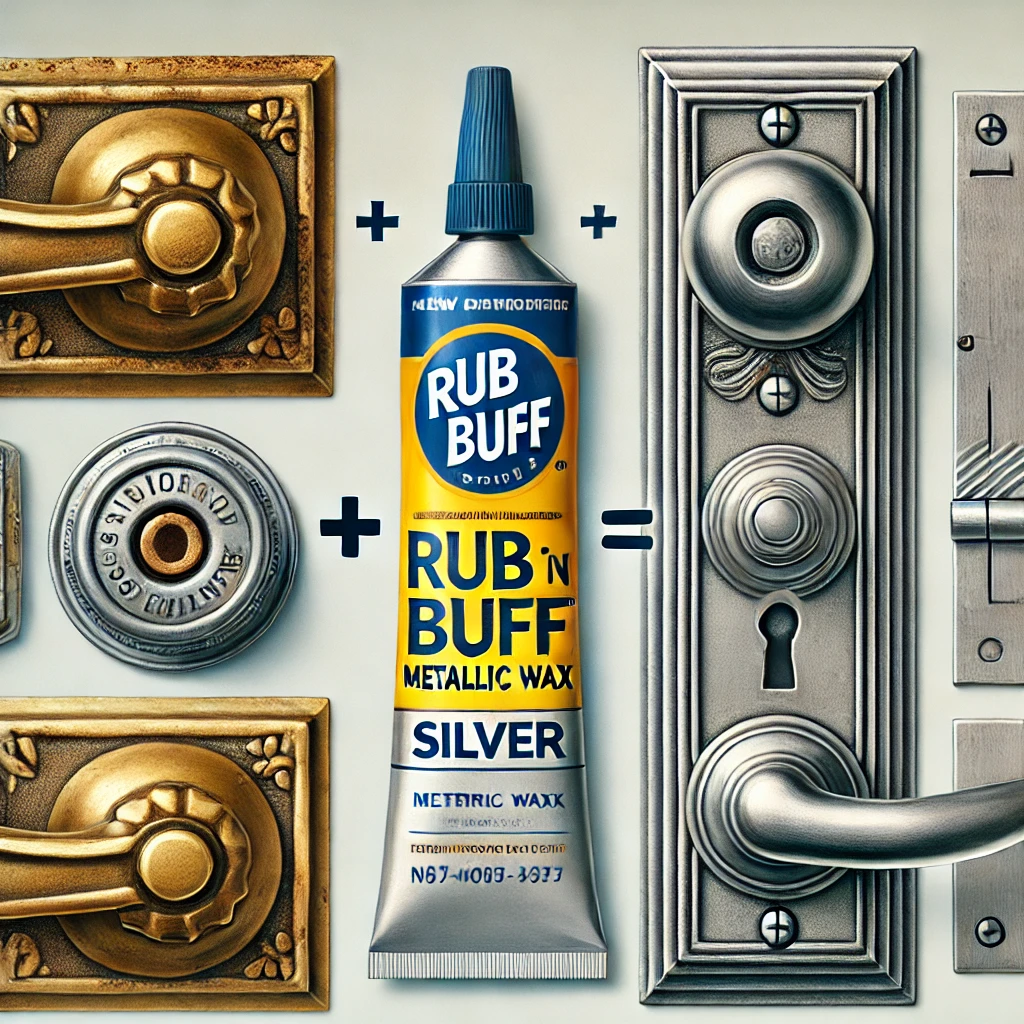
A few months ago, I was faced with a classic homeowner dilemma. I had swapped out all of our outdated brass doorknobs for sleek nickel ones, only to realize that meant replacing a gazillion brassy door hinges too. Replacing them all would have been a tedious and costly task—who wants to spend $200 on hinges and go through the hassle of taking down every door in the house just to reinstall new ones? Certainly not me! That’s when Rub ‘n Buff came to the rescue.
I decided to test out the Silver Leaf shade on my existing brass hinges, and—voilà!—brand-new nickel hinges in minutes! The transformation was effortless, and the savings were huge. (Curious about the full process? Click here to read more!)
While door hinges might not be the most glamorous use for Rub ‘n Buff, saving both time and money certainly is!
Transitioning Summer Decor to Fall with a Touch of Bling
I absolutely love September—the golden warmth of the days, the cool crispness of the evenings—but I’m not quite ready to dive into full-blown fall décor with oranges, reds, and blacks just yet. Instead, I look for subtle ways to transition my home’s color palette by incorporating warmer tones and metallic accents into my existing décor. That’s where Rub ‘n Buff proved to be the perfect solution!
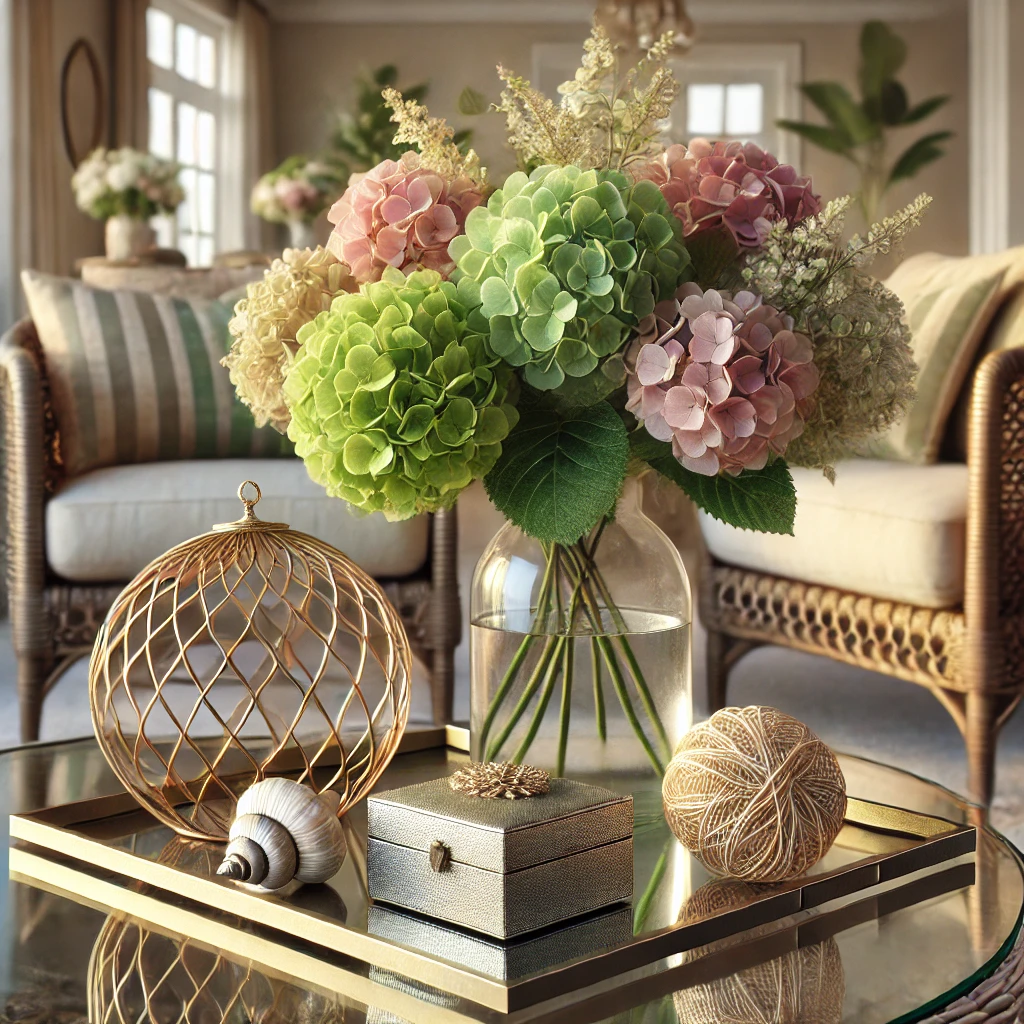
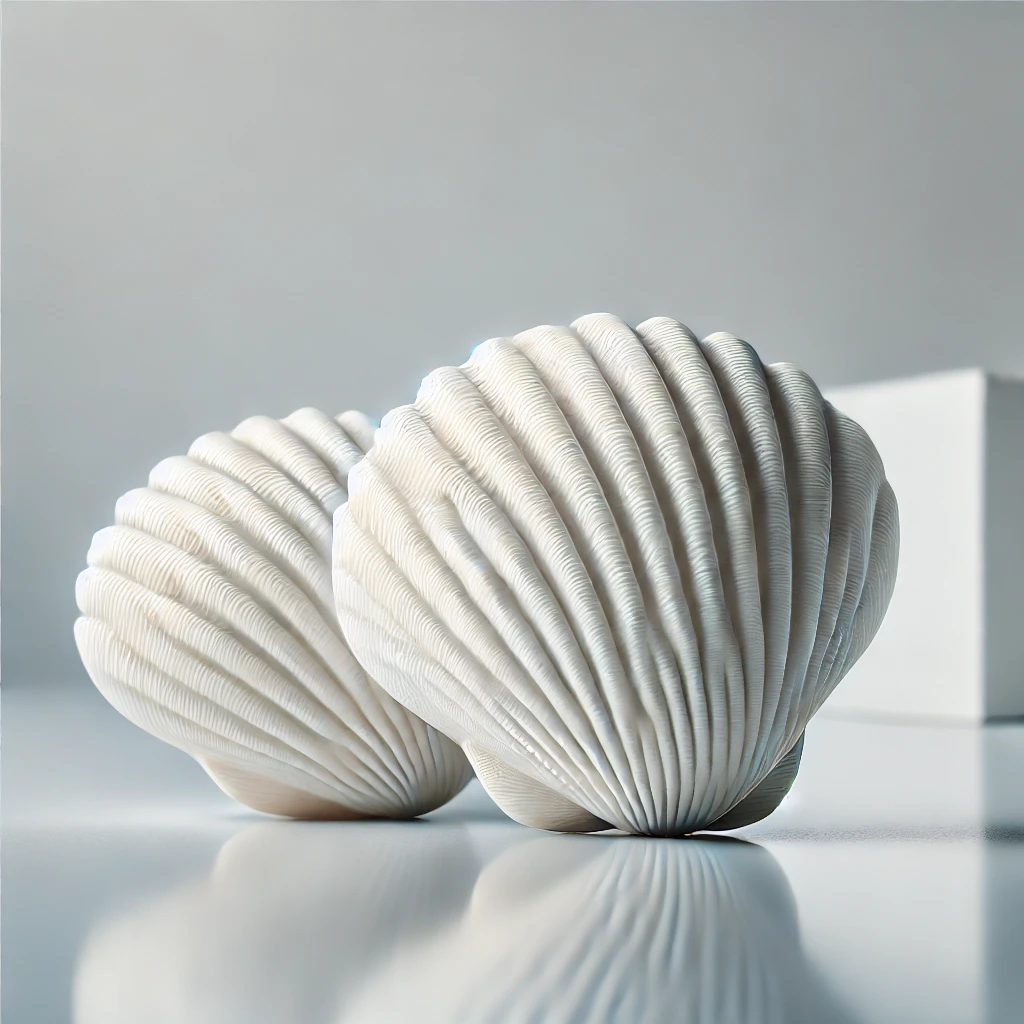
I wanted to add some unexpected warmth to our coffee table display, so I reached for my trusty Rub ‘n Buff tubes and gave the inside of some decorative seashells a glamorous glow using Grecian Gold and Antique Gold. I applied the product lightly with a paintbrush, and the results were stunning.
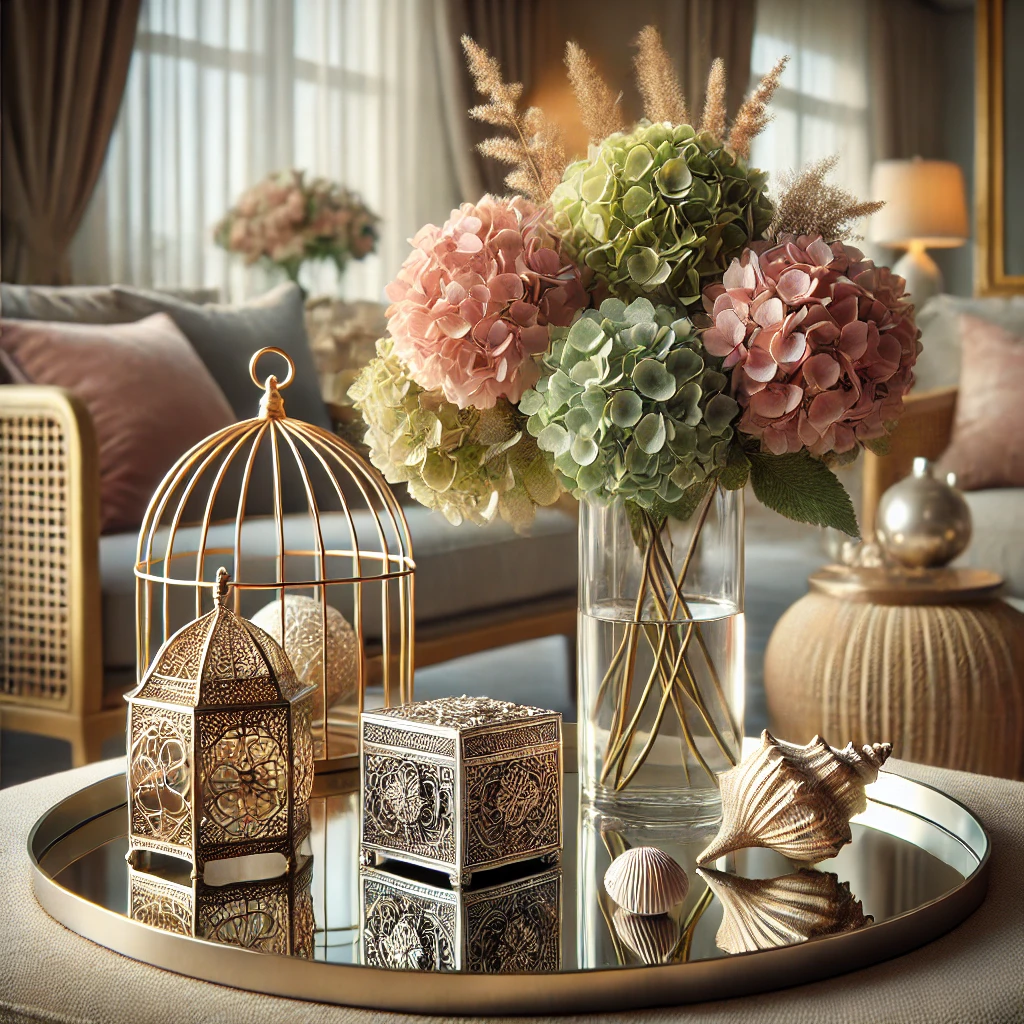
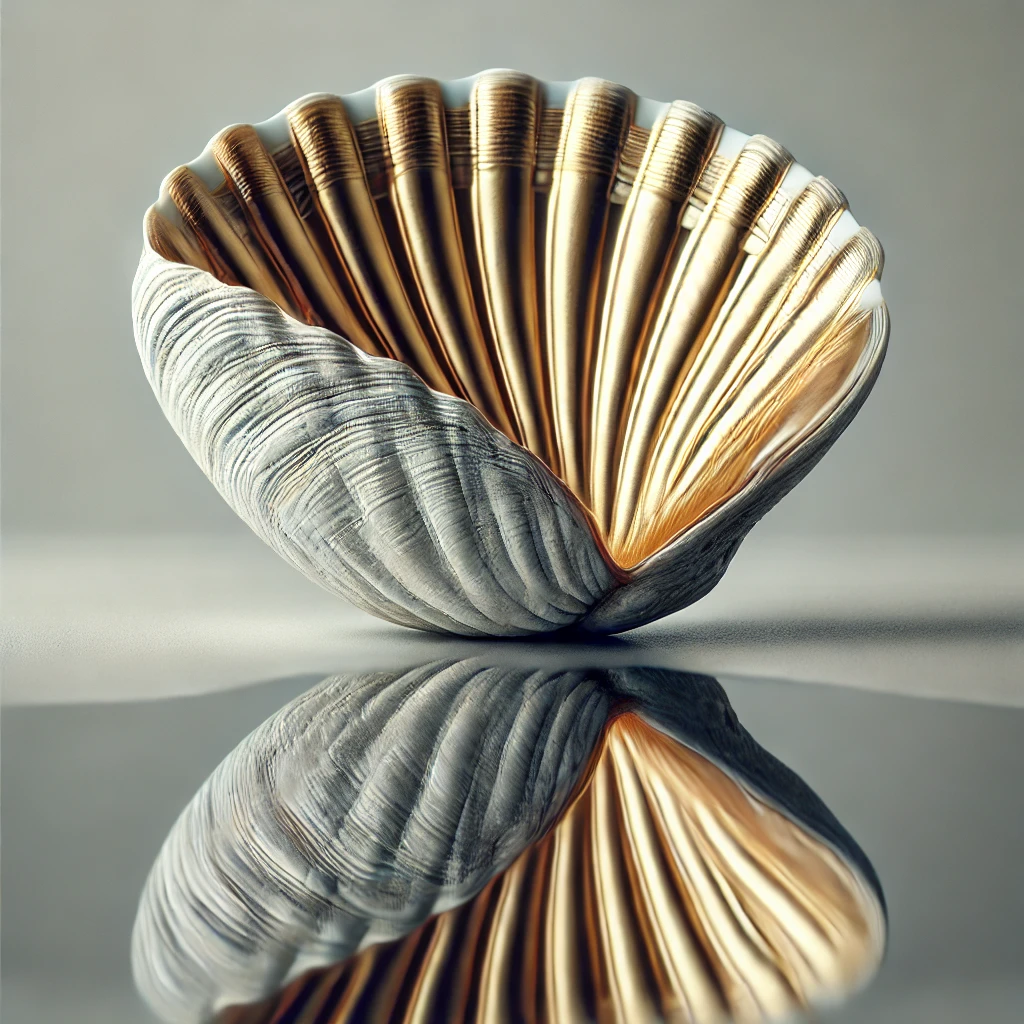
The beauty of using metallic wax on natural textures like shells is how it highlights every groove and ridge, making them look even more exquisite. Just a tiny bit of Rub ‘n Buff completely transformed them into statement pieces that pair beautifully with my hydrangeas, now showcasing their soft autumn hues.
Styling Ideas: Metallic Accents Throughout the Seasons
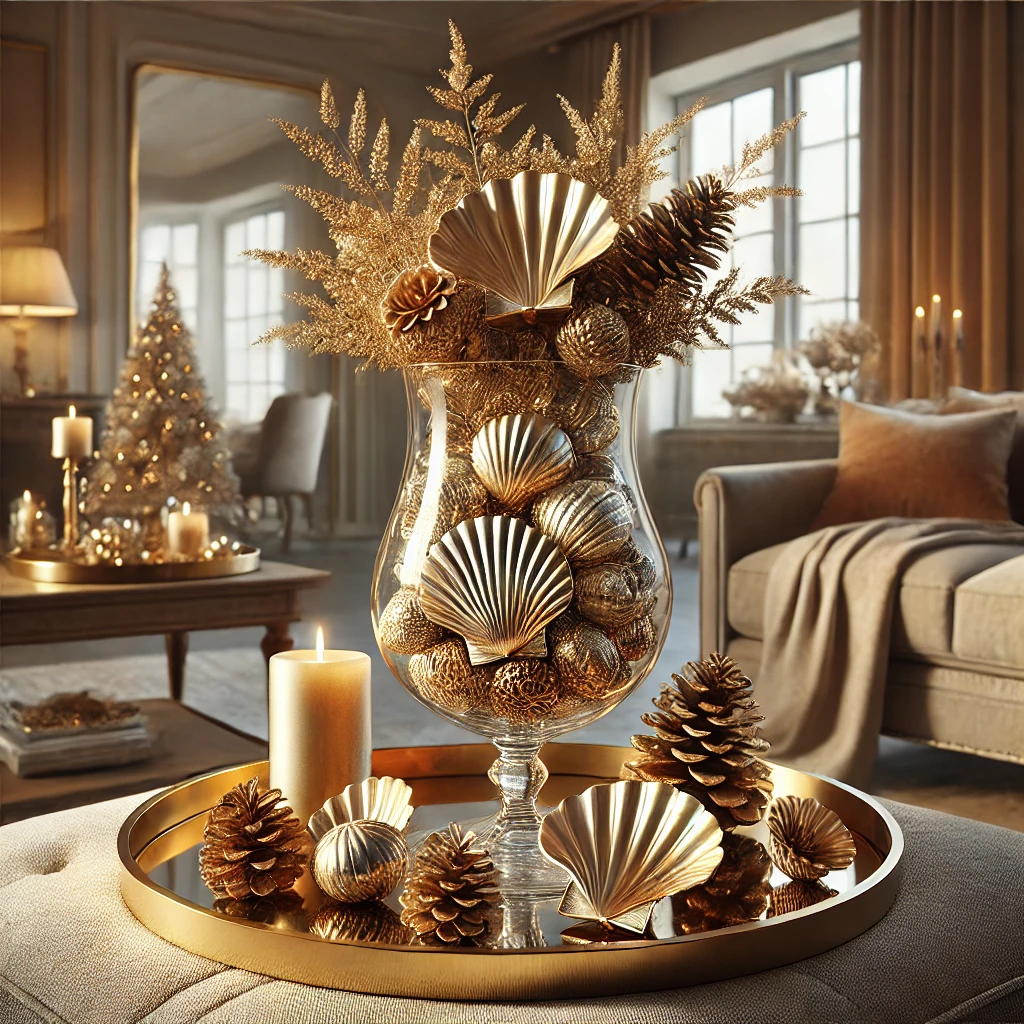
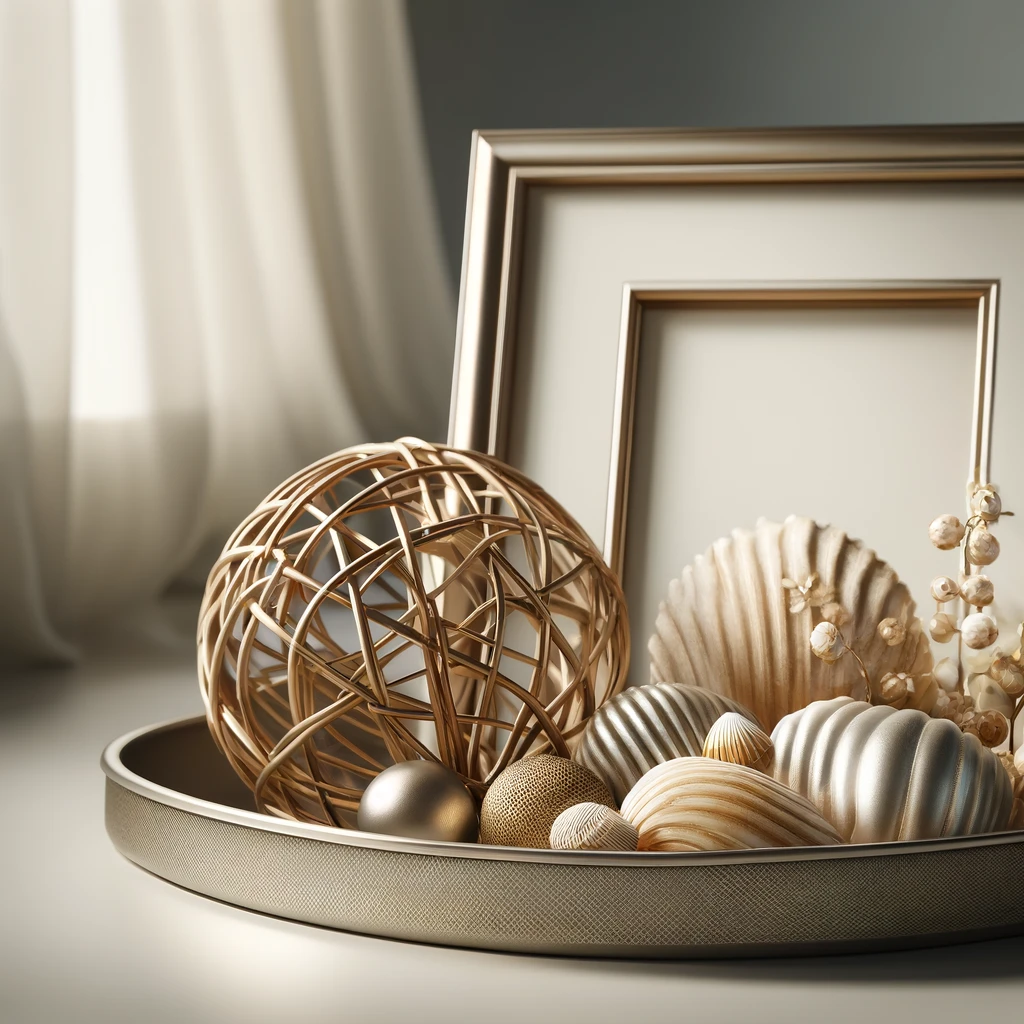
Now that I’ve discovered how well metallic shells work in my décor, I can’t wait to experiment with them further. As soon as pinecones start dropping, I plan to mix them in with my gilded shells inside a glass hurricane vase for an elegant fall centerpiece. And once the holiday season arrives, these golden shells will make their way into my Christmas decorations—whether scattered amongst ornaments on the coffee table or as part of a stunning dinner table arrangement.
To add even more depth to the look, I recently started using a mirror as a tray on our ottoman. The reflective surface enhances the shimmering gold inside the shells, making them even more eye-catching. My kids and I love how magical they look when the light hits just right—hello, beautiful!
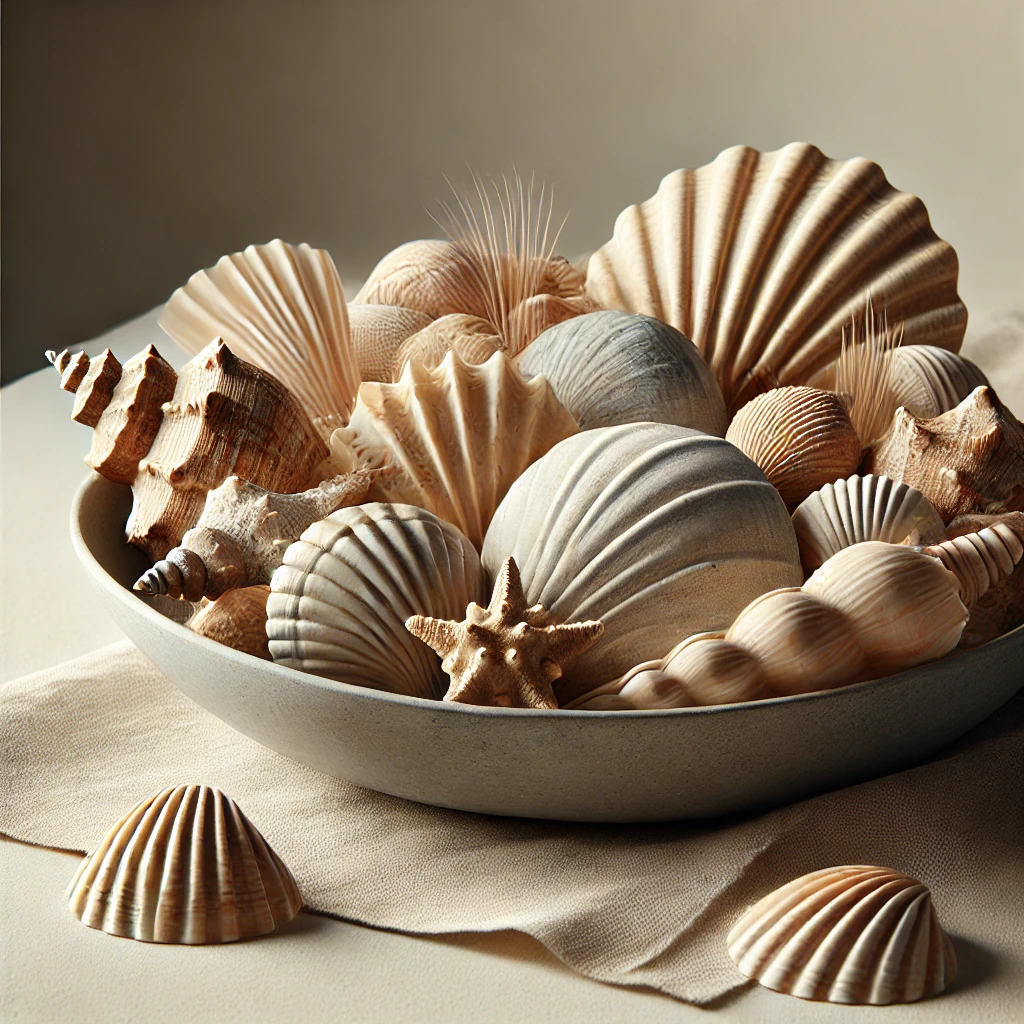
The best part? Since I only applied Rub ‘n Buff to the inside of the shells, their exterior remains natural, allowing me to switch up my décor effortlessly whenever I want a more understated look.
Show Us Your Bling: Join the Link Party!
Now that I’ve shared some of my favorite Rub ‘n Buff transformations, I’d love to see what you have created! This linky party is open indefinitely, so feel free to come back and add more projects anytime. Whether you’ve used Rub ‘n Buff to revamp furniture, refresh home accents, or add a pop of metallic magic to an unexpected item, I want to see it all!
And guess what? You’re welcome to share multiple projects the more inspiration, the better! I’ll be featuring the R&B Anthology in my blog’s sidebar soon for easy reference, and I’ll also be posting some helpful tips and tricks for using Rub ‘n Buff in the near future.
Let’s Get Started: Bling It On!
If you’re feeling inspired and ready to dive into a metallic makeover, now is the perfect time to experiment with Rub ‘n Buff. Whether you’re touching up old hardware, adding vintage charm to thrifted finds, or giving your décor a seasonal refresh, this little tube of wax can do wonders.So, what are you waiting for? Grab your favorite shade of Rub ‘n Buff, get creative, and Bling It On!
And don’t forget I’m linking my golden shells to Carmel’s Gold Party over at Our Fifth House. Let’s keep the metallic magic going!


")


