There’s something undeniably elegant about an antique brass finish. It’s warm, rich, and carries that subtle aged patina that instantly adds depth to a room. Unlike polished brass, which can feel too shiny and overpowering, the antique version offers character and a timeless charm. Whether you’re reimagining kitchen hardware, updating light fixtures, or tackling a DIY furniture project, an antique brass finish brings personality and sophistication into your home.
In this guide, we’ll dive deep into what makes antique brass so appealing, explore its many uses, and walk through techniques to create or maintain this finish at home.
What Is an Antique Brass Finish?
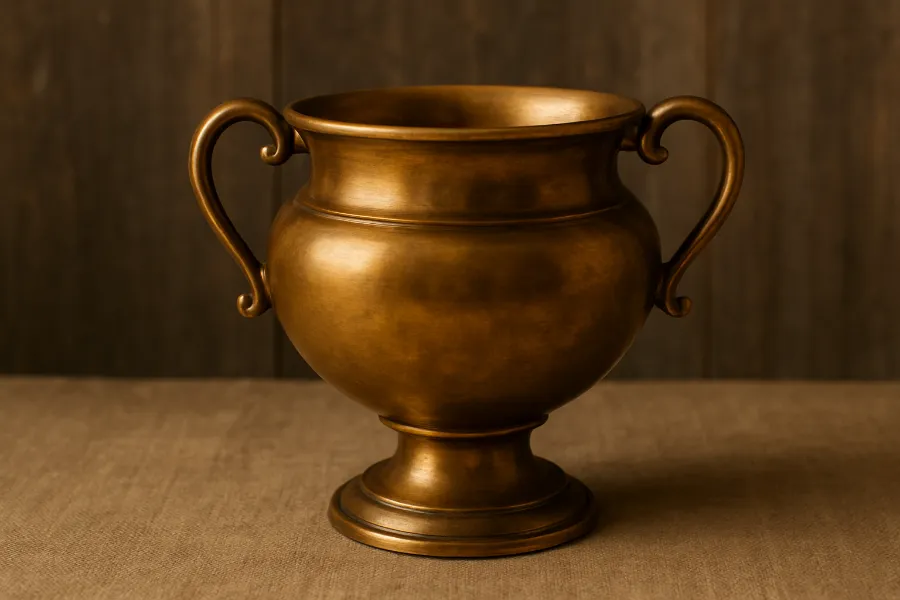
An antique brass finish mimics the natural patina that brass develops as it ages. Brass itself is a metal alloy of copper and zinc, and when exposed to air and handling, it oxidizes and darkens over time. Instead of waiting decades for that transformation, the antique brass finish replicates the look through controlled processes—either in manufacturing or DIY methods.
The result is a surface with warm golden-brown undertones, often with darker shading in crevices. Unlike polished brass, which reflects light brightly, antique brass absorbs and softens it, making the finish versatile for both modern and traditional interiors.
Benefits of Antique Brass Finish in Home Design
Why are homeowners and designers turning to antique brass again and again? Let’s break it down:
- Timeless appeal – Antique brass works beautifully in classic, vintage, and even modern spaces. It’s never “too trendy.”
- Warmth and character – The brown-gold hues add a sense of depth that feels cozy and inviting.
- Hides fingerprints and smudges – Unlike polished brass, antique finishes conceal blemishes, making them ideal for high-touch hardware.
- Versatility – From kitchen hardware to statement lighting, this finish pairs well with wood, stone, and other metals.
- Affordability through DIY – With paints, patinas, or rub-on waxes, you can create the look at home without splurging on new fixtures.
Types of Antique Brass Finishes
Not all antique brass looks the same. Depending on the method, you’ll find variations in tone and texture.
Brushed Antique Brass
Brushed finishes feature subtle streaks from wire brushing, giving a matte surface with a touch of texture. This works especially well on cabinet hardware and lighting.
Satin Antique Brass
This softer finish has a low sheen without visible brush marks. It feels understated and blends well with minimalist interiors.
Polished Antique Brass
A shinier take that’s still warmer than polished brass. Think of it as a “glamorous antique” that reflects more light but doesn’t feel over the top.
Aged or Distressed Antique Brass
This finish highlights darker tones, sometimes with deliberate spotting or shading in recesses. It’s perfect when you want a piece to feel truly old-world.
DIY Methods for Creating an Antique Brass Finish
The good news? You don’t have to spend big on antique brass hardware. With a few tools and supplies, you can achieve this look on your own.
For Wood and Plastic Surfaces
- Spray paint the base – Use a gold spray paint as your base coat. Let it dry completely.
- Create a glaze – Thin black acrylic paint with water.
- Apply and wipe – Rub the glaze over the gold with a rag, letting it settle into crevices. Wipe back until you get the desired level of “age.”
- Buff for dimension – After letting it sit a moment, buff lightly to soften streaks.
This method works beautifully for curtain rods, furniture trims, and decorative pieces.
For Metal Surfaces
Metal can be trickier because thinned paint often beads up instead of spreading evenly. Instead, try these:
- Rub ’n Buff – A wax-based metallic finish that can be rubbed onto black-painted surfaces. Too much will look bright gold, so let a little black peek through for authenticity.
- Patina solutions – Specialized brass-darkening chemicals are available at hardware stores. Apply with care, following safety instructions, to achieve an aged patina.
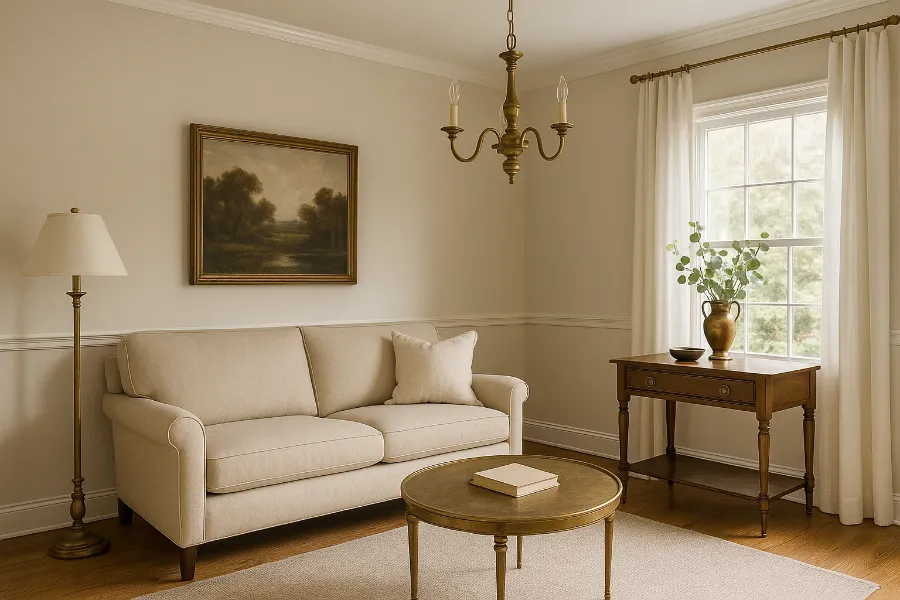
Using Antique Brass Finish in Interior Design
The antique brass finish isn’t limited to doorknobs. It’s a design chameleon that elevates any room.
Kitchen Hardware
Cabinet pulls, faucets, and hinges in antique brass provide a rich counterpoint to white cabinets or marble counters. The finish softens the space while adding a luxurious touch.
Lighting Fixtures
Pendants, sconces, and chandeliers in antique brass create warm pools of light. Pair them with matte black or brushed nickel for a modern mixed-metal look.
Furniture Accents
Think coffee tables with antique brass legs, sideboards with brass knobs, or even chairs with brass detailing. It’s subtle, but it elevates the furniture instantly.
Outdoor Uses of Antique Brass Finish
Don’t overlook outdoor applications. Antique brass outdoor lighting fixtures—lanterns, sconces, or path lights—bring a historic charm to entryways and gardens. The finish weathers beautifully and hides dust and moisture stains better than shinier metals.
When choosing fixtures for coastal areas, however, look for those treated specifically for salt and moisture resistance to prevent corrosion.
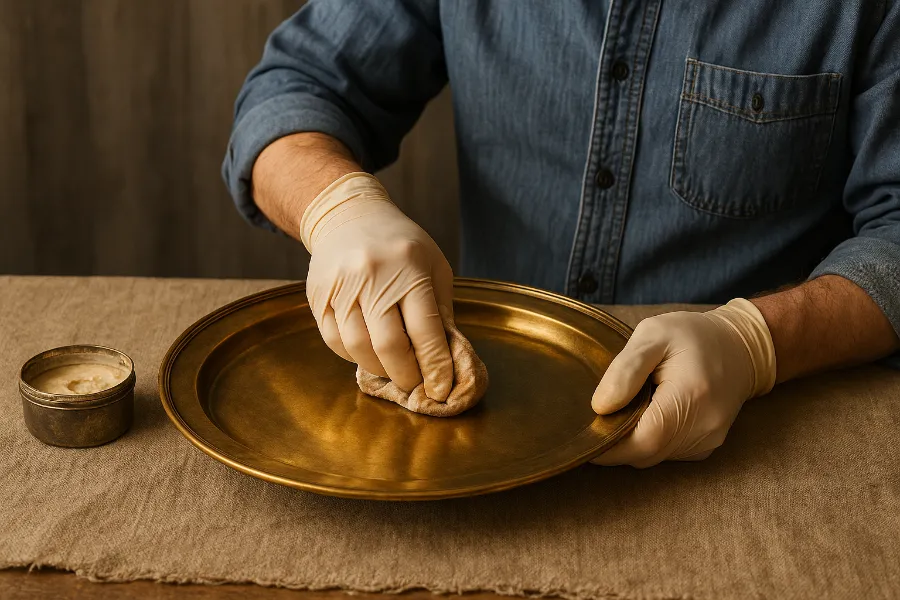
Caring for and Maintaining Antique Brass Finish
One of the best perks of antique brass? Low maintenance.
- Regular cleaning – Wipe with a soft cloth dampened with mild soapy water. Avoid harsh cleaners that strip patina.
- Dust often – Dust can dull the finish. A quick wipe keeps the metal glowing.
- Sealant (optional) – For outdoor or high-touch items, a clear lacquer can protect the surface.
Unlike polished brass, you won’t need constant buffing to maintain the look—patina is part of the charm!
Common Mistakes to Avoid
- Over-polishing – Buffing too hard can strip the aged effect and make brass look fake.
- Too much gold – In DIY finishes, avoid layering too much gold paint or wax. Letting darker tones peek through is what makes it antique.
- Using R&B on doorknobs – Rub ’n Buff wears off quickly on frequently touched hardware. Save it for decorative items.
Final Thoughts
An antique brass finish is more than a design choice—it’s a mood. It whispers sophistication without shouting. It turns everyday items into heirloom-worthy pieces. Whether you’re buying new antique brass fixtures, refinishing old hardware, or experimenting with DIY methods, this finish has the power to bring depth, history, and elegance into your home.
So the next time you look at a tired black sconce, a dated cabinet pull, or even a plain wooden table, imagine what it could be with a little antique brass magic. You’ll be amazed at how something as simple as a finish can completely transform your space.


")


")