
I am not going to pretend my garage was ever Pinterest-worthy. For about three years, it was the room where things went to disappear. Bikes leaning against the wall at odd angles. A shop vac with a broken attachment is still sitting on top of a box I never unpacked from our last move. Garden tools mixed in with power tools mixed in with a bag of rock salt and, at one point, a toboggan we had used exactly once.
Every time I pulled into the driveway, I would think, “I really need to do something about that.” And then I would go inside.
What finally pushed me over the edge was a Sunday afternoon when I spent 40 minutes looking for a crescent wrench I knew I owned. I found it eventually, under a folding table, behind a bag of potting soil. That was the moment I decided the garage was getting organized, and it was happening the following Saturday, whether I was ready or not.
Here is what I did, what worked, what I wish I had done differently, and why it has actually stayed organized eight months later.
The Problem Was Never Storage. It Was the Layout.
My first instinct, like most people, was to go buy some shelving. More storage equals more organization, right? I had this mental image of rolling into Home Depot, grabbing a few wire racks, and calling it a day.
But before I spent any money, I made myself do one thing first: I stood in the empty garage (after pulling both cars out onto the driveway) and thought about how I actually use the space. Not how I want to use it. How I actually use it.
The honest answer was: I walk in, I go to the workbench area, and then I go to the corner where I keep automotive stuff. That is 90 percent of my garage time. Everything else, I access maybe once a month or less.
That realization changed everything. The problem was not that I lacked storage. The problem was that everything had ended up in one undifferentiated pile because I had never consciously assigned a purpose to different areas of the garage.
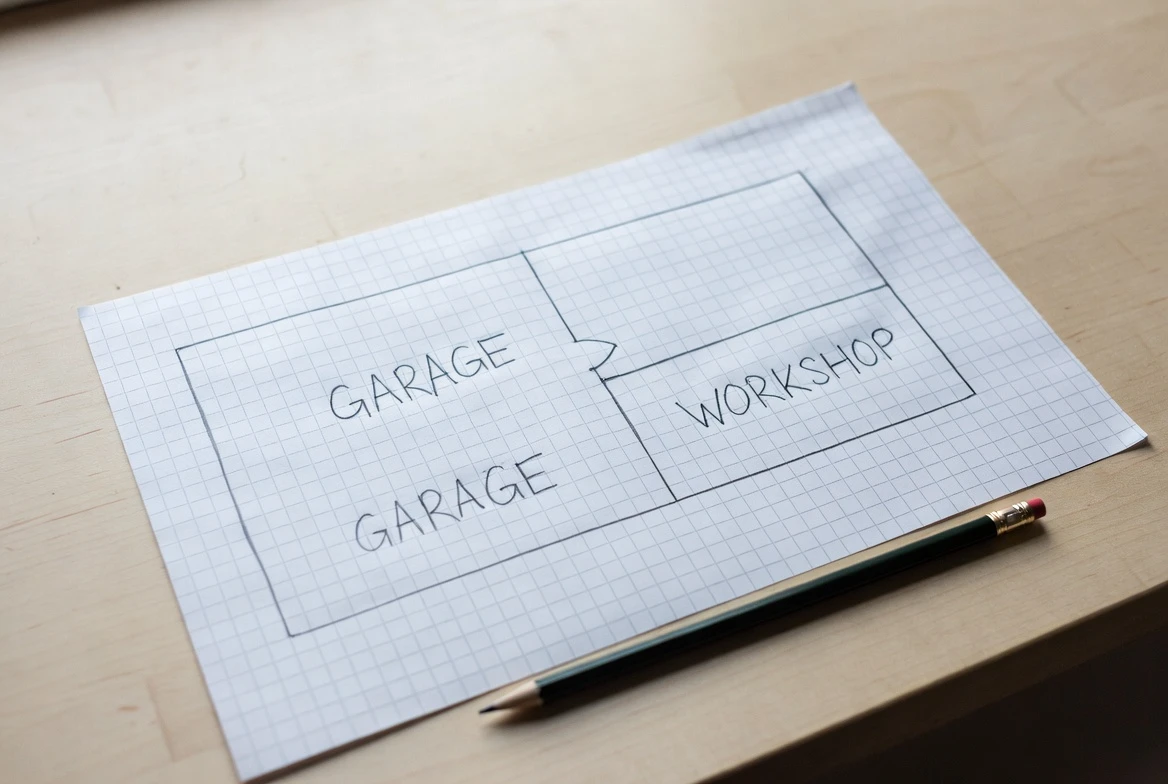
The approach that actually worked was dividing the garage into zones before touching a single shelf. Work zone near the bench, storage zone on the back wall, seasonal and rarely used items overhead or in the far corner. Once I had those zones mapped out on paper, the whole project became obvious instead of overwhelming.
If you want to go deep on the zone planning concept, this garage workshop setup guide covers it in a lot more detail than I can here, including the work triangle principle I later applied to my tool placement. It was genuinely the most useful thing I read during this whole process.
Saturday Morning: The Purge
I started at 8am with coffee and a ruthless attitude.
Everything came out of the garage. I mean everything. Both cars stayed in the driveway. I made three piles on the lawn: keep, donate/sell, and trash. I gave myself a simple rule for the keep pile: if I had not touched it in 18 months and it was not a seasonal item I use annually, it did not come back in.
What surprised me was how much stuff fell into the donate pile. Three duplicate sets of Allen wrenches. Two battery chargers for a drill brand I no longer owned. A box of wood scraps I had been saving “just in case” for four years. A broken leaf blower I kept meaning to fix.
Getting rid of things feels uncomfortable in the moment and then immediately liberating. By 10am I had cleared out probably 40 percent of the volume that had been in the garage. The trash pile alone filled one large bin and two contractor bags.
One thing I wish I had done: taken a proper before photo. Not for the internet. Just for myself, to look back at later. I have a vague memory of the chaos but I wish I had documentation of exactly how bad it was.
Saturday Afternoon: The System
With the garage empty and the zones decided, here is what I actually installed:
Wall storage above the workbench: A section of wall track system with adjustable hooks and shelves. This is where all the frequently used hand tools live now. The key insight I got from reading about garage storage was to put the things you use most at arm’s reach from where you stand, not just mounted on the wall somewhere. Seems obvious but I had never thought about it that way before.
Overhead ceiling rack: For the seasonal stuff: camping gear, holiday decorations, the toboggan. A ceiling rack frees up an enormous amount of wall and floor space and puts things you use once or twice a year somewhere logical. The install took about 90 minutes and the difference it made was massive.
Freestanding cabinet: One steel cabinet with doors for anything that should be kept out of sight: chemicals, finishing products, small hardware. Having doors on storage is underrated. An open shelf of miscellaneous stuff looks messy no matter how organized it actually is. Close the door and suddenly everything looks intentional.
Floor space: I kept the floor clear by making a rule that nothing lives on the floor except tools that are actively in use. Everything else has a designated spot on a wall, shelf, or rack. This single rule has done more for long-term organization than anything I purchased.
For storage system options at different price points, I found this best garage storage systems guide really helpful for comparing wall track systems, ceiling racks, and cabinet options before committing to anything.
The Part Nobody Talks About: Making It Stay Organized
Here is the honest truth about garage organization: setting it up is the easy part. The reason most organized garages drift back into chaos within six months is not that the storage system failed. It is because there was no habit built around it.
The thing that has actually kept my garage organized is embarrassingly simple. At the end of any project or work session, I put every single thing back before I go inside. Not most things. Everything. If I am in the middle of a multi-day project, I leave out only the tools actively in use, and those live in a designated “in use” spot on the workbench rather than on the floor or random surfaces.
That is it. That is the whole system for maintenance.
The other thing that helped was being honest with myself about the zones. I had originally put the garden tools in the back corner, but I kept finding them migrated to the side wall because that is where I naturally grab them when I come in from the side door. So I moved their zone to match how I actually behave rather than fighting myself. The best organizational system is the one that matches how you actually move through the space.
What It Looks Like Eight Months Later
Both cars fit back in the garage, which was not even the goal when I started but ended up being the best outcome. The workbench area is clean enough that I actually want to work out there on weekends. I can find every tool I own within about 30 seconds. The seasonal items are up on the ceiling rack and I know exactly what is up there.
The whole project cost me about $280 in materials (the wall track system, the ceiling rack, and the cabinet). It took one Saturday, maybe six hours of actual work. I spent another hour the following weekend touching up a few things.
For anyone who has been staring at a chaotic garage and waiting for the motivation to appear: the motivation does not come first. You just pick a Saturday and start pulling things out. The motivation shows up about two hours in when you start to see the floor again.
FAQs
The main issue wasn’t lack of storage—it was not assigning clear zones for how the space was actually used.
The main work took about six hours in one Saturday, with minor adjustments the following weekend.
Start by completely emptying the garage so you can assess the space and plan zones effectively.
If you haven’t used an item in 18 months and it’s not seasonal, it likely doesn’t need to stay.
Zoning ensures items are stored based on how often and where you use them, making access easier and more intuitive.
Wall-mounted systems, ceiling racks for seasonal items, and a closed cabinet for clutter-prone items made the biggest impact.
Build the habit of returning every item to its designated place after each use.
Only tools in active use should be on the floor; everything else should have a designated storage spot.
Most garages fall back into clutter due to lack of consistent habits, not poor storage systems.
The total cost was around $280 for storage systems like wall tracks, ceiling racks, and a cabinet.
This post was contributed by the editorial team at The Home Guide Network, an independent publisher covering home systems for homeowners across four guide sites.


