Remote work has permanently changed how you use your home. In January 2026, nearly a quarter of all paid workdays in the United States were completed from home, according to the Survey of Working Arrangements and Attitudes. That shift means your home office has to fit your body and tasks, not just look good, and constraints usually drive better design decisions than Pinterest boards.
Measure Your Room Before You Look at Inspiration Photos
Your room’s dimensions control every furniture decision you make. Before you browse desks or chairs, grab a tape measure and record your space in both inches and centimeters so you can compare products from different regions. This dual-unit approach prevents costly returns and ensures everything actually fits.
Your 30-Second Starter Checklist
- Measure wall spans and available depths, and note outlet locations, windows, and door swing clearances.
- Map noise sources and sightlines so you can decide where your screen and microphone should face.
- Mock up a desk footprint with painter’s tape to confirm you can maintain at least 50 cm (20 in) viewing distance from your monitor and still move your chair freely.
Use the 3M Setup to Measure, Map, and Mock Up
Good layouts emerge from tape measures, not trend articles. Confirming clearances before purchasing prevents the frustration of furniture that technically fits but renders your room unusable. In compact spaces, depth and cable paths usually matter more than raw desk width.
Measure the Room Precisely
Record each wall’s usable width at desk height, accounting for baseboards and radiators. Measure how far a surface can project without blocking doors or closets, and aim to preserve at least 75–90 cm (30–36 in) of walkway where people pass. Note ceiling height for potential wall storage placement.
Map Utilities and Sightlines
Mark power outlets, Ethernet ports, and HVAC vents. Plan a straight cable run from desk to power to minimize trip hazards. Identify daylight direction and avoid placing your monitor directly facing or backing bright windows unless you add shades or curtains.
Mock-Up Two Desk Footprints
Tape out a straight desk footprint between 100–160 cm (40–63 in) wide and 45–75 cm (18–30 in) deep. Then tape a corner layout with 120–160 cm on the main run. Place a cardboard monitor silhouette, confirm you maintain minimum viewing distance, and pick the layout that preserves daylight without glare and keeps a clean cable path.

Choose a Desk Footprint That Protects Walkways and Viewing Distance
Depth often beats width when selecting desks for tight rooms. Narrow-depth desks measuring 45–60 cm (18–24 in) can fit walls under 120 cm while still supporting proper monitor placement. Corner and L-shaped configurations add usable depth without encroaching into walkways.
Straight and Ladder Desks
For walls under 120 cm, prioritize shallow tops that still let you maintain proper viewing distance per OSHA monitor guidance. Ladder desks lean vertically to save depth while offering shelves above. Keep heavy objects low, anchor these units whenever possible, and favor rounded front edges to reduce contact stress on wrists during long typing sessions.
Keyboard Surface and Elbow Height
Target an adjustable keyboard surface of roughly 56–76 cm (22–30 in) when seated, which aligns with OSHA’s purchasing guide recommendations. If your desk is fixed-height and too tall, add a 6–8 cm footrest instead of raising your shoulders. Low-profile keyboard trays can reduce effective typing height by 2–5 cm without interfering with leg clearance.
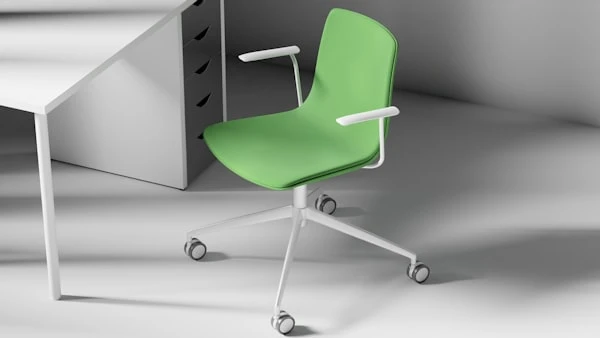
Match Your Desk and Workstation to Your Room’s Depth
The right desk transforms a cramped corner into a productive workspace. If you prefer a slim corner setup or a ladder desk to keep a 20–24 in (50–60 cm) viewing distance while freeing floor space, focus on compact, height-adjustable options you can filter by width and depth. Confirm depth first: 45–60 cm is the sweet spot for tight rooms, with corner layouts adding usable depth for larger monitors.
Quick Comparison Cues
- Look for adjustable-height options or compatibility with clamp-on trays to hit elbow-height typing posture.
- Favor rounded edges and built-in grommets for reduced contact stress and simpler cable management.
- Clamp-on monitor arms free 15–25 cm of depth and enable precise positioning adjustments.
Set Up Space-Smart Ergonomics That Actually Fit Your Room
Proper ergonomics do not require a massive office. Position your monitor so the top edge sits at or just below eye level, with the screen center roughly 15–20 degrees below your horizontal gaze. Maintain at least 50 cm (20 in) viewing distance, and push the desk back or use a corner layout to gain depth if needed.
Input Devices and Surface Height
Keep keyboard and mouse on the same plane with neutral wrists. Adjust seat height so elbows form roughly 90-degree angles at the same height as your keyboard surface. Use compact keyboards or low-profile mice if space is tight, but avoid crowding that forces outward wrist bending.
Chair Geometry in Small Spaces
Aim for hips slightly above knees to open the hip angle. Support your lower back with built-in lumbar support or a small cushion. Check that armrests clear desk edges and allow you to pull in close without elevating your shoulders.
Desk & Workstations
If your measurements confirm that a slim corner layout or shallow straight desk will work, compare compact ladder styles, narrow-depth options between 45–60 cm (18–24 in), and corner units that still preserve at least 20 in of viewing distance and an adjustable keyboard surface by browsing DShop’s curated small-space online desk & workstations range.
Layer Your Lighting to Avoid Glare and Eye Strain
Proper lighting eliminates eye strain and video call shadows simultaneously. Use ambient light in the 3000–4000K range with diffusers to avoid harsh shadows on screens. LEDs use about 75 percent less energy than incandescents and produce less heat, which helps in compact offices.
Ambient, Task, and Bias Lighting
Install a low-glare ceiling or wall fixture with a diffuser for even illumination. Add an articulating task lamp positioned to avoid reflecting in your monitor. Consider a low-brightness bias light, a soft light behind the monitor, to reduce contrast and eye strain during evening sessions.
Glare Checks and Quick Fixes
If you can see the bulb or shade reflected in your screen, reposition the lamp or add a shade with a cutoff. Close reflective blinds or add sheer curtains to soften window glare during video calls. Try changing light angles before you resort to matte screen protectors, which can compromise color fidelity.
Organize Your Tech to Keep Connectivity Stable and Calls Smooth
Smooth video calls require organized cables and adequate bandwidth. Budget approximately 3.8 Mbps upload and 3.0 Mbps download for 1080p video per caller, according to Zoom’s requirements. Prefer Ethernet or a wired backhaul, meaning a wired link between your router and modem or main node, for stability, and if you use Wi-Fi, place the access point high and central, away from metal objects and microwaves.
Cable Discipline
Use a slim cable tray under the desk and mount the surge protector to lift plugs off the floor. Label both ends of each cord and standardize on 0.5–2 m cable lengths to minimize loops. Mount the webcam on the main monitor or an arm to reduce shake when typing.
Build Vertical Storage That Stays Stable and Within Reach
Building upward maximizes floor space while keeping essentials within reach. Anchor tall bookcases and filing units to studs or masonry using two anchors per unit. Install anti-tip straps and load bottom shelves with the densest items to lower the center of gravity.
Renter-Friendly Vertical Options
Use tension pole systems or pegboards with toggles where allowed. Command-grade shelves can work within specified weight ratings when you spread loads across multiple points. Maintain a 5 cm gap behind storage for cord routing and airflow.
Carve Clear Work Zones Inside Any Multipurpose Room
Visual boundaries keep work from bleeding into living spaces. Use a rug and half-height bookcase to mark the office zone without blocking light. Place your desk so the camera sees a tidy backdrop, and let a filled bookcase add visual credibility and sound absorption.
Closet Cloffice Setup
Remove doors if allowed and install a 30–45 cm deep surface with a cable grommet. Mount an LED strip under the shelf as task lighting. Choose a low-profile chair or stool that tucks fully to reclaim floor area when not working.
Use Renter-Friendly Upgrades That You Can Undo on Move-Out
Reversible modifications protect your deposit while dramatically improving function. Clamp-on arms and shelves preserve surfaces and reposition easily. Peel-and-stick raceways conceal cables along baseboards, and you can heat them slightly with a hairdryer for clean removal later.
Low-Impact Acoustics
A thick rug, lined curtains, and a door sweep reduce reflections and sound leaks. Weatherstripping around door jambs seals gaps that pass high-frequency sounds. Place absorptive materials at first-reflection points, the hard surfaces beside and behind your microphone.
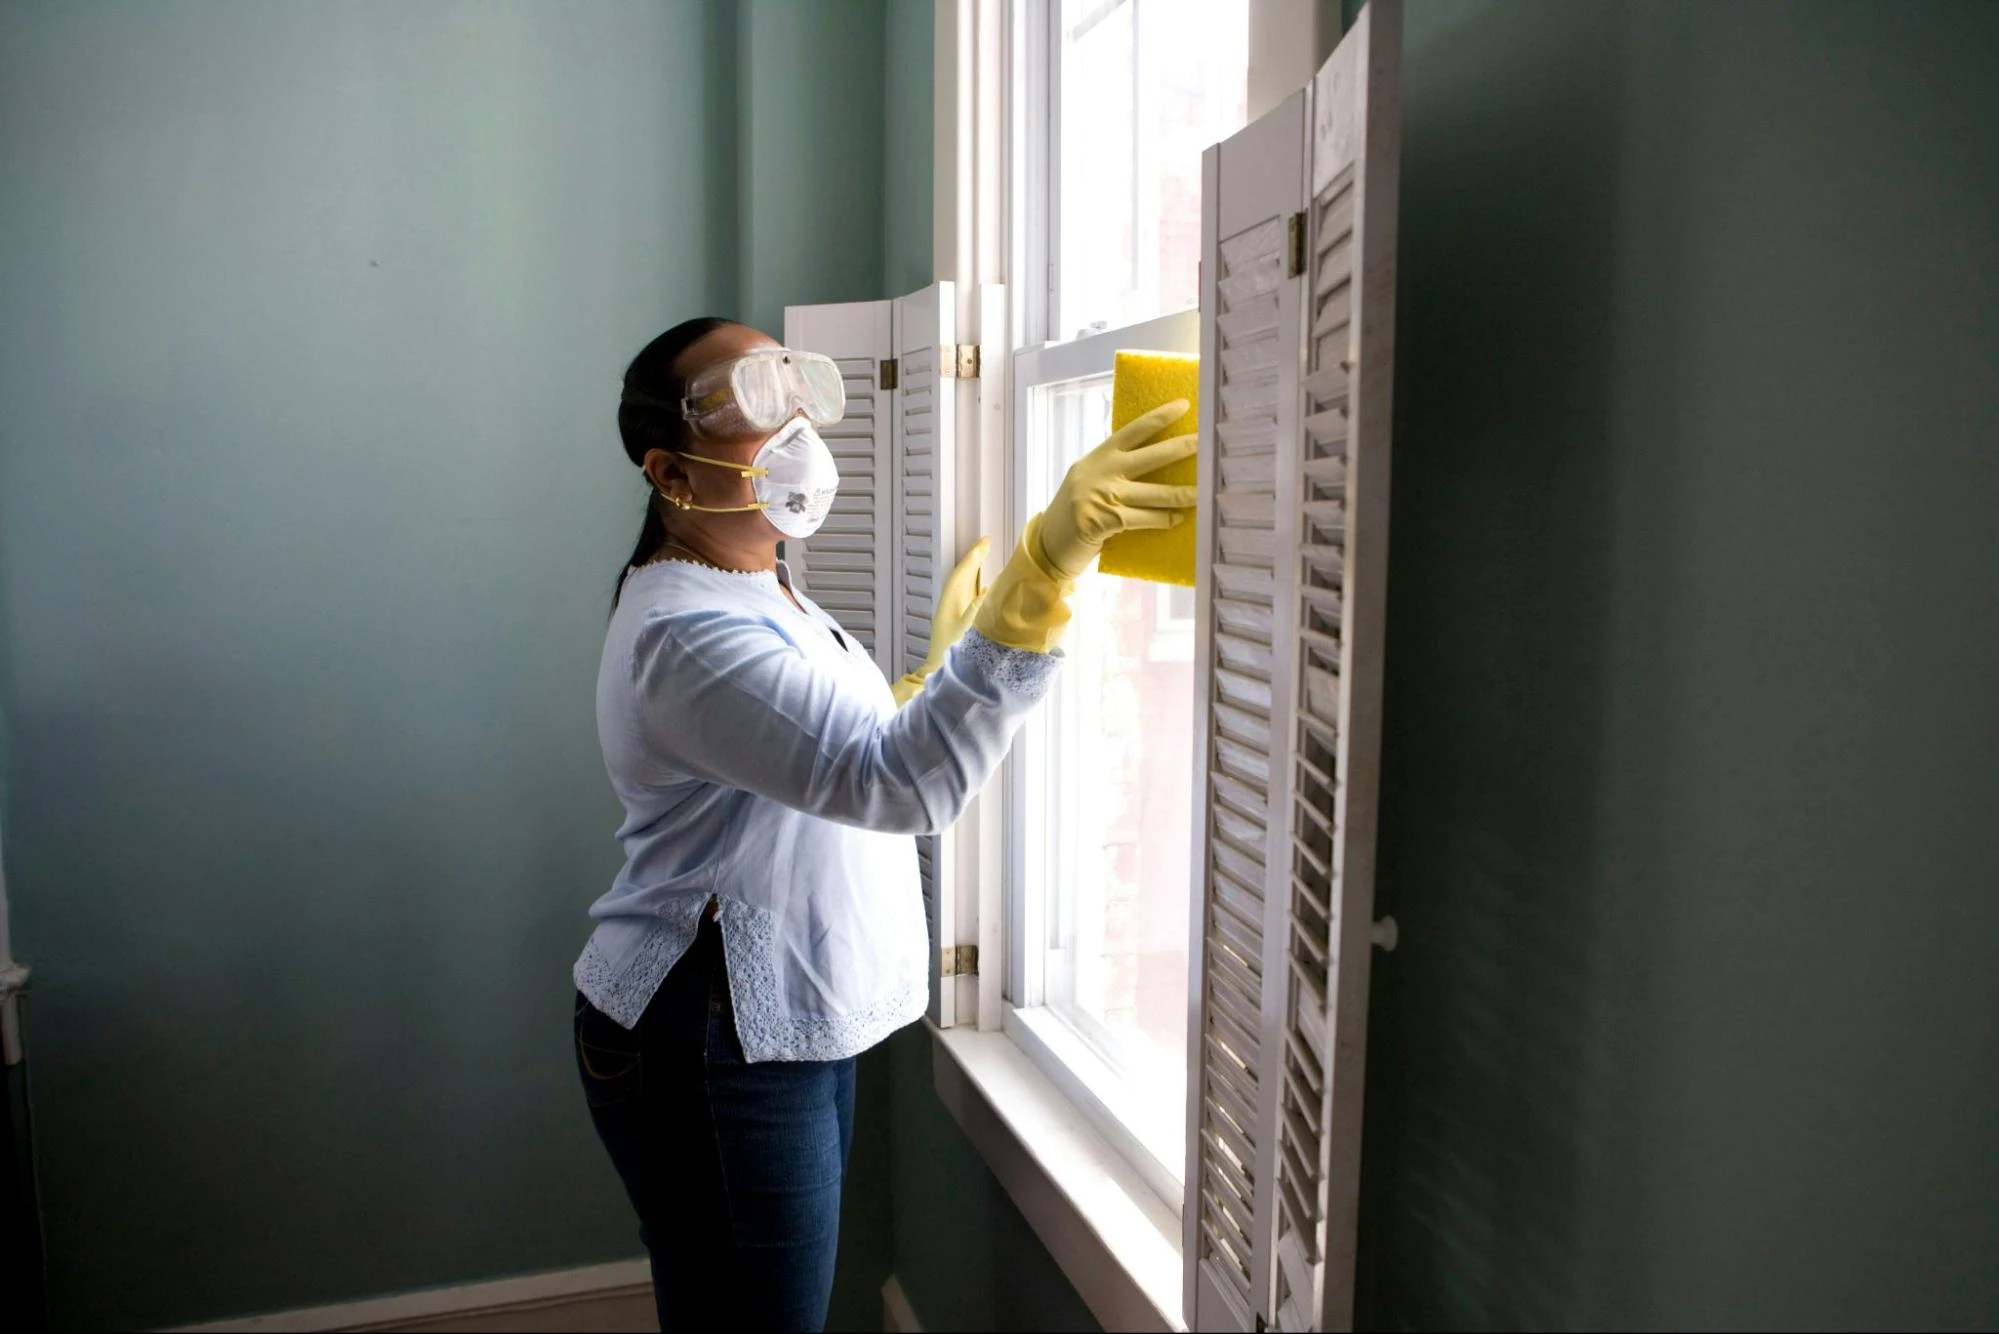
Declutter Regularly to Work Faster and Keep Pests Away
A 15-minute weekly reset clears surfaces, recycles paper, and wipes crumbs that attract pests. Store documents and spare cables in sealed plastic bins rather than cardboard, since silverfish consume starches and glues in paper and bindings. Seal entry points around cables and pipes, because mice can squeeze through gaps as small as 6 mm.
Storage Choices Pests Ignore
- Prefer sealed plastic bins over cardboard boxes.
- Store old books off the floor and add silica gel packs in humid areas.
- Keep snacks in airtight containers and use a lidded trash can.
Home pest control
If you still notice paper-loving silverfish, seasonal ants, or fresh rodent droppings after decluttering, sealing entry points, and storing paper in sealed bins, consider booking a professional inspection and targeted treatment with Combat Pest Control, asking about low-toxicity options that protect paperwork and cabling, through their specialist residential online expert home pest control service instead of repeated DIY sprays.
Call Professional Home Pest Control When DIY Fixes Stall
Persistent infestations require professional intervention when DIY methods fall short. Multiple sightings over weeks, plus evidence like droppings (frass), paper damage, or wire gnawing, indicate hidden nests or entry points you cannot reach and real risk to both files and electronics. If paper-loving silverfish or seasonal ants persist after decluttering and sealing entry points, book a professional inspection and targeted treatment with Combat Pest Control and ask about low-toxicity options if you worry about chemicals.
Build Daily Habits That Protect Your Body and Eyes
Movement rhythms prevent strain during long screen sessions. Follow the 20-8-2 guideline per half hour: 20 minutes sitting, 8 standing, and 2 moving. Apply the American Optometric Association’s 20-20-20 rule by looking 20 feet away for 20 seconds every 20 minutes to reduce eye fatigue.
Movement and Screen Hygiene
Walk to refill water during your movement window to stack hydration and activity. Adjust display scaling and contrast to avoid tiny fonts that trigger forward head posture. Position task lights off-axis and add bias lighting to reduce contrast fatigue.
Plan Your Budget and Timeline So Upgrades Actually Happen
Organize improvements by time and cost to act this week rather than someday. Prioritize free and low-cost steps that yield immediate comfort and clarity gains. Batch medium-effort upgrades into a single shopping list and one-day installation session.
1 Hour (Free or Under $50)
- Tape out desk footprints and reroute or relabel cables.
- Reposition your task light to eliminate screen glare.
- Declutter paper stacks and add a basic door sweep.
1 Day ($100–$300)
- Add a clamp monitor arm, cable tray, and labeled bins.
- Install a basic HEPA (high-efficiency particulate air) purifier and upgrade to LED bulbs.
- Anchor existing bookcases with anti-tip straps.
Run a Final Checklist to Catch Small but Costly Misses
Validate your setup before calling the project complete. Confirm you maintain at least 50 cm of monitor distance, with the keyboard at elbow height and your feet fully supported. Check that no visible light sources reflect in your screen and that your surge protector is mounted with cords off the floor.
Rapid Validation Steps
- Sit and type for five minutes, then check shoulder relaxation and neutral wrists.
- Join a test video call and confirm lighting, echo levels, and bandwidth stability.
- Roll your chair fully in and out to verify clearances and cable routing.
A small office succeeds when you verify depth, distances, and clearances first, then layer in lighting, storage, airflow, and tidy habits. Schedule your measurement session this week, pick the footprint that preserves depth and cable discipline, then add one lighting fix and one connectivity improvement. Reassess ergonomics after a week of use, because small adjustments in height or angle often deliver significant comfort gains as your work demands evolve.
FAQs
A desk depth of 45–60 cm (18–24 in) works best in tight rooms while still maintaining proper monitor viewing distance.
Preserve at least 75–90 cm (30–36 in) of walkway space in areas where people pass to avoid crowding.
Maintain at least 50 cm (20 in) between your eyes and the screen to reduce strain.
Yes, corner desks add usable depth without blocking walkways, making them ideal for compact spaces.
Adjust your chair so elbows sit at keyboard height, keep wrists neutral, and position the monitor at or slightly below eye level.
Layer ambient lighting with a task lamp and consider bias lighting behind the monitor to reduce glare and eye strain.
Use an under-desk cable tray, mount your surge protector off the floor, and standardize cable lengths to prevent clutter.
Tension poles, pegboards, clamp-on shelves, and removable cable raceways offer functional upgrades without damaging walls.
A 15-minute weekly reset helps maintain productivity, prevent paper buildup, and reduce pest risks.
If you notice ongoing droppings, paper damage, or repeated sightings after sealing gaps and decluttering, it’s time to call a professional.


