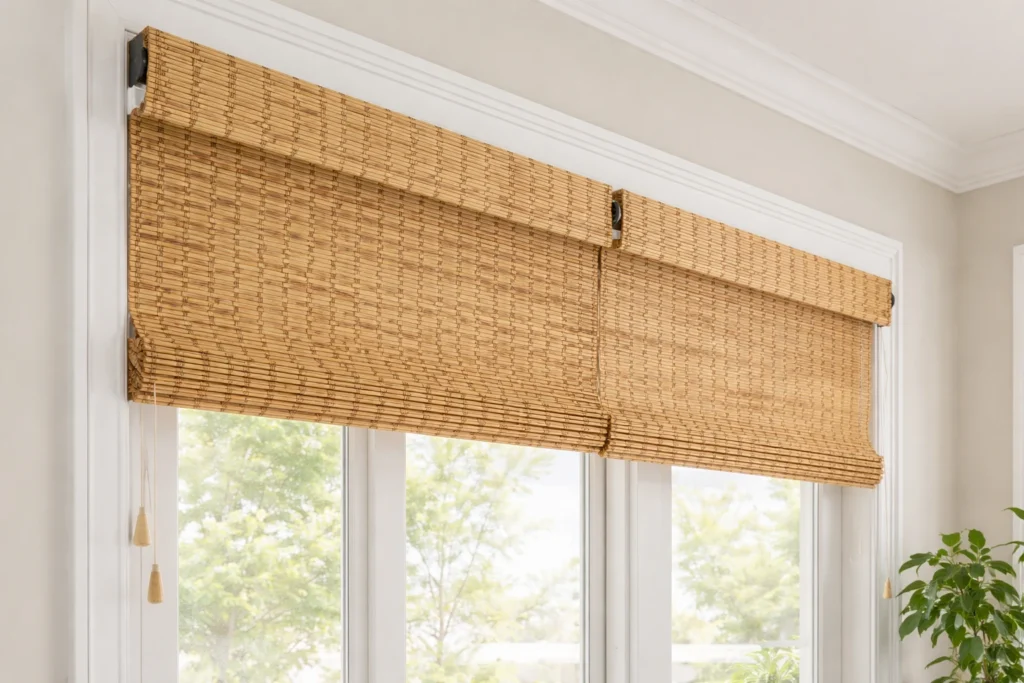
Bamboo shades can completely change a room. They soften harsh sunlight, add natural texture, and make plain windows feel intentional. But here’s the thing no matter how beautiful the shade is, it will only look as good as the installation. Learning how to hang bamboo shades with brackets properly is what keeps them straight, secure, and operating smoothly for years.
I’ve seen perfectly good shades ruined by rushed installs. Crooked lines. Sagging centers. Brackets pulling out of drywall. The good news? This is absolutely a DIY-friendly project when you follow the right steps. Let’s break it down carefully and make sure your bamboo shades look custom-installed.
Understanding Bamboo Shades Before You Start
Before grabbing a drill, it helps to understand what you’re installing. Bamboo shades often called woven wood shades are made from natural materials like bamboo reeds, grasses, jute, and matchstick slats. Bamboo itself is technically a fast-growing grass species widely used in construction and interior finishes because of its strength and flexibility. They’re lightweight compared to wood blinds, but wider shades can still carry significant weight across the headrail.
That’s why brackets matter.
Mounting brackets:
- Support the headrail
- Distribute weight evenly
- Prevent sagging over time
- Keep the shade level
- Provide safe, secure attachment
Without properly installed brackets, even high-end shades can fail prematurely.
Tools and Materials You’ll Need
Let’s keep it simple. You don’t need a contractor’s workshop just a few essential tools.
Essential Tools
- Drill
- Drill bits (wood and masonry if needed)
- Screwdriver
- Measuring tape
- Pencil
- Level
- Stud finder
- Step ladder
Hardware
- Mounting brackets (usually included)
- Screws
- Drywall anchors (if not mounting into studs)
- Center support bracket (for wide shades)
If your bamboo shade is wider than 36–40 inches, a center bracket is almost always necessary.
When drilling and installing hardware, it’s also important to follow general home improvement safety guidelines. The U.S. Consumer Product Safety Commission provides helpful ladder and tool safety recommendations.
Step 1: Measure Carefully Before Installing
This is where most installation mistakes happen. Measuring incorrectly leads to gaps, crooked alignment, or brackets that don’t fit.
Inside Mount Measurements
An inside mount installs within the window frame.
- Measure the width at the top, middle, and bottom.
- Use the narrowest measurement.
- Measure height from top inside frame to sill.
- Confirm depth clearance for bracket installation.
Your window frame must have enough depth to accommodate the bracket and headrail. Always check manufacturer specifications.
Outside Mount Measurements
An outside mount installs above and beyond the window frame.
- Measure window width.
- Add 1–2 inches on each side for better light blocking.
- Measure desired height (top mounting point to bottom coverage).
Outside mounts create a larger visual presence and can make windows appear taller.
Precision matters here. Take your time.
Step 2: Mark Bracket Placement
Now that measurements are confirmed, it’s time to mark bracket positions.
For Inside Mount
- Position brackets flush against the top inside frame.
- Align them at each end.
- Leave about 1/4 inch clearance from the edge if required.
- Mark screw holes with a pencil.
If your shade is wide, measure equal spacing for a center support bracket.
For Outside Mount
- Hold the shade headrail up to your marked top line.
- Position brackets slightly inset from each end.
- Use a level to confirm alignment.
- Mark holes carefully.
This step determines whether your finished shade looks professionally installed or visibly off.
Step 3: Drill Pilot Holes
Don’t skip pilot holes. Ever.
Pilot holes:
- Prevent wood splitting
- Make screws easier to drive
- Improve alignment accuracy
- Reduce bracket shifting
Use a drill bit slightly smaller than the screw diameter. Drill straight. Keep steady pressure.
If mounting into drywall without a stud, install anchors before securing screws.
Step 4: Secure the Brackets
Now we’re locking things in.
Mounting Into Wood or Studs
- Align bracket over pilot holes.
- Insert screws.
- Tighten firmly but avoid over-tightening.
Mounting Into Drywall
- Insert anchor flush with wall.
- Place bracket over anchor.
- Drive screw into anchor until snug.
Each bracket should feel solid. No wobble. No flexing.
For wide shades, install the center bracket at equal distance between end brackets. This prevents future sagging. When learning how to hang bamboo shades with brackets, understanding weight distribution is key. The headrail must rest evenly across supports.
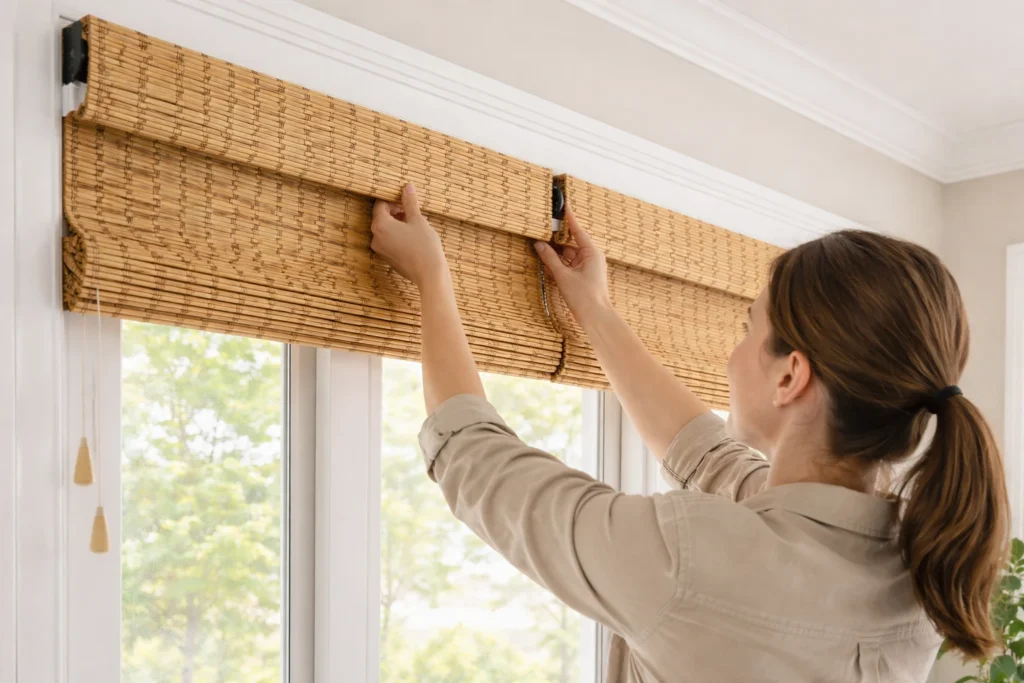
Step 5: Attach the Bamboo Shade to the Brackets
Most bamboo shades use one of two attachment systems:
- Clip-in brackets
- Slide-in headrail channels
Check your specific mechanism.
Clip-In Systems
- Tilt headrail upward.
- Hook the back edge into bracket.
- Press upward until it snaps into place.
Slide-In Systems
- Align headrail channel.
- Slide shade horizontally into brackets.
- Secure locking tab if present.
Once installed, gently tug downward to confirm it’s locked.
Step 6: Test Operation and Alignment
Don’t celebrate yet. Test everything.
Raise and lower the shade fully.
Check for:
- Smooth lift
- Even stacking
- No dragging on one side
- Straight bottom line
If it looks uneven, loosen one bracket slightly and adjust.
A level is your best friend here.
Special Installation Situations
Real homes aren’t perfect rectangles. Let’s cover common variations.
Installing on Sliding Glass Doors
Many homeowners specifically want to know how to hang bamboo shades on sliding glass doors, and the process is slightly different from standard window installations.
Sliding doors require:
- Outside mount installation above the door frame
- Extra width coverage to prevent light gaps
- Clearance for door handles and locking hardware
- Secure anchoring into studs whenever possible
Because sliding glass doors are frequently used, the brackets must be extremely stable. Movement and vibration can loosen poorly secured hardware over time. Always use a level and double-check stud placement. If the door opens inward toward the shade, ensure the rolled stack of the bamboo shade does not interfere with operation.
Installing Into Masonry or Concrete
Use:
- Masonry drill bit
- Hammer drill
- Concrete anchors
Drill slowly and clear dust frequently. Secure anchors fully before attaching brackets.
Extra-Wide Bamboo Shades
Shades over 48 inches wide require:
- Center support bracket
- Possibly two center supports for very wide spans
- Even spacing between supports
Skipping center brackets is the fastest way to cause long-term sagging.
Common Mistakes to Avoid
Even experienced DIYers make these errors:
1. Not Using a Level
Eyeballing never works.
2. Skipping Anchors in Drywall
This leads to screws pulling out over time.
3. Over-Tightening Screws
Can warp brackets or strip anchors.
4. Incorrect Spacing
Brackets too far apart reduce support.
5. Ignoring Clearance
Shade can rub against window handles or trim.
Learning how to hang bamboo shades with brackets properly means respecting these small but critical details.
Maintenance After Installation
Once installed, bamboo shades are low maintenance. But a little care extends lifespan significantly.
Dusting
- Use microfiber cloth.
- Vacuum with brush attachment.
- Avoid soaking with water.
Inspect Brackets Twice a Year
- Tighten loose screws.
- Check for drywall movement.
- Confirm center support stability.
Humidity can cause natural fibers to expand slightly. Proper bracket support prevents warping.
Cost Breakdown
Bamboo Shade Costs
- Small window: $40–$100
- Medium window: $80–$200
- Large window: $150–$400+
Installation Costs (Professional)
- $75–$200 per window
DIY installation saves money. Learning how to hang bamboo shades with brackets eliminates professional labor fees while ensuring quality control.
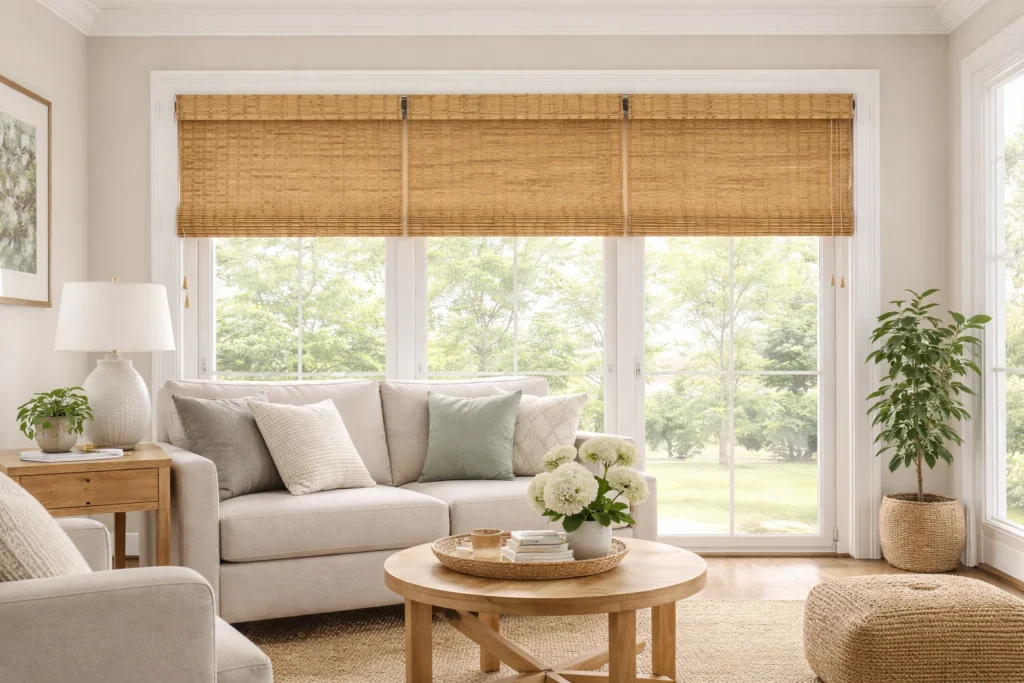
Final Thoughts
Bamboo shades bring warmth and texture that synthetic blinds simply can’t match. They soften light without blocking it completely. They feel organic. Relaxed. Elevated.
But their beauty depends entirely on proper installation.
Now you know exactly how to hang bamboo shades with brackets step by step. From measuring and marking to securing and testing, every stage matters. And if you’re tackling larger openings, understanding how to hang bamboo shades on sliding glass doors ensures you get full coverage without sacrificing function.
Take your time. Secure those brackets properly.
Do it once. Do it right.
And enjoy the clean, natural look every single day.
FAQs
Some lightweight shades allow adhesive or tension mounting, but brackets secured with screws provide the most stable and long-lasting installation.
End brackets should sit a few inches from each edge, with a center support bracket added for shades wider than 36–48 inches.
Yes, if you’re not drilling into a stud, drywall anchors are essential to prevent screws from pulling out over time.
An inside mount fits within the window frame for a clean look, while an outside mount covers the frame and blocks more light.
Install a center support bracket and ensure the headrail rests evenly across all brackets.
Yes, but they should be mounted above the door frame with strong bracket support and enough clearance for handles.
Use a bubble or laser level before tightening screws fully to ensure straight alignment.
Most are lightweight, but wider shades can become heavy enough to require additional support brackets.
A drill, drill bit, screwdriver, level, measuring tape, and pencil are the core tools needed.
Most standard window installations take 20–40 minutes once measurements are confirmed.


