Hardwood floors are a little like nice shoes: they can handle real life, but they don’t appreciate being “deep cleaned” with brute force. Most floor damage doesn’t happen because someone forgot to clean—it happens because they cleaned too aggressively, used the wrong product, or let water sit long enough to sneak past the finish.
A safe deep clean is really about two things: removing gritty buildup (the stuff that acts like sandpaper) and lifting film and residue (the dull, sticky layer that makes floors look tired), all while keeping moisture and harsh chemistry under control.
Here’s a finish-friendly way to do it by Bergamo Floors.
Start with the big rule: your finish is the floor’s armor
Most modern hardwood floors have a polyurethane finish (water-based or oil-based). That finish is what you’re cleaning on top of. If you attack it with the wrong chemicals or too much water, you’re not just removing dirt—you’re weakening the protective layer.
Older floors may have wax, oil, shellac, or penetrating finishes. Those behave differently and can react badly to many common “hardwood cleaners.” If you’re not sure what you have, do a quick reality check: if a drop of water darkens the wood quickly, the finish may be worn or penetrating, and you’ll want to be extra conservative with moisture.
When in doubt, pick the gentlest method first and test in a hidden corner.
Step 1: Remove grit, as your finish depends on it (because it does)
Deep cleaning without first removing grit is like washing your car without rinsing off the dust—you end up rubbing tiny abrasives into the surface.
Use a soft-brush vacuum head (no beater bar) or a microfiber dust mop. Work slowly, especially along baseboards and in corners where grit collects. If you have pets or kids, take a minute to hit entry paths and around the dining area twice. That’s where most micro-scratching starts.
This step seems basic, but it’s the difference between “deep clean” and “slowly sanding your floor.”
Step 2: Choose a cleaner that won’t leave a film
A lot of floors look dirty after cleaning because of residue, not dirt. Some products add shine or “polish” and leave a layer that attracts more grime. Over time, that builds into a cloudy or sticky film.
For a true deep clean, you want a pH-neutral hardwood floor cleaner that’s designed for finished wood and doesn’t promise miracle shine. If you already use a cleaner and your floor feels slightly tacky after it dries, that’s a sign it may be leaving residue—especially if it looks dull in traffic lanes, no matter how often you mop.
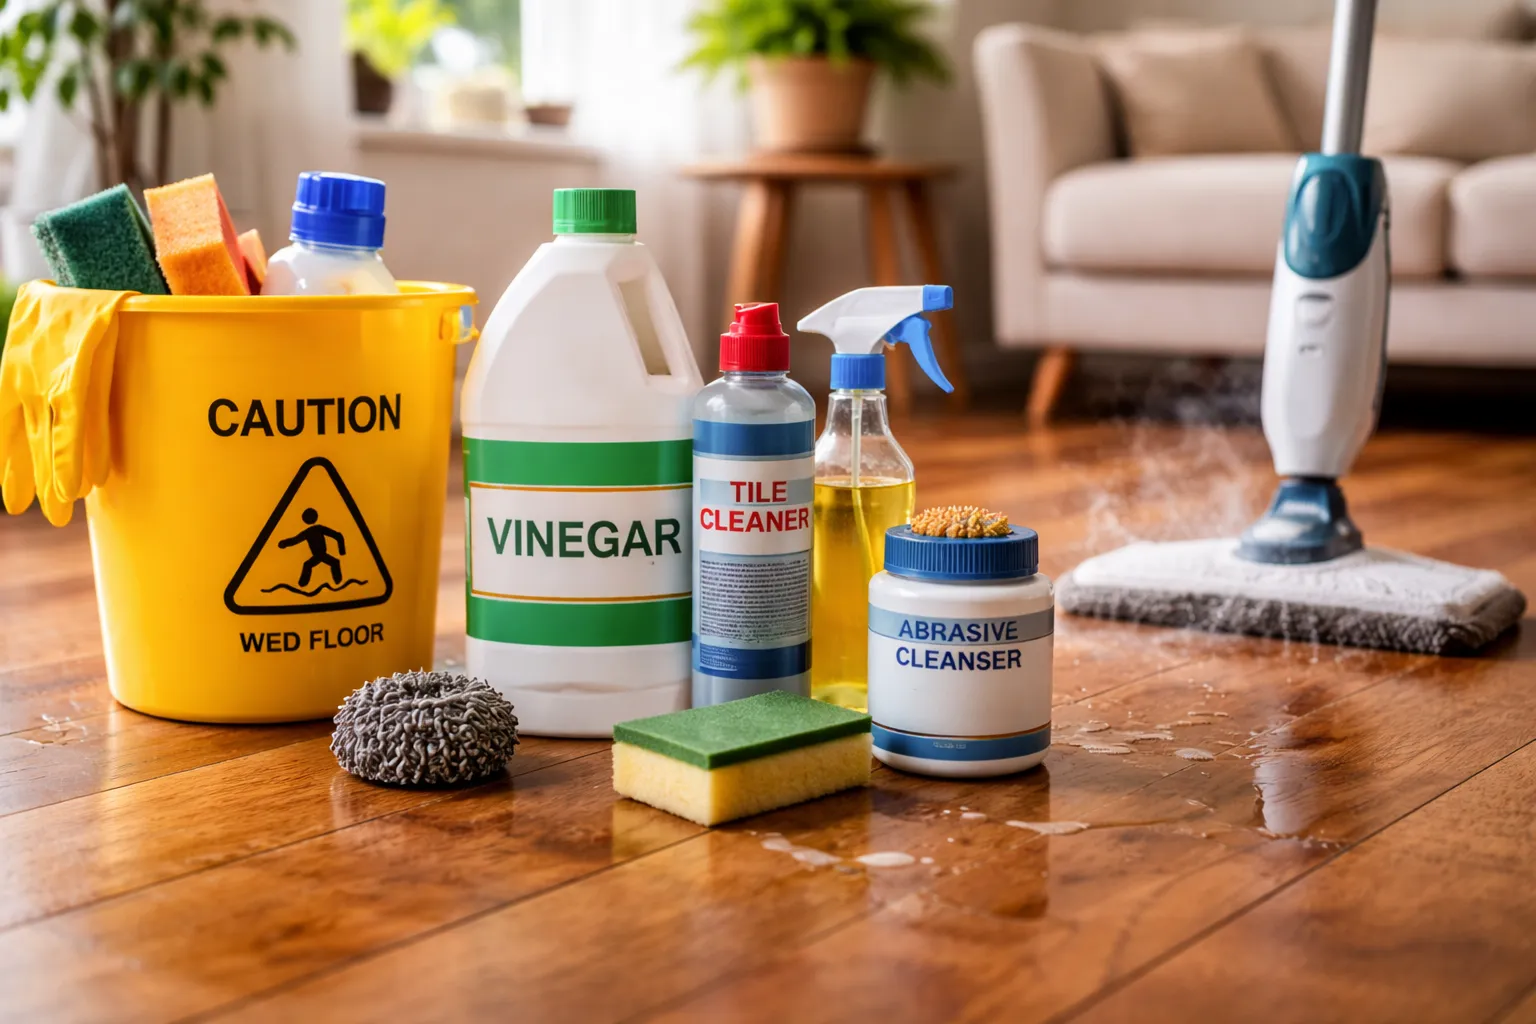
Avoid the temptation to use strong DIY mixtures. Vinegar and ammonia are common internet favorites, but they’re risky on many finishes and can dull or degrade the protective coat over time. Also, skip anything labeled “degreaser,” “all-purpose,” or “tile cleaner.” Hardwood finishes are not impressive.
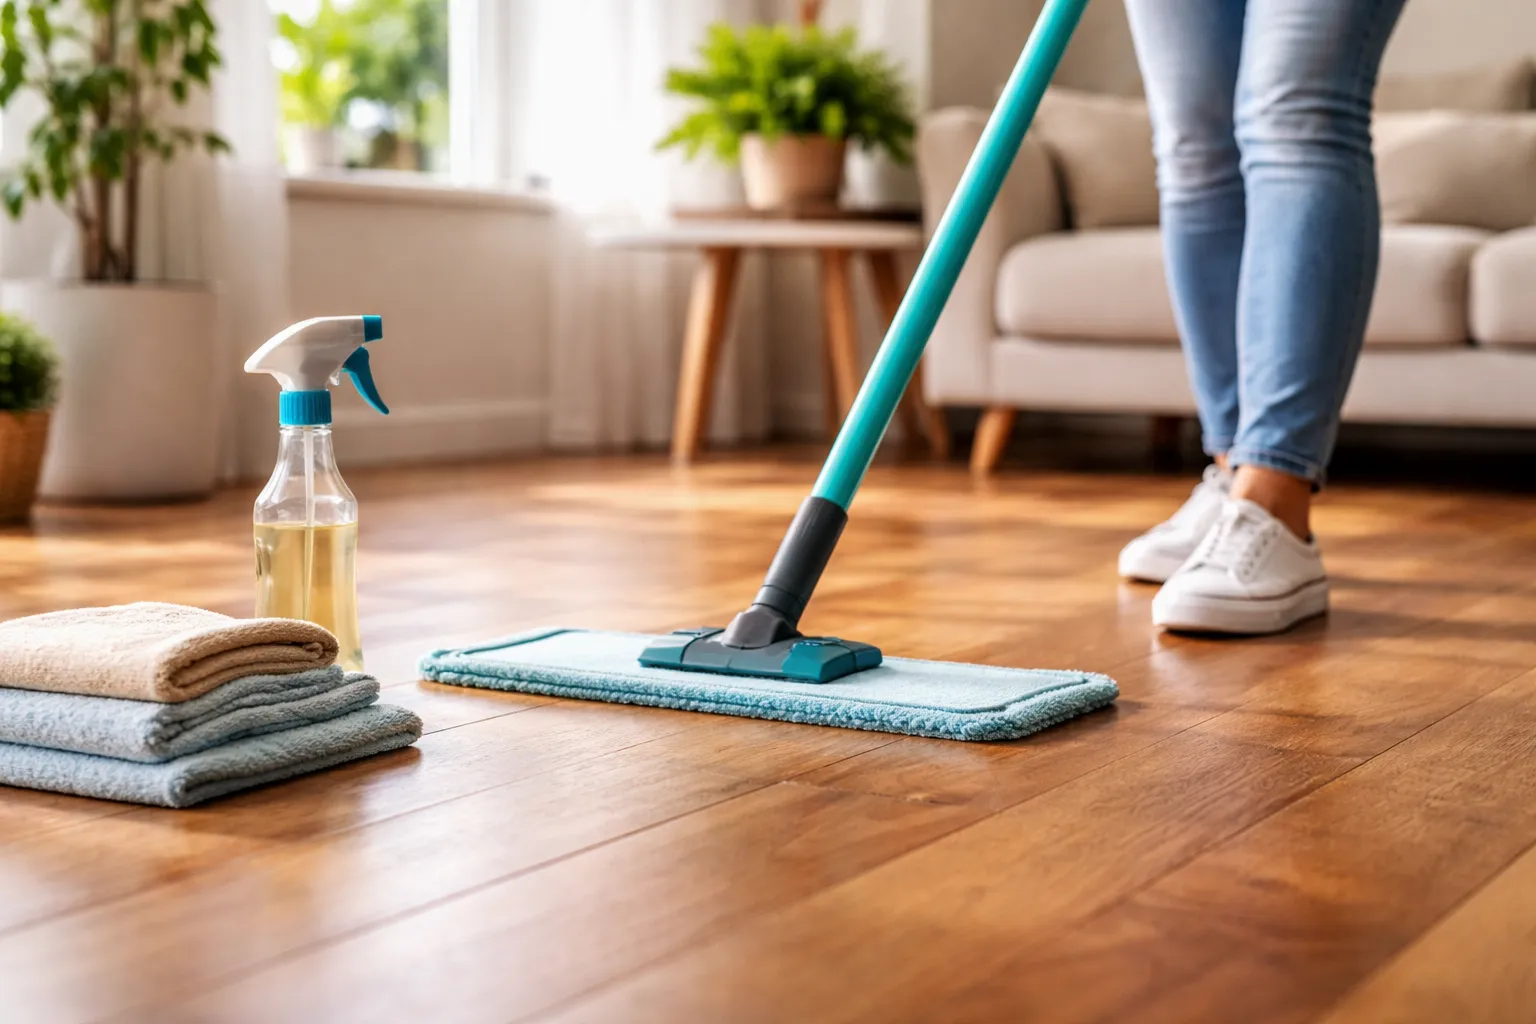
Step 3: Use the “damp, not wet” method (and mean it)
The safest way to deep clean finished hardwood is to control moisture with fast drying.
Lightly mist the cleaner onto the floor or onto your microfiber pad—either works, but misting the pad gives you more control. Mop in smooth passes, rinsing or swapping pads as they get dirty. If you keep mopping with a dirty pad, you’re basically redepositing the grime you just lifted.
A good test is simple: when you finish a section, the floor should dry within a minute or two. If you see standing water, streaks of liquid, or damp edges pooling along baseboards, you’re using too much product.
Steam mops are also a no-go for most hardwood. Even if the surface looks dry, the combination of heat and vapor can push moisture into seams and stress the finish over time.
Step 4: Break up stubborn buildup the safe way
Deep cleaning usually means dealing with one of these problems:
- Traffic-lane film (dull paths through the room)
- Sticky spots (kitchen drips, kids’ “science experiments,” pet surprises)
- Ground-in grime near entrances
For film, the fix is rarely “stronger chemicals.” It’s usually fresh pads + the right cleaner + repeated light passes. Think of it like lifting layers gently instead of trying to dissolve everything in one shot.
For sticky spots, spot-clean instead of scrubbing the whole floor. Put a small amount of hardwood-safe cleaner on a microfiber cloth and press it onto the spot for 20–30 seconds to soften the residue, then wipe and dry immediately. If you need extra help, use a plastic scraper (like a credit card) very gently—no metal, no abrasive pads.
For entry grime, do a targeted section clean. Deep-cleaning the entire house aggressively can backfire; focusing on the worst zones gives you better results with less risk.
Step 5: Rinse only if you’re dealing with residue, and do it lightly
Some cleaners are “no rinse,” but if your floor has years of product buildup, you may need a light follow-up pass to remove leftover residue.
If you do, keep it minimal: a microfiber pad dampened with clean water, wrung out extremely well, followed by a dry pad or towel pass. The goal is to remove what’s sitting on top, not to wash the floor like a tile shower.
Step 6: Dry and inspect the finish (this is where you learn what’s really going on)
Once the floor is fully dry, look at it from a low angle with light hitting across it. If you still see dullness in traffic areas, you may be looking at wear in the finish, not dirt. Cleaning can’t restore a finish that’s been abraded; that usually needs a professional refresh (screen-and-recoat) or refinishing, depending on the condition.
A quick clue: if the floor looks better while it’s slightly damp but dull again when dry, that’s often finish wear rather than remaining grime.
A few “don’t do this” moves that ruin finishes faster than dirt does
Use these as guardrails, not paranoia:
- Don’t use soaking wet mops or leave liquid sitting on the floor.
- Don’t use abrasive pads, powdered cleaners, or scrub brushes meant for tile.
- Don’t apply random “shine” products unless the manufacturer of your floor specifically recommends them.
- Don’t use steam, harsh degreasers, or strong DIY acids/alkalis on finished wood.
Hardwood floors look classy because they’re basically a big, elegant sheet of coated wood. Treat that coating like a protective lens, not a kitchen countertop.
How often should you deep clean hardwood?
Most homes don’t need a full deep clean every week. A good rhythm is:
- Regular upkeep: dust mop or vacuum as needed (often a few times a week in busy homes)
- “Refresh clean”: light damp mop weekly or biweekly
- Deep clean: every 1–3 months, or seasonally, depending on traffic, pets, and how quickly the floor looks dull
The best “deep cleaning” is honestly prevention: entry mats, felt pads under furniture, and keeping grit out of the house. Grit is the silent villain.
The simplest safe formula
Deep cleaning hardwood without damage comes down to this: remove grit, use a pH-neutral hardwood cleaner, keep moisture tightly controlled, use clean microfiber pads, and dry fast. If the floor still looks tired after that, it’s probably telling you the finish needs love—not that you need a stronger cleaner.
A floor can be clean and still look dull if the finish is worn, and that’s not a failure. That’s just physics wearing a nice jacket.
FAQs
It’s not recommended, as both can dull or degrade many hardwood finishes over time.
Most modern floors do, but if water darkens the wood quickly, the finish may be worn or penetrating and needs extra caution.
No—heat and vapor can force moisture into seams and weaken the finish even if the surface looks dry.
Only slightly damp; the floor should dry within one to two minutes after each pass.
Dullness often comes from finish wear or residue buildup, not leftover dirt.
A pH-neutral cleaner made specifically for finished hardwood that doesn’t promise added shine.
Spot-clean with a microfiber cloth and hardwood-safe cleaner, then dry the area immediately.
Only if there’s residue buildup, and even then, use a barely damp pad followed by drying.
Every 1–3 months is typical, depending on traffic, pets, and how quickly the floor looks dull.
Too much water, abrasive tools, harsh chemicals, and products that leave a residue or film.


