The height of your bed impacts much more than you think. It determines how easy it is to get in and out, how much storage space you have underneath, and even how comfortable your sleep feels if you’re dealing with certain health issues. Many people want a higher bed but don’t want to buy a brand-new frame. That’s where diy bed risers come in!
By making your own homemade diy bed risers, you can add several inches to your bed height, customize the look to your bedroom style, and save money. Whether you want a few extra inches for storage, relief from acid reflux, or just a more commanding presence for your bed, creating your own risers is an easy, practical, and rewarding DIY project.
Let’s explore everything you need to know about making and using diy bed risers, including diy wood bed risers, metal frame options, and even risers designed to help with acid reflux.
What Are DIY Bed Risers?
DIY bed risers are homemade supports placed under your bed’s legs to increase its height. They’re a practical and budget-friendly alternative to store-bought risers. Instead of paying for pre-made options, you can use wood blocks, cinder blocks, metal cans, or even repurposed furniture parts to elevate your bed.
For example, diy wood bed risers are a great choice for those who want durability and a natural look. On the other hand, diy bed risers for metal frame beds can be built with stronger materials like metal pipes or reinforced wood to handle heavier weight.
The beauty of DIY risers is that you control the material, height, and finish—making them blend perfectly with your bedroom.
Why Choose DIY Bed Risers Over Store-Bought?
Sure, you can hop online and order a set of plastic risers in seconds. But there are big reasons to consider homemade diy bed risers instead:
- Cost savings – Scrap wood, old furniture legs, or leftover cinder blocks can turn into risers for almost no cost.
- Customization – Choose the exact height and finish that works for your space.
- Durability – DIY options, especially wood and metal, often hold more weight than cheap plastic risers.
- Eco-friendly – Repurposing old materials reduces waste.
- Satisfaction – There’s something rewarding about creating a solution with your own hands.
Types of DIY Bed Risers
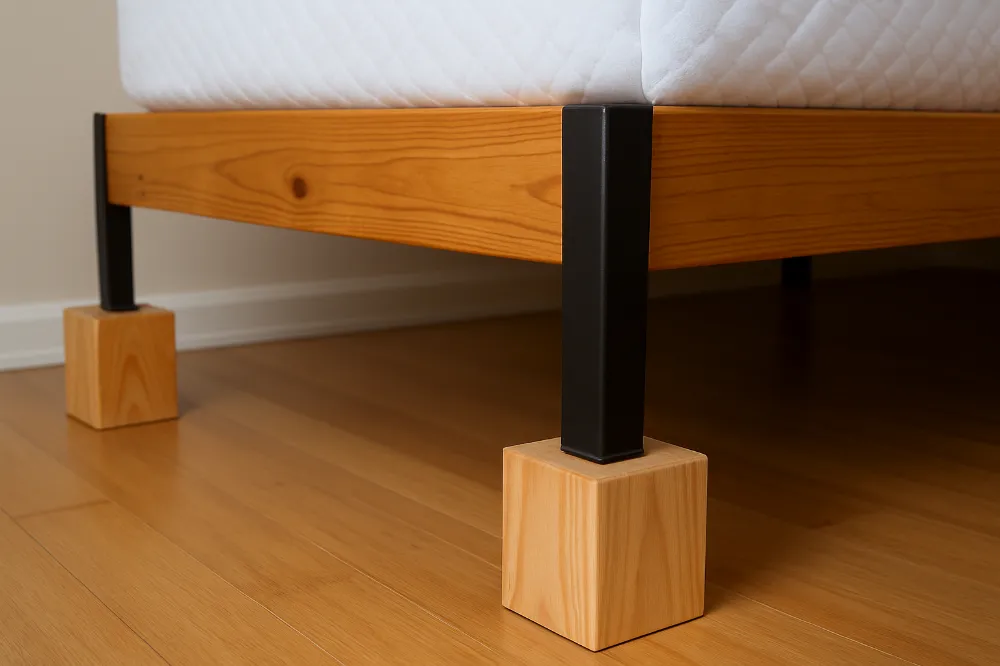
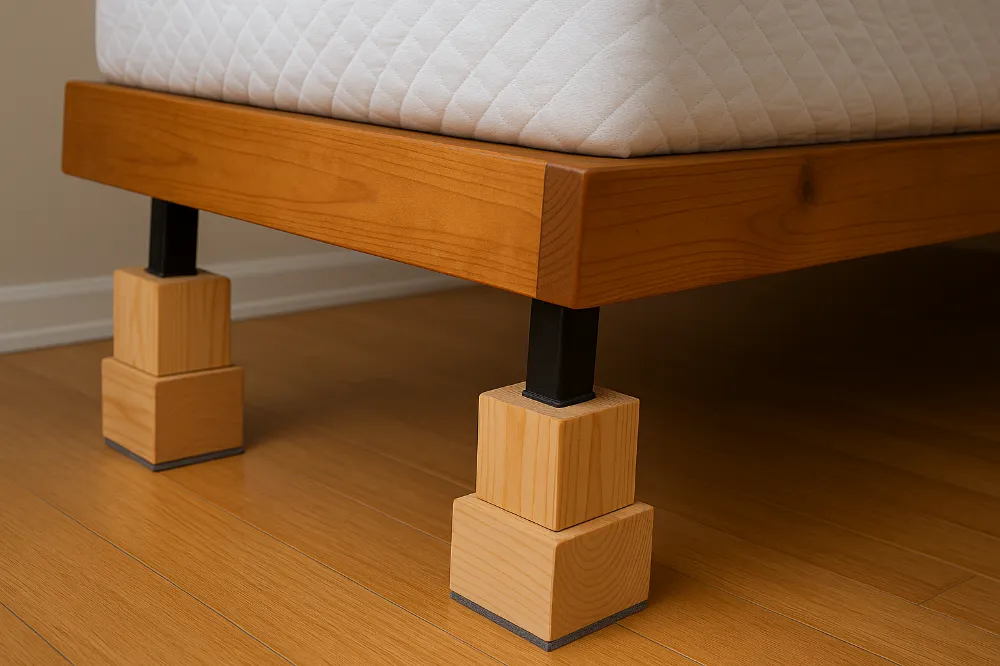
DIY Wood Bed Risers
Wood is one of the most popular materials for homemade risers. It’s strong, easy to shape, and can be stained or painted to match your furniture.
How to make diy wood bed risers:
- Cut solid wooden blocks or 2x4s to your desired height.
- Drill a shallow hole or carve out a square notch to fit your bed’s legs securely.
- Sand the blocks to avoid splinters.
- Add felt pads to the bottom to protect floors.
- Stain or paint them for a finished look.
Wood risers are discreet, sturdy, and look far more polished than cinder blocks.
Cinder Block or Concrete Bed Risers
Cinder blocks are an ultra-cheap solution. They’re heavy-duty and won’t crack under pressure, but they aren’t the most stylish choice. You can improve the look by sanding rough edges and painting them.
These work well if your goal is maximum stability and function—like lifting a dorm bed for storage—but may not win style points in a master bedroom.
Metal Bed Risers
If you need diy bed risers for metal frame beds, metal is a smart choice. Sturdy coffee cans, steel pipes, or even repurposed metal furniture legs can support heavy loads.
To prevent sliding, line the inside with rubber pads so the bed legs don’t shift. Paint the outside to match your decor and you’ll have risers that are both functional and industrial chic.
Repurposed Furniture Bed Risers
Old bookshelves, dressers, or wooden pallets can also become risers. For example:
- Stack two pallets to lift a platform bed.
- Use bookshelves laid on their sides to raise and double as storage.
- Repurpose dresser drawers as sturdy supports.
This is where creativity and function meet—your risers double as decor!
DIY Bed Risers for Health & Comfort
Did you know elevating your bed isn’t just about storage or style? It can improve your health too.
For people who struggle with acid reflux or sleep apnea, raising the head of the bed can help. By using diy bed risers for acid reflux, you can slightly elevate the top of your bed by 4–6 inches. This keeps stomach acid from flowing upward and reduces nighttime discomfort.
The simplest method? Use diy wood bed risers or blocks under just the headboard legs. You’ll sleep at a gentle incline that helps digestion while still keeping your bed stable.
Step-by-Step Guide: Making Your Own Bed Risers
Here’s a general process you can follow no matter which material you choose:
Tools & Materials (depending on type):
- Wood blocks, cinder blocks, metal cans, or pallets
- Drill & saw (for wood)
- Sandpaper
- Paint or stain (optional)
- Felt pads or rubber mats
Instructions:
- Measure your bed legs and decide how many inches you want to raise your bed.
- Cut or prepare your chosen material to match that height.
- Create a notch or indentation to hold the bed leg securely.
- Smooth edges with sandpaper to prevent splinters or scratches.
- Add felt pads to the base for floor protection.
- Test each riser by placing it under one corner at a time.
- Once all four are in place, gently set the bed back down.
- Double-check stability before use.
Safety Considerations
Homemade risers can be just as safe as store-bought ones if you build them right. Here are a few things to keep in mind:
- Always use strong materials (avoid weak plastics).
- Make sure all risers are exactly the same height to prevent wobbling.
- For diy bed risers for metal frame beds, reinforce the structure with screws or brackets.
- Add non-slip pads to prevent sliding on wood or tile floors.
- Regularly check risers for wear or damage.
How to Install DIY Bed Risers Properly
Installing risers is straightforward but requires care:
- Remove your mattress to make the frame lighter.
- With a helper, lift one corner of the bed.
- Place the riser under the leg and slowly lower it.
- Repeat for all corners.
- Test stability by gently sitting or pushing on the bed before replacing the mattress.
Aesthetic Tips: Making DIY Bed Risers Look Good
No one wants risers that look like an afterthought. A few easy tricks can make them blend in beautifully:
- Paint wood or metal risers to match your bed frame.
- Stain wood to match dressers or nightstands.
- Use a longer bed skirt to hide risers completely.
- Add decorative trims or patterns for a custom look.
Alternatives to DIY Bed Risers
If DIY isn’t your thing, there are other ways to raise your bed:
- Mattress wedges – especially useful for acid reflux.
- Mattress toppers – add a few inches of height and comfort.
- Adjustable bed frames – expensive but highly customizable.
- Loft kits – raise your bed dramatically to create space below.
FAQs About DIY Bed Risers
Are homemade diy bed risers safe?
Yes, as long as they’re sturdy, level, and properly installed.
What’s the best material for risers?
For durability and aesthetics, wood is best. For heavy beds, concrete or metal may work better.
How high should risers be?
Anywhere from 3–12 inches depending on your needs. For reflux, stick to 4–6 inches.
Can diy bed risers damage the bed?
Not if they’re stable and properly sized. Always check the weight capacity.
Conclusion
Creating diy bed risers is one of the simplest and most rewarding home improvement projects you can do. With just a few materials—wood blocks, cinder blocks, metal cans, or even old furniture—you can completely change the height, comfort, and style of your bed.
Whether you’re building diy wood bed risers for a polished look, crafting homemade diy bed risers for storage, or making diy bed risers for acid reflux to improve sleep health, the benefits are endless.
Instead of spending money on store-bought risers, try making your own. With a little creativity and effort, you’ll gain extra space, better comfort, and the satisfaction of a DIY project well done.


