If you’ve been dreaming of adding a home bar but don’t have the space—or the budget—for a built-in, then a DIY armoire bar might be your perfect solution. This project combines creativity, functionality, and a touch of craftsmanship to turn an outdated or unused cabinet into the centerpiece of your home entertaining. An armoire bar isn’t just a storage piece; it’s a conversation starter, a design statement, and a practical addition to your space.
Whether you’ve inherited a bulky TV cabinet, spotted a forgotten armoire at a thrift store, or simply want to repurpose furniture with style, this guide will walk you step by step through planning, building, and styling your very own DIY armoire bar.
Choosing the Right Armoire
Not all armoires are created equal, and the right starting point will make your project easier and more rewarding.
- Look for old entertainment centers or TV armoires: These are often tall, sturdy, and designed with multiple compartments, making them ideal for conversion.
- Check thrift stores, estate sales, and online marketplaces: You’ll often find large pieces for a fraction of the price of new furniture.
- Prioritize sturdiness: A wobbly or damaged cabinet may require more repairs than it’s worth.
- Think about dimensions: You’ll want enough space for bottles, glasses, and prep areas without overwhelming your room.
Pro tip: Avoid laminate-only armoires if you can. Solid wood or veneer pieces are easier to sand, paint, and customize.
Planning the Design
Before picking up a screwdriver, decide how your DIY armoire bar will function. Ask yourself:
- Dry bar or wet bar?
A dry bar focuses on storage and serving, while a wet bar includes plumbing for a sink. Most DIYers opt for dry because it’s less complicated. - What’s your style?
- Rustic with wood finishes and wrought iron racks.
- Art Deco with mirrored panels and gold trim.
- Modern chic with sleek lines and matte paint.
Sketch your ideas and make a list of must-haves: shelving, wine racks, lighting, or even a small fridge.
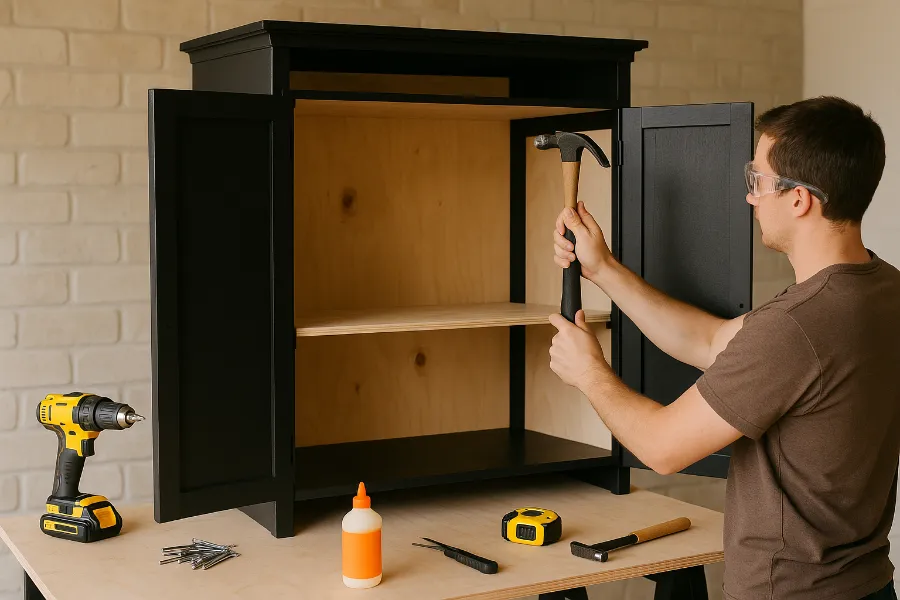
Prepping the Armoire
Transformation begins with prep work. Don’t skip this step—it’s the foundation of your project.
- Clean thoroughly: Remove dust, grease, and any lingering smells.
- Sand surfaces: This helps paint and primer stick properly.
- Prime the wood: Especially important if you’re covering dark stain or laminate.
- Fix structural issues: Patch holes, replace damaged back panels, and reinforce shelves.
- Remove doors (if needed): Some prefer an open bar feel, while others keep the doors for a dramatic reveal.
This stage sets the stage for everything that comes after.
Building & Customizing
Here’s where your armoire transforms from furniture to functional bar.
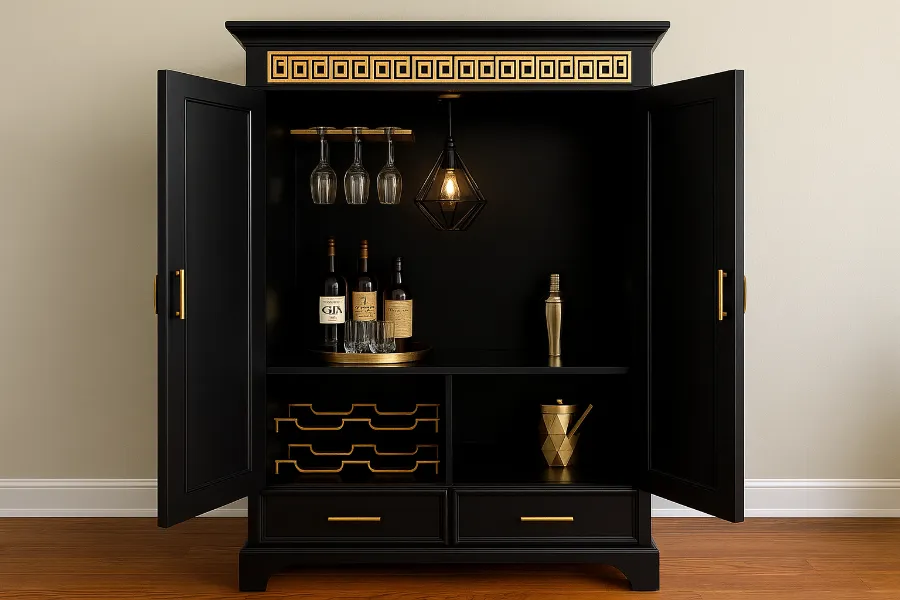
Main Area Setup
Dedicate the central space to bottles and mixing tools. A countertop-style insert or a reinforced shelf makes an excellent prep station.
Shelving and Storage
- Install wine racks for horizontal bottle storage.
- Add glass holders for stemware under shelves.
- Use adjustable shelving to accommodate everything from tall liquor bottles to short tumblers.
Lighting
Lighting changes everything. Consider:
- Puck lights mounted inside the top.
- Battery-operated LED strips for easy installation.
- Mirrors at the back panel to amplify light and create depth.
Decorative Finishes
Your style choices define the personality of your bar:
- Paint bold colors for drama, or soft neutrals for elegance.
- Add gold leaf or metallic paint for glamour.
- Line the back with wallpaper for a pop of pattern.
- Upgrade hardware with modern knobs or vintage pulls.
Finishing Touches
It’s the details that make a DIY armoire bar stand out.
- Add hooks or a towel rack for bar towels.
- Incorporate an ice bucket or small cooler.
- Display cocktail recipe books for charm and function.
- Style with decorative trays, plants, or art pieces.
At this point, you’ve built more than a bar—you’ve created an experience.
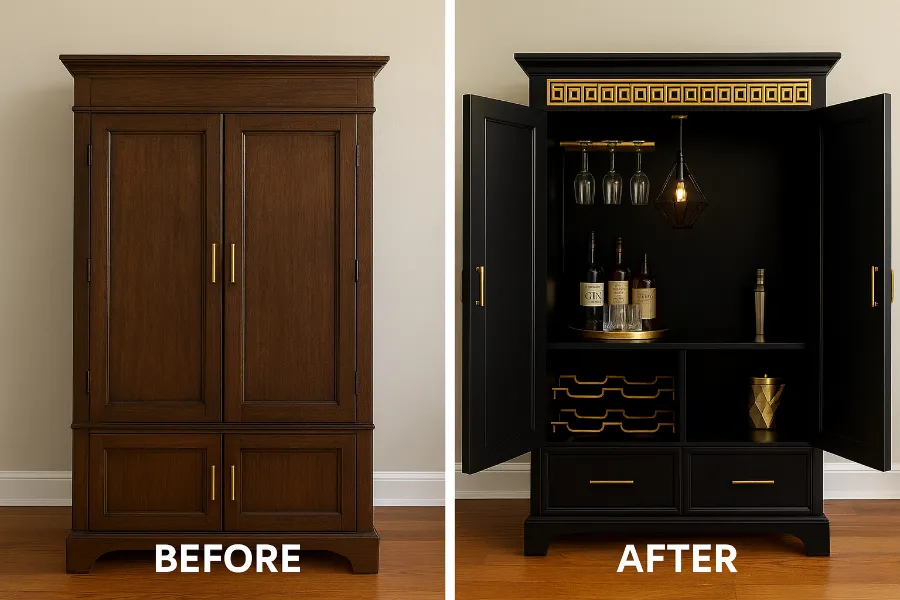
Before & After Inspiration
Imagine walking into your home and seeing a forgotten TV cabinet turned into a sophisticated bar. The transformation is remarkable—not just visually, but in how the piece now serves your lifestyle.
Many DIYers report that their armoire bars become the most talked-about feature in their homes. From family gatherings to cocktail nights, this project is one that pays off in both function and joy.
Why a DIY Armoire Bar Is Worth It
A DIY armoire bar saves space, recycles old furniture, and provides a stylish way to entertain. Unlike traditional bars that can dominate a room, an armoire bar blends seamlessly with your décor—closing up neatly when not in use and opening up with a flourish when it’s party time.
Best of all? It’s a budget-friendly project that allows for endless customization. Whether you’re a weekend DIY enthusiast or a seasoned woodworker, this project can be as simple or as detailed as you want.
")


")
")
")
")

")


")


