Updating your home’s hardware is one of the simplest ways to give your space a fresh, modern look. However, replacing all your door hinges can be expensive and time-consuming. If you’re like me, you probably started by pricing out new doorknobs and were shocked by how quickly the costs added up. When I realized I had 26 doors in my home, I initially overlooked the fact that I’d also need 78 new hinges. The idea of not only purchasing all those hinges but also going through the tedious process of removing each door, swapping out the hinges, and rehanging everything was daunting.


I needed an easier, more budget-friendly solution, and that’s when I remembered my trusty Rub-n-Buff collection.

Why Rub-n-Buff Is a Game Changer
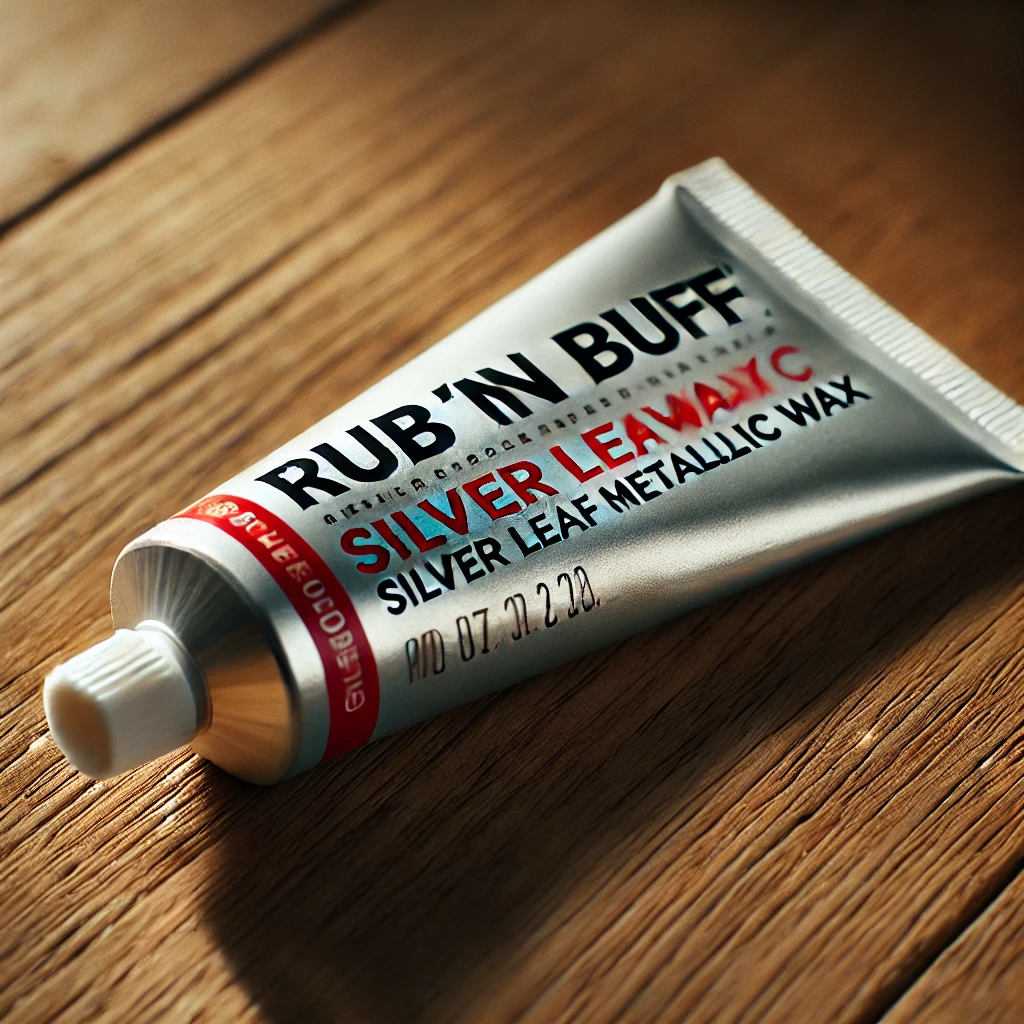
For those unfamiliar with it, Rub-n-Buff is a wax-based metallic finish that can transform nearly any surface. I’ve had a box full of it since my frame shop days—it’s a must-have for touching up picture frames and furniture molding. In recent years, Rub-n-Buff has become a favorite in the DIY community, and for good reason! I’ve seen it used in countless creative ways, including:
- Carrie’s elephant transformation
- Karen’s refinished coffee table
- Andrea’s updated demilune table
- Rene’s beautiful buffet hardware
- Cassie’s faux antlers and mirror makeover
- Carmel’s stylish sconces and lamps
While my project wasn’t quite as glamorous as these, I was thrilled with how well it worked on my rub-n-buffed-door-hinges. Instead of spending a small fortune on new hardware, I was able to get the updated look I wanted for a fraction of the price and effort!

How to Rub-n-Buff Your Door Hinges
Step 1: Gather Your Supplies

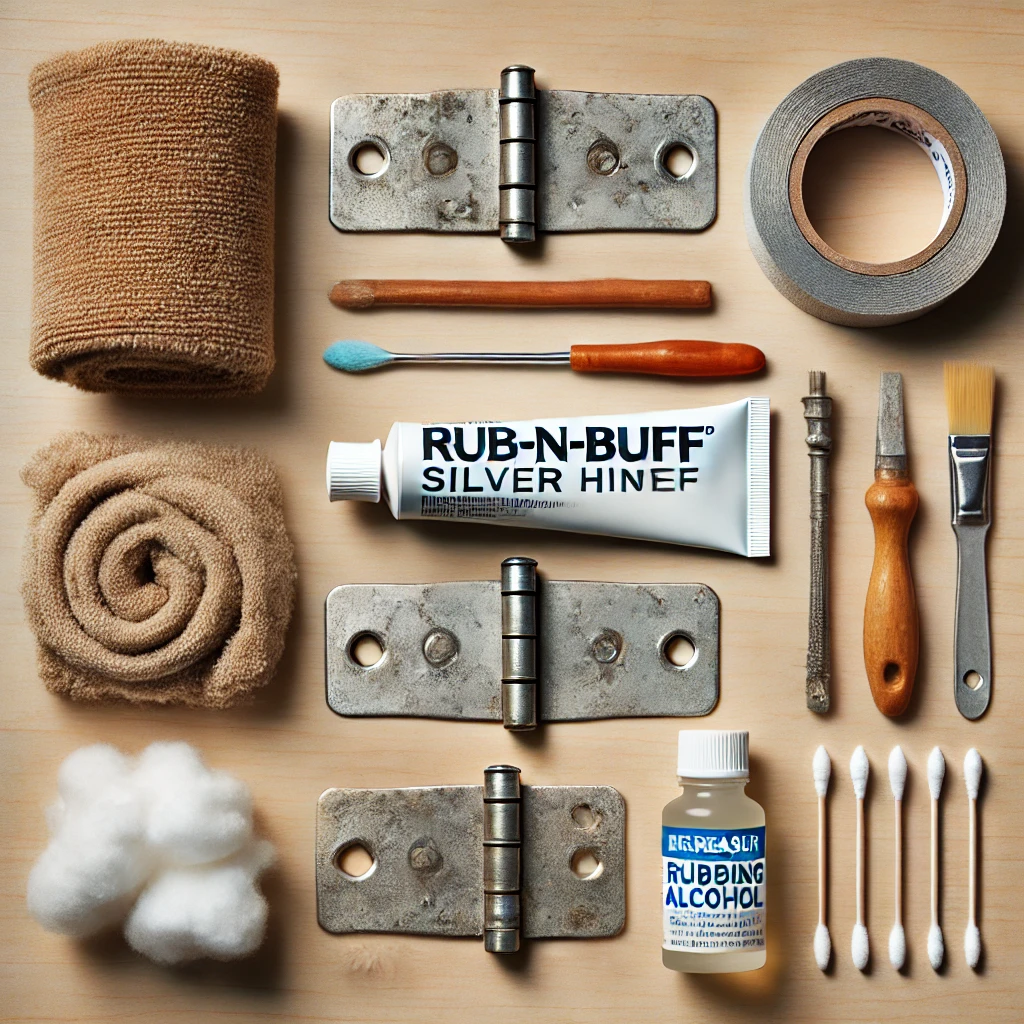
Before you start, make sure you have everything you need:
- Rub-n-Buff in your desired color (I used Silver Leaf to match my new knobs)
- A soft cloth or an old rag
- A small paintbrush or cotton swabs for detail work
- Painter’s tape (optional)
- A screwdriver (only if you decide to remove the hinges, but it’s not necessary!)
- Degreaser or rubbing alcohol (to clean the hinges)
Step 2: Clean the Hinges

Even though you’re not removing the hinges, it’s crucial to clean them thoroughly before applying Rub-n-Buff. Any dust, oil, or residue can prevent the wax from adhering properly.
To clean your hinges:
- Wipe them down with a damp cloth to remove surface dust.
- Use a degreaser or rubbing alcohol to remove any stubborn grime.
- Let them dry completely before moving on to the next step.
Step 3: Apply the Rub-n-Buff
This part is where the magic happens! Rub-n-Buff is highly pigmented, so you only need a small amount to see a dramatic difference.
Method 1: Direct Application (No Removal Required)
If you want to avoid the hassle of removing your hinges, you can apply Rub-n-Buff directly while they are still attached to the door. This method is quick and effective:
- Apply a tiny dab of Rub-n-Buff to your finger or a soft cloth.
- Lightly rub it onto the hinge, making sure to cover all visible areas.
- Use a small brush or cotton swab to reach detailed areas.
- Wipe away any excess product and buff the surface for a smooth finish.
- Let it dry for a few minutes before touching.
Method 2: Removing Hinges for a More Even Finish
If you prefer a more thorough and professional look, you can remove the hinges first:
- Unscrew the hinges from the door and frame.
- Lay them flat on a piece of scrap cardboard or paper towel.
- Apply Rub-n-Buff evenly using a cloth or brush.
- Buff them out for a smooth, polished finish.
- Let them dry completely before reinstalling them.
Step 4: Enjoy the Transformation
Once your hinges are dry, step back and admire your work! The change might be subtle, but it makes a huge impact on the overall look of your doors. I was thrilled with how much more cohesive my doors looked after updating the hinges to match my new doorknobs.
Why This Method Works
- Affordable: A tube of Rub-n-Buff costs less than $4 and lasts a long time.
- Easy: No need for special tools or professional skills.
- Quick: The entire process takes just minutes per hinge.
- Minimal Mess: No need to deal with spray paint or removals if you choose the direct application method.
- Customizable: Comes in various metallic finishes, allowing you to match or complement your existing hardware.
Final Thoughts
I can’t believe how much of a difference this simple trick made in my home! The rub-n-buffed-door-hinges gave my doors a modern, polished look without the cost and hassle of completely replacing the hinges. While they are slightly brighter than the knobs, it’s barely noticeable, and the result is so much better than the outdated brass hinges I started with.
If you’re looking for an easy way to update your door hardware without the commitment of new hinges, I highly recommend trying Rub-n-Buff. It’s one of the best-kept secrets in the DIY world, and once you use it, you’ll want to apply it to everything!
Coming Up Next…
Next week, I’ll be sharing even more exciting DIY tutorials, including how to retrofit doors for new knobs and how to spray paint hardware for a flawless factory finish.
Be sure to check back for those updates, and in the meantime, happy DIY-ing!

