Happy August, lovelies! I’m thrilled to be back today with my sweet friends Pam from Simple Details, Jennifer from Dimples & Tangles, and Kris from Driven By Decor for another installment of My Five Favorites! This month, we’re diving into one of my favorite topics before-and-afters! Joining us as our guest host is the incredibly talented and crafty Shelley from Crazy Wonderful. If you’re not already familiar with Shelley’s work, trust me, you’re in for a treat. Her home is stunning, and so many of the pieces you’ll admire were designed, built, or hacked by Shelley herself! (Seriously, take a moment to check out her blog you won’t regret it!)
Let’s start with one of Shelley’s jaw-dropping creations an incredible DIY mirror that’s equal parts elegant and unique. Yes, Shelley made that mirror herself! But wait, there’s more. Her blog is brimming with projects that will inspire even the most reluctant DIYer to pick up a paintbrush or power tool. It’s an honor to have Shelley here as we share our favorite before-and-afters this month.
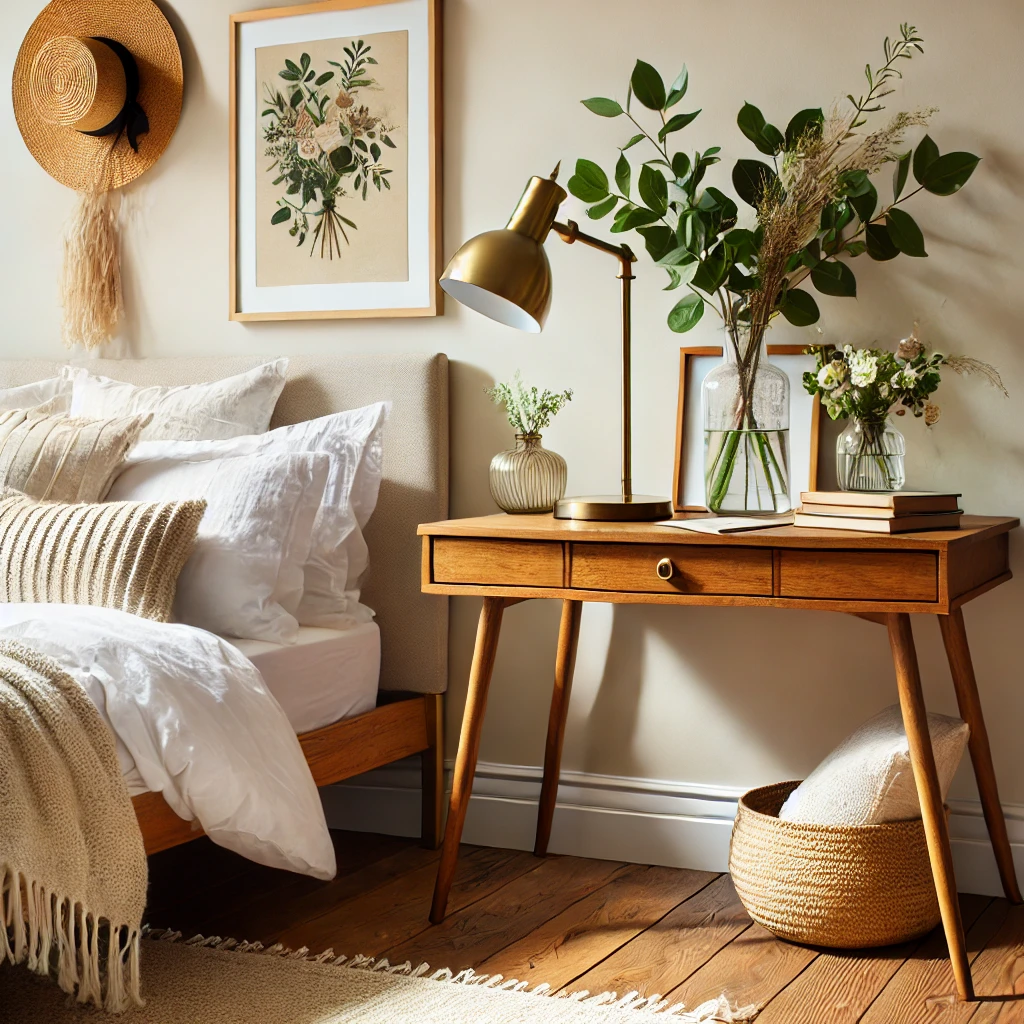
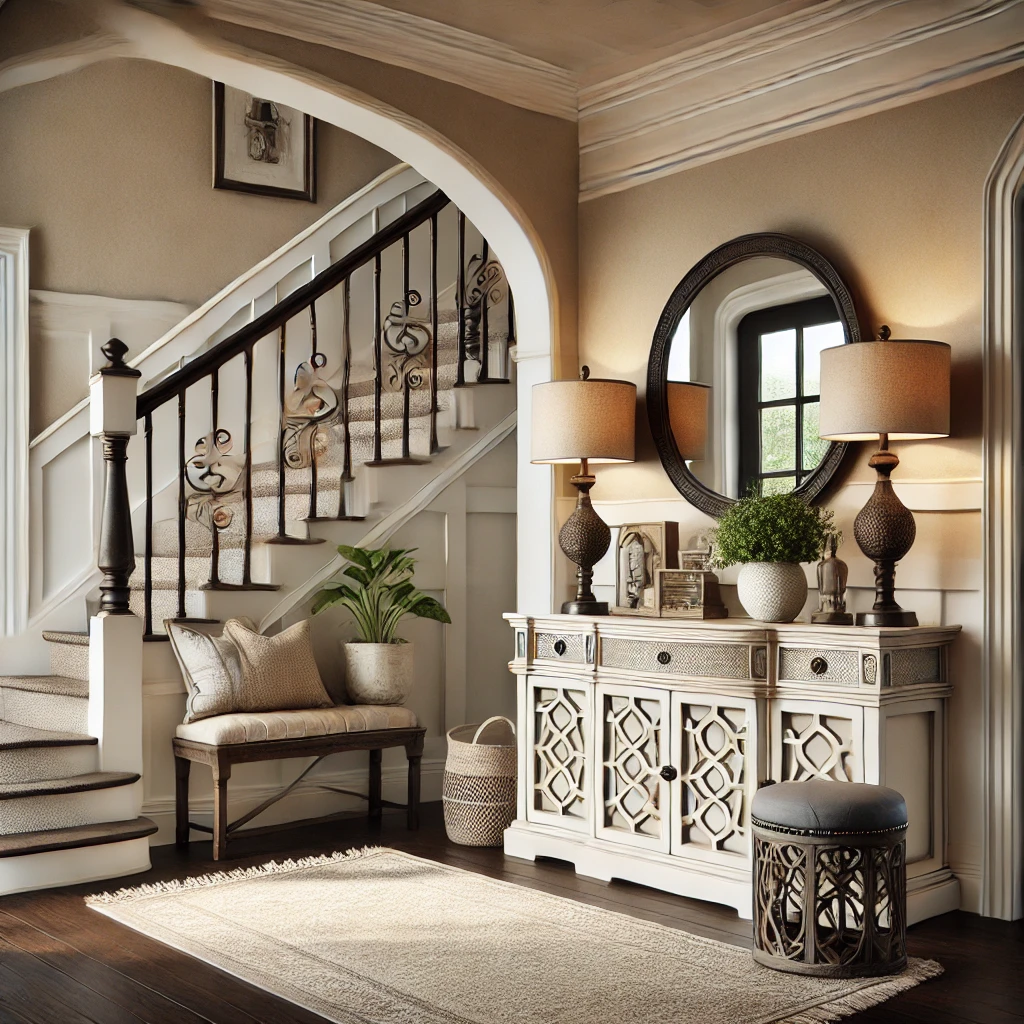
This August also marks seven years since we moved into our current home. Unlike the move-in-ready house we left behind, this place was a true project house—exactly what I wanted! Over the years, we’ve tackled numerous transformations, turning dated spaces into ones that feel like home. While I’ll be sharing full room makeovers throughout the month, here are a few standout projects that showcase the power of a great before-and-after.
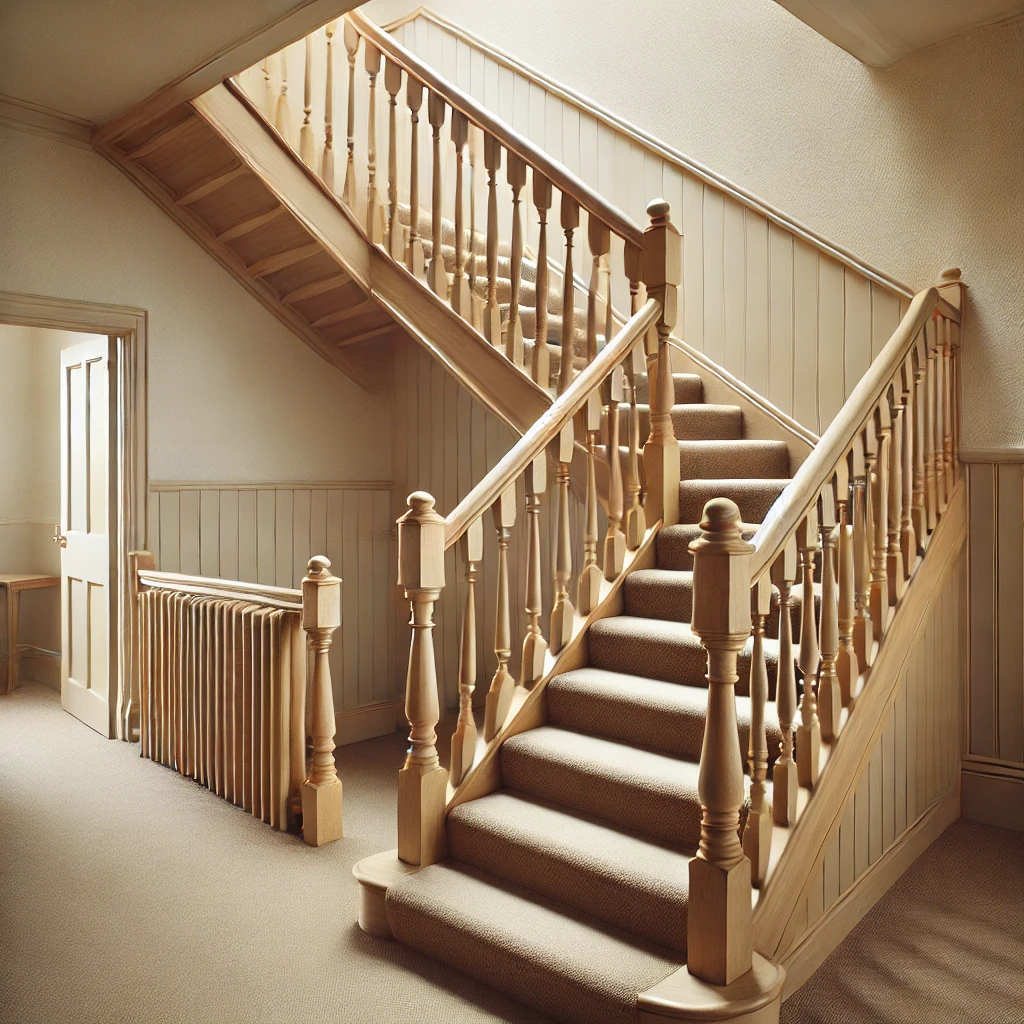
Foyer Stairs
Our staircase was an eyesore when we moved in, with orange-toned wood and carpeting that had seen better days (thanks to some unfortunate pet stains). After stripping and sanding the treads, I realized they were beyond repair and decided to stain them a deep, rich ebony. The transformation was dramatic, and it was a cost-effective alternative to replacing the treads entirely.
Before
After
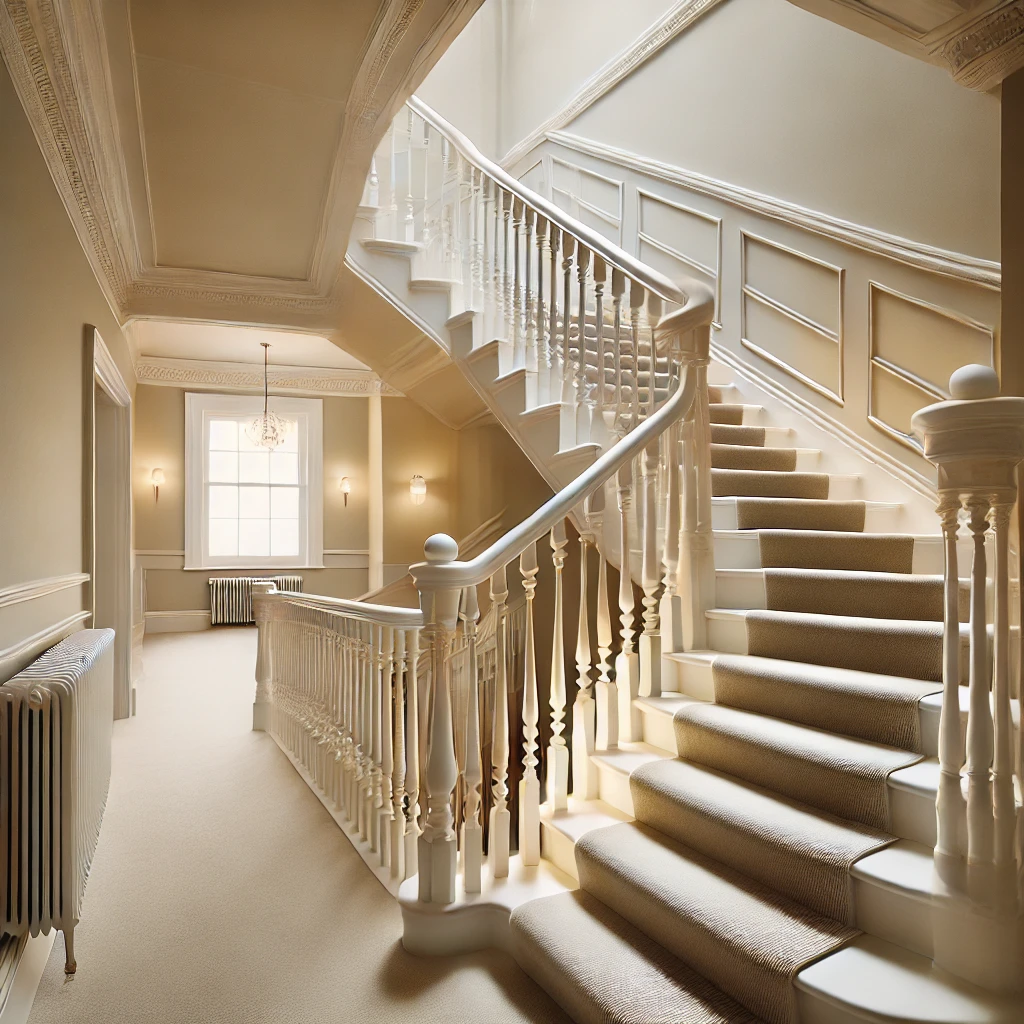
I finished the look with a herringbone-patterned seagrass runner, which I installed myself. It’s been years, and I’m still thrilled with how this project turned out. If you’re interested in a similar upgrade, you can find the same seagrass runner here.
For tips on installing a stair runner, check out these posts:
- How to install a seagrass stair runner
- How our runner has held up
- Tips, tricks, and resources for installing a stair runner
- Installing board and batten
Thrift Store Cane Back Chairs
I’ve always loved the charm of cane-back chairs, so when I spotted a set at a thrift store, I couldn’t resist. Admittedly, they weren’t much to look at—the finish was outdated, and the caning had a few holes. But I saw potential!

After some TLC including a fresh coat of paint and new upholstery these chairs now have a timeless elegance that belies their humble origins. See the original post about these chairs and you can read more about my attempt to recane one of the chairs here. For more of my favorite thrift store finds, click here.
Dining Room Table Double Makeover
Before
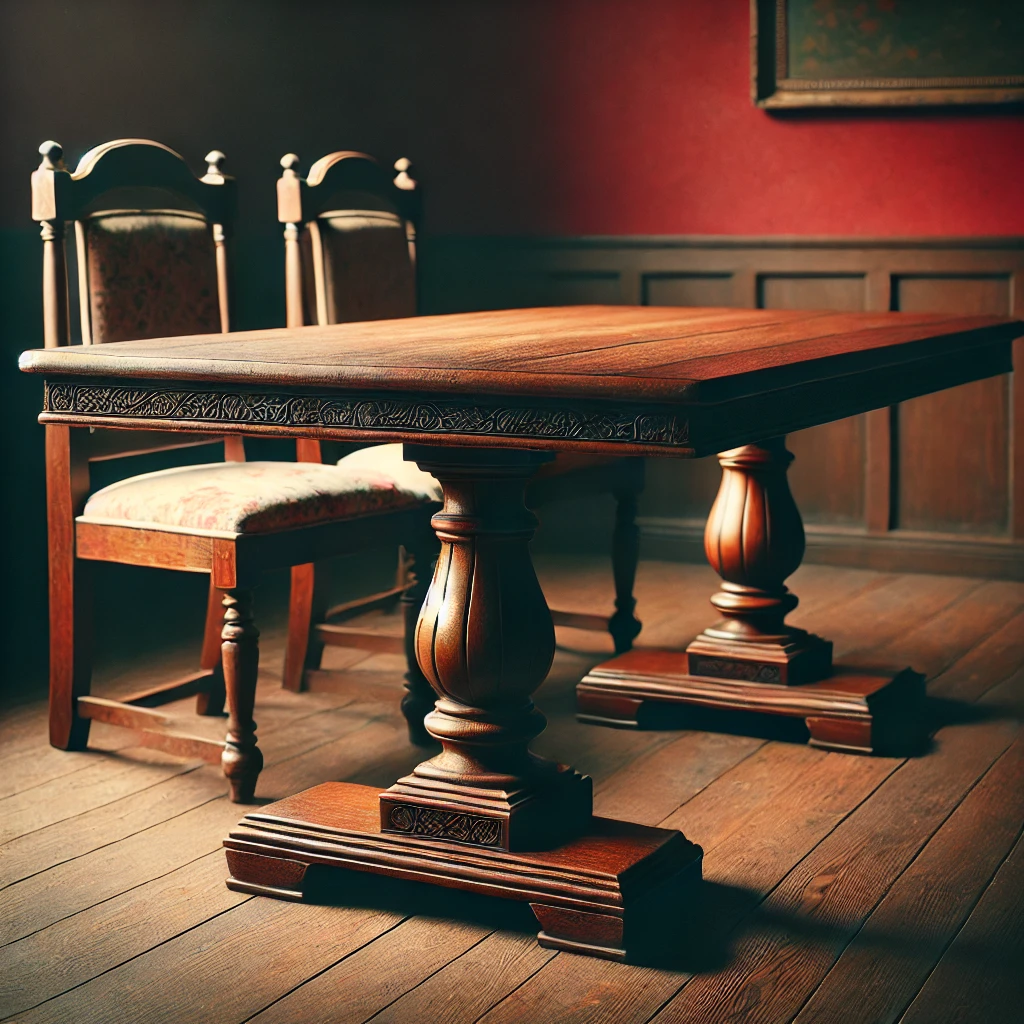
Finding the perfect dining table was a journey. After months of searching, I discovered a solid oak beauty on Craigslist. While it had great bones, the speckled finish was straight out of the 70s. I stripped it down, stained the top in walnut, and painted the base black. It was a complete transformation—or so I thought.
After
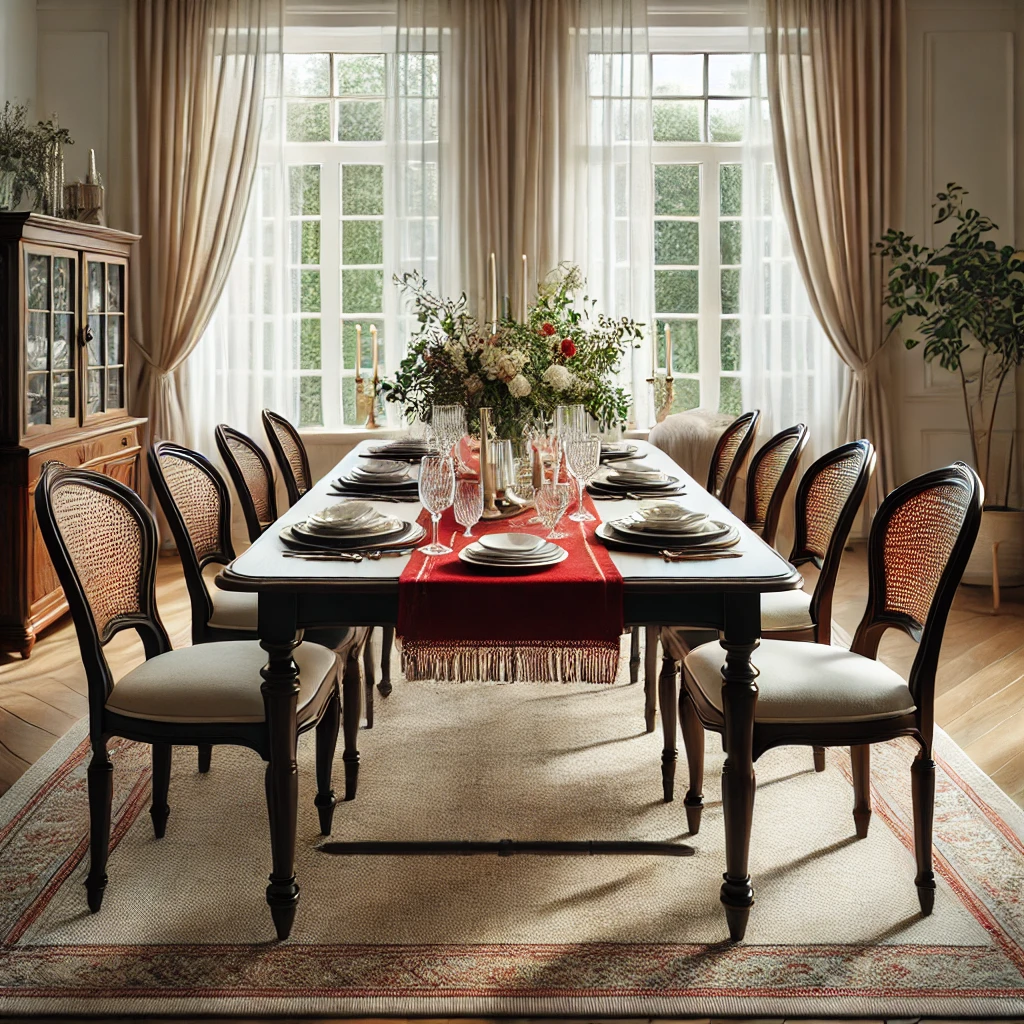
A few years later, I decided to strip the table again, opting for an aged, limed oak finish with a white base. This lighter look suits our current style perfectly. You can follow along with both makeovers here:
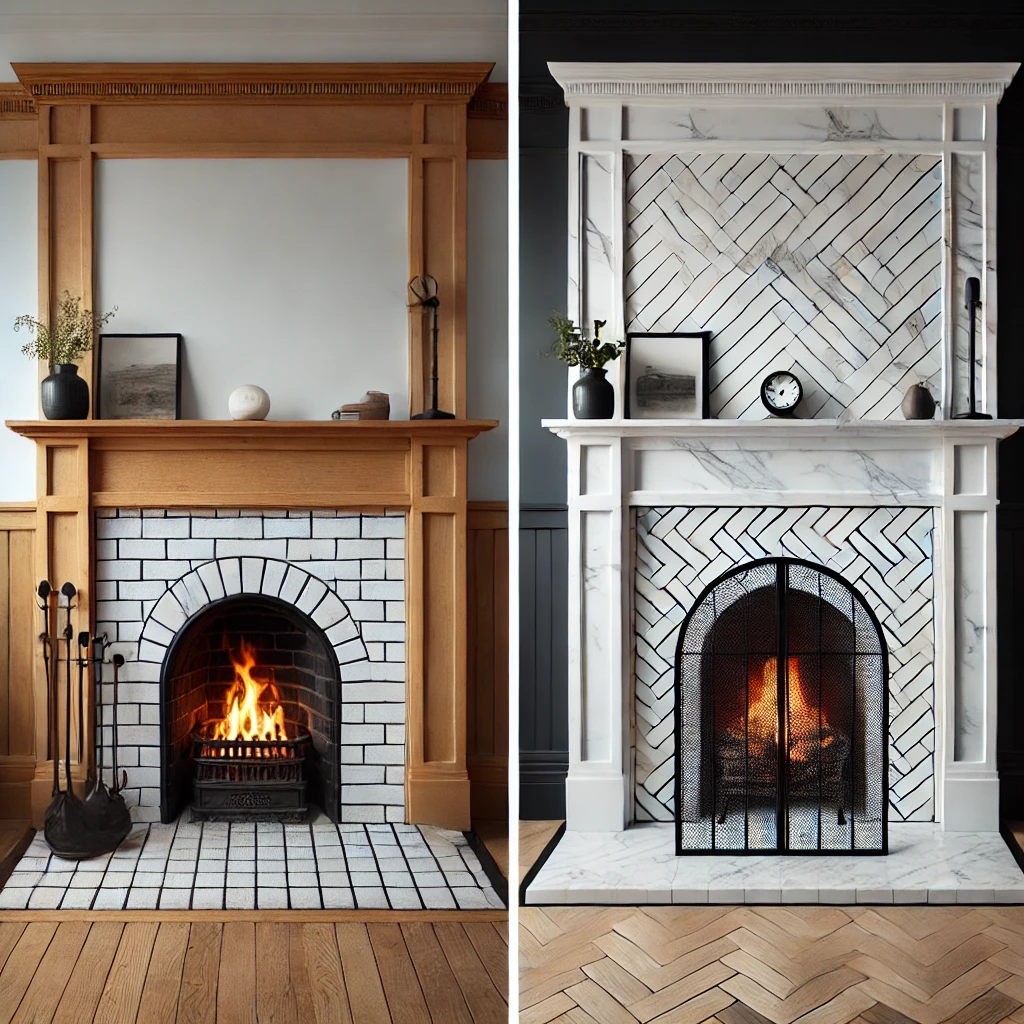
Fireplace Remodel
Before
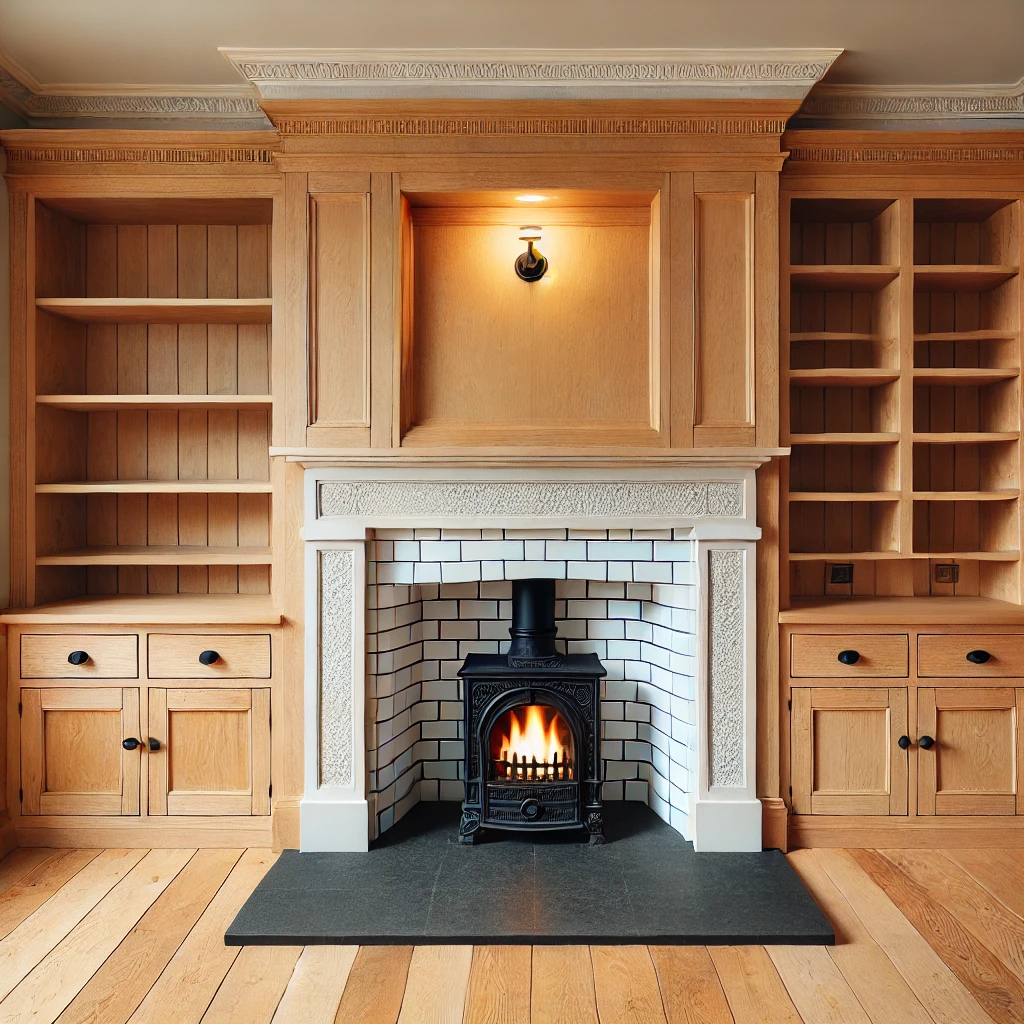
When we first moved in, our fireplace had great potential but needed serious updating. The peach-colored brick, orange oak trim, and sky-high mantle were not working for me. My first step was painting everything white. While this was an improvement, the painted hearth didn’t hold up well over time.
After
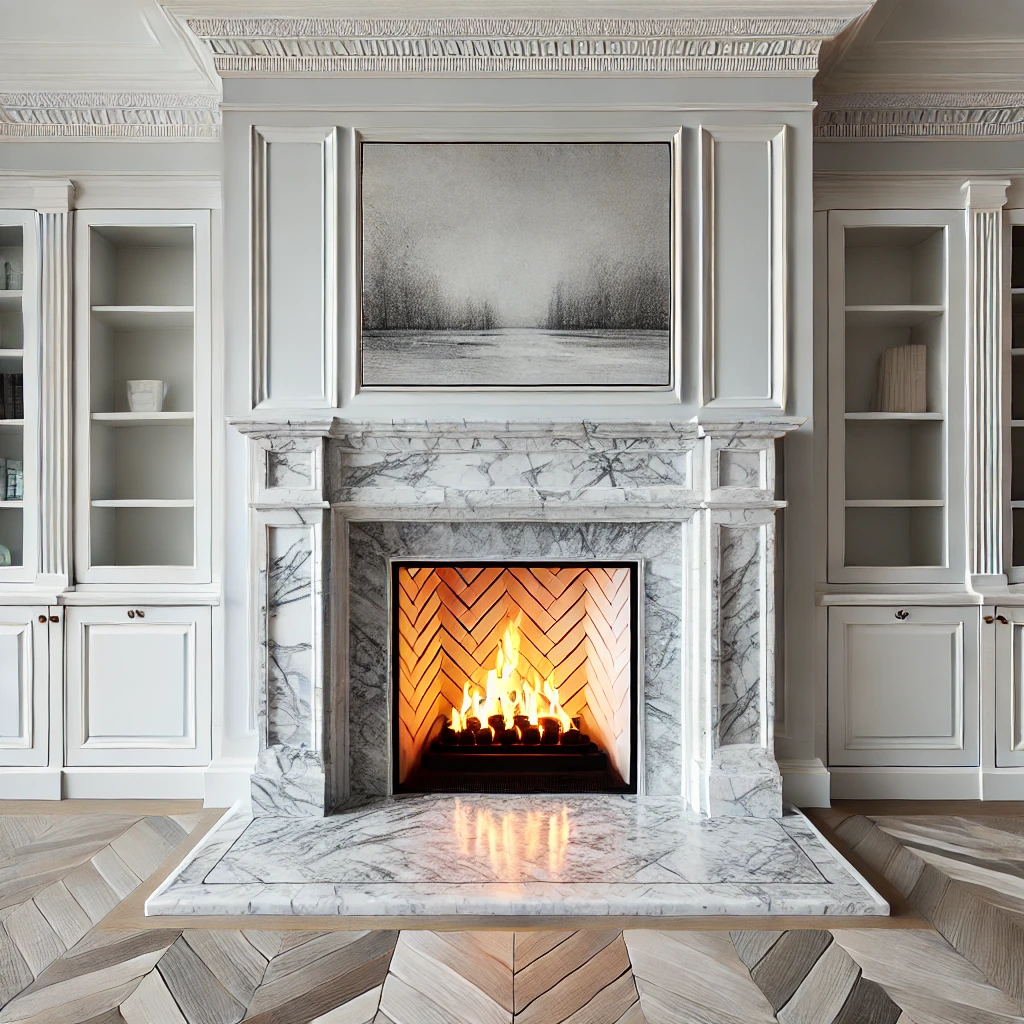
Eventually, I gave the fireplace a complete overhaul. I resurfaced it with marble tile, added moulding, and rebuilt the mantle. The result? A timeless and sophisticated focal point for our living room. You can learn more about this project here:
The Backyard
Before
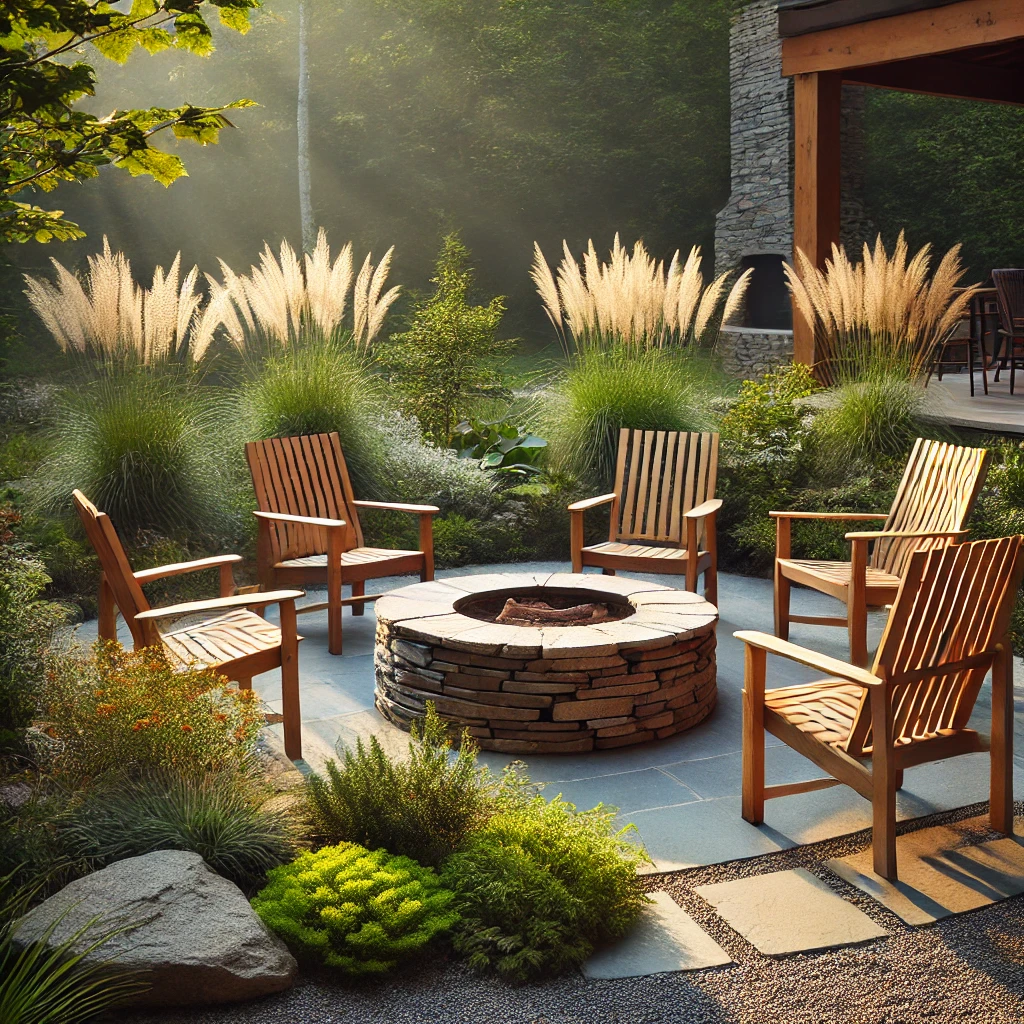
Our backyard was less of a yard and more of a forest when we moved in. One half was densely packed with trees, while the other was fenced off—great for the previous owner’s dogs but not ideal for family gatherings or outdoor fun.
After

We cleared the space, added grass, and created a stepping-stone path leading to the deck. Last year, we installed a pea-stone patio with a stone fire pit. While there’s still work to be done, this transformation has made our outdoor space far more inviting. You can find details about the fire pit.
Transforming a space is one of the most rewarding aspects of homeownership. Whether it’s a big project or a small update, there’s nothing quite like seeing the “before” and marveling at the “after.” What’s your favorite before-and-after project? I’d love to hear about it!
For more inspiration, check out the gallery of my favorite furniture makeovers, home improvements, and DIYs here. And don’t miss Pam, Jennifer, Kris, and Shelley’s posts—they’re always packed with creativity and style:
Thanks for stopping by, and happy renovating!